Microsoft has announced Windows 11 and in order to install it on your PC, TPM 2.0 and Secure Boot should be physically available in the BIOS / UEFI. This means that if the BIOS / UEFI on your PC does not support the TPM 2.0 module and Secure Boot, you will not be able to install Windows 11 on your PC. Really, so many Windows were dissatisfied when Microsoft announced these two features as minimum requirements.
Many Windows users were disappointed that they either had to buy a new PC or just further customize with the Windows 10 operating system. This means that even original Windows 10 users cannot upgrade from Windows 10 to Windows 11. We’ve already provided an article on how to install Windows 11 without TPM 2.0 and Secure Boot, but it’s basically a long procedure. You need Windows 10 and Windows 11 ISO files and then have to replace various Windows 11 ISO files with Windows 10. Also, during the installation of Windows 11, I noticed in several windows that Windows 10 was displayed. and then I started testing for new options. Eventually I succeeded and decided to write this article.
I can finally bypass Microsoft’s TPM 2.0 and Secure Boot enforcement without the help of Windows 10 ISO. This means that you can easily edit your Windows 11 ISO and install or upgrade from Windows 10 to Windows 11. Isn’t that impressive?
If your Windows PC is over four years old, then most likely you won’t find the TPM 2.0 chip and Safe Boot on UEFI. If a TMP module is found on your PC, it is TPM 1.2. Suppose your PC supports Secure Boot and TPM 1.2. Even so, you cannot install Windows 11.
Now you can overcome these limitations by simply deleting a single file from your Windows 11 ISO file. In this Gearupwindows article, we are going to show the fastest way to install Windows 11 on your PC where TPM 2.0 and Secure Boot are not available.
How do I quickly install Windows 11 on unsupported PCs without TPM 2.0 and Secure Boot?
Step 1. Download the official Windows 11 ISO by signing up for Windows Insider or another source.
Step 2. Now download the WinRAR application to extract the contents of the ISO file.
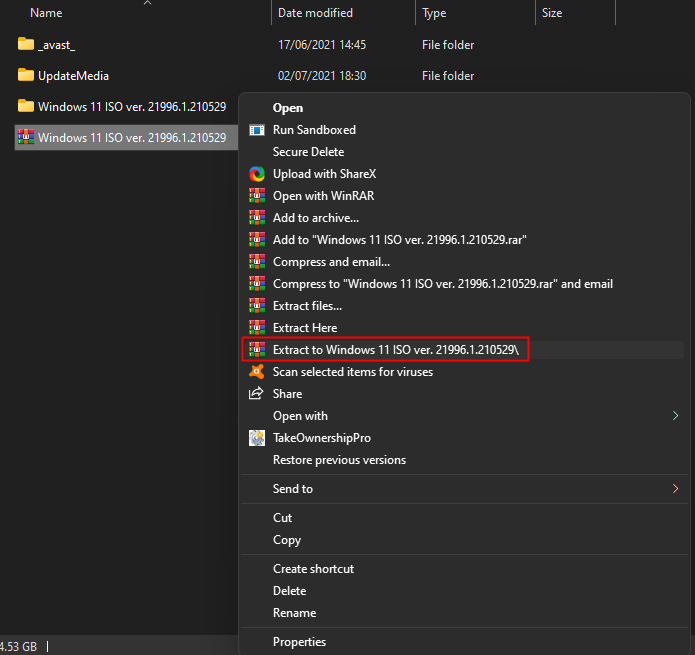
Step 3. Right click on the downloaded Windows 11 ISO and choose the “Extract To” option (see screenshot).
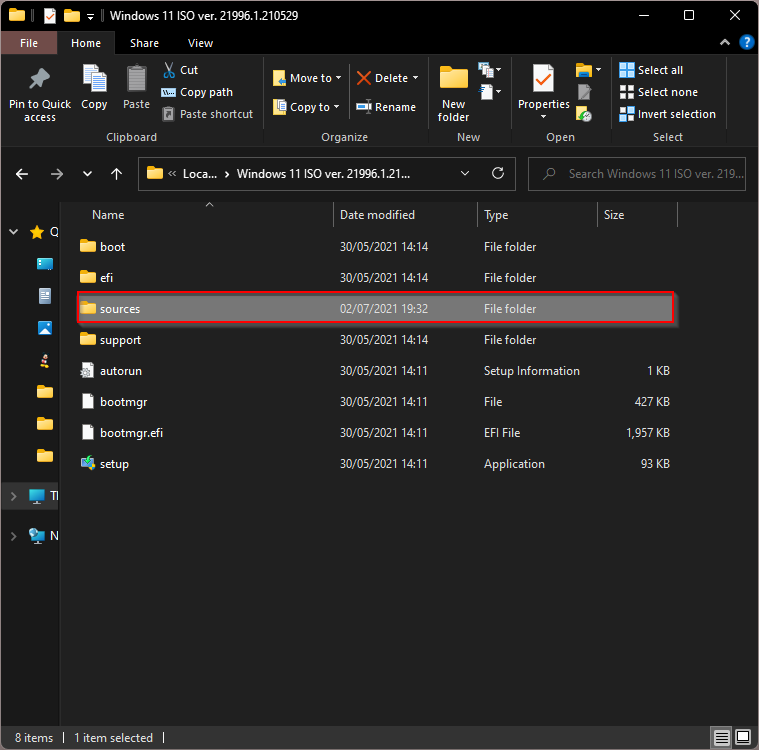
Step 4. In a few minutes, the ISO contents will be extracted to a folder with the same name as the ISO file.
Step 5. Now double click on the folder to open it.
Step 6. Now double click on that swell Folder to open it.
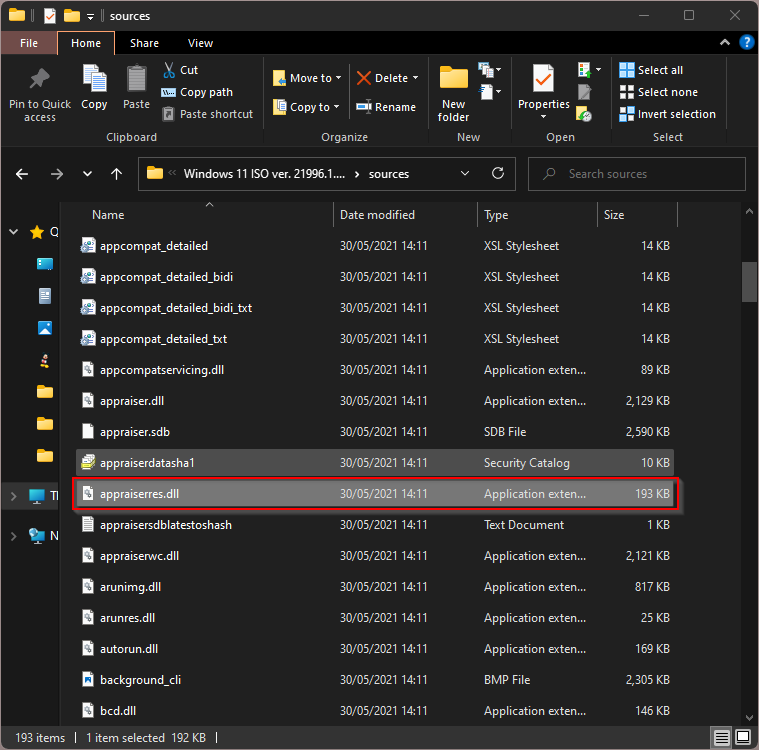
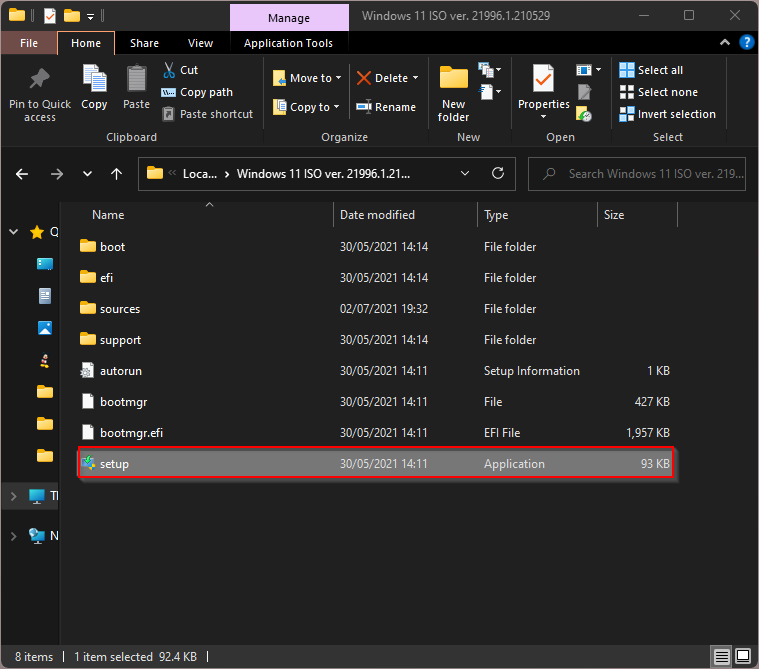
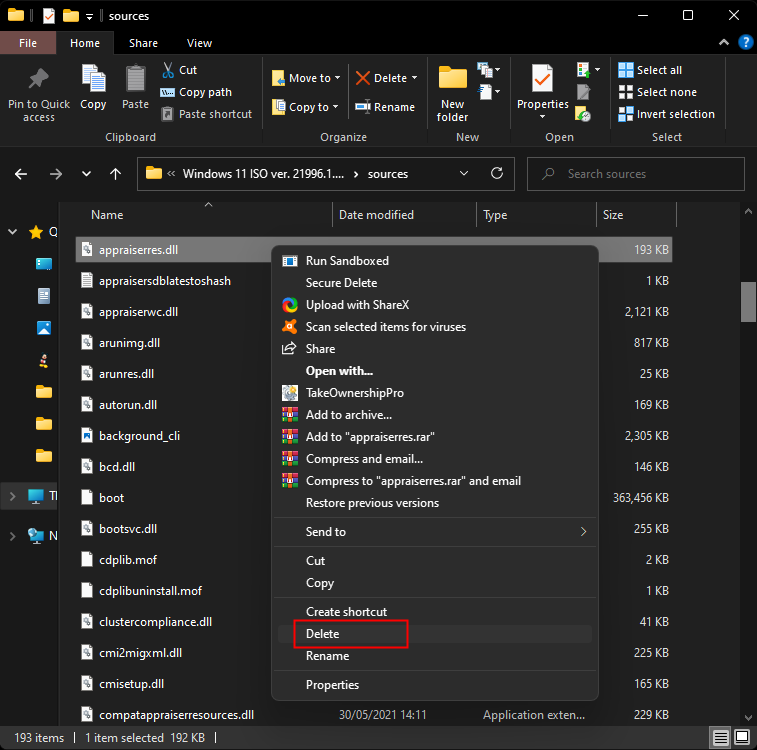
Step 7. Find the appraiserres.dll File and right click on it. Choose Clear Option from the context menu.
Step 8. Click Yes Button when prompted by Windows.
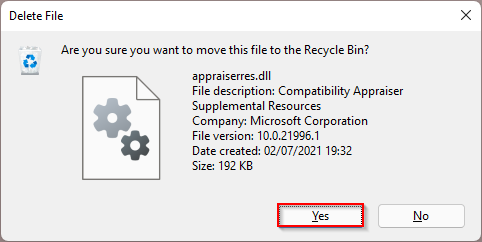
That’s all. Here’s the trick. Windows 11 appraiserres.dll File is responsible for checking Secure Boot and TPM 2.0 on your PC. Since you deleted it, installing Windows 11 will no longer be able to verify these features on your PC and you can install it without any problems.
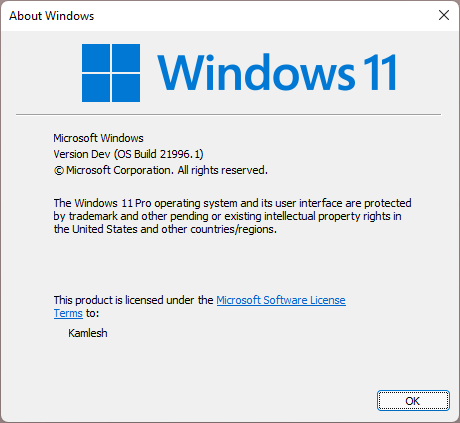
We tested it personally and updated our Windows 10 to Windows 11 on the Apple MacBook Air. To upgrade your old Windows 10 to Windows 11, double-click the configuration File and follow the instructions on the screen. It’s easy.