How do I mount an ISO file on Windows 11? Starting with Windows 8, Microsoft offers an integrated tool for mounting ISO files on a virtual CD / DVD drive. This ISO mounting function is available on Windows 10 and even Windows 11. However, if you’re still using Windows 7, you’ll need a third-party tool to mount an ISO disk image file. If for some reason the mount option is missing on Windows 10, you can enable the same.
Basically, an ISO image is a container format designed to store the contents of a physical hard drive (CD, DVD, or Blu-ray). Several software companies typically use this file format to distribute the applications and tools without the need to ship physical media, which can be costly and time consuming. For example, Microsoft uses this format to distribute 11 previews to testers and many other products.
Although there are many free applications available that work with images, Windows 11 offers the ability to natively mount and mount ISO files without the need for additional software.
This Gearupwindows article shows the steps to mount and unmount ISO files on a Windows 11 PC.
Topics covered
How to mount and unmount an ISO file on Windows 11 using File Explorer?
On a Windows 11 PC, there are two ways to mount ISO files:
Mount the ISO image with a double click
To quickly mount an ISO file on Windows 11, open File Explorer by pressing
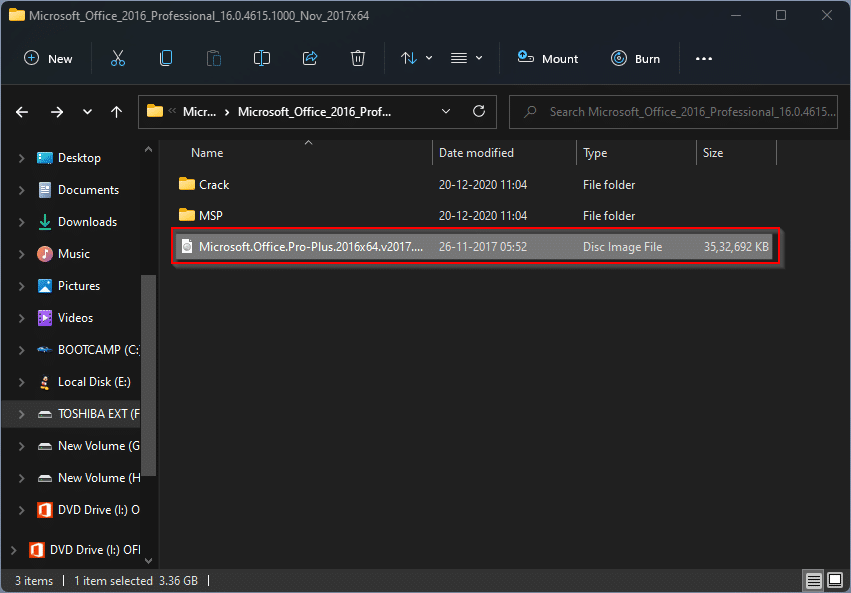
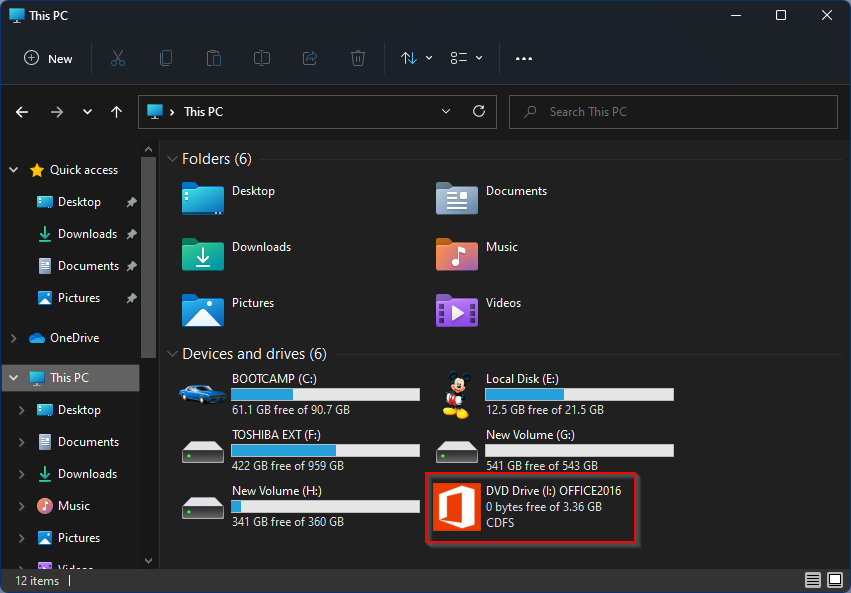
After following the steps above, the ISO file will open like any other folder so you can access and extract the contents if you need to. It will also show up in File Explorer, just like a CD / DVD drive.
Mount the image using the right-click context menu
To mount an ISO image from the File Explorer context menu, open File Explorer by pressing
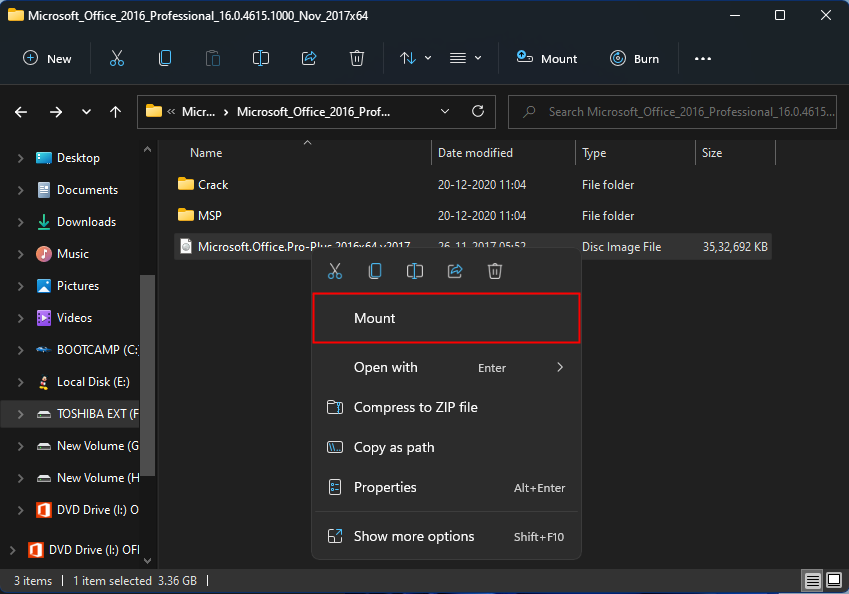
After following the steps above, you can access the contents of the image file by opening the virtual drive in File Explorer.
Unmount image under Windows 11
Once you’re done with the mounted image and it’s no longer needed, you can quickly unmount it by right-clicking the virtual drive under This PC and selecting the Eject option. Do the following: –
Step 1. Double click This pc on the desktop and right click on the virtual CD drive.
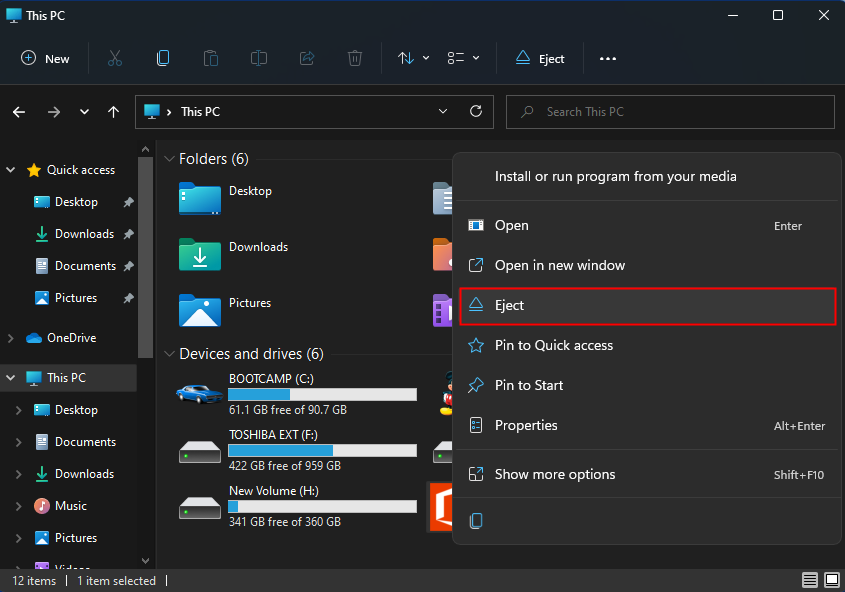
Step 2. Click the
Once you have followed the steps above, the ISO file will be unmounted. If you want to access its contents again, you will have to mount it again.