Installing Windows 11 from a USB drive is easier than it looks. Here is a complete step-by-step guide to getting Windows 11 running on your computer.
Windows 11 has created a lot of buzz among tech enthusiasts. It has an attractive interface coupled with a bunch of user-friendly features. If you’re planning to upgrade to Windows 11 on your PC, here’s how to install it from a bootable USB drive.
Creating a bootable USB drive might seem like a very technical and daunting task, but with the right software and a little time to spare, you can easily create one. However, before you get excited, you need to meet two conditions before you can install Windows 11. You need to enable “Secure Boot” and “TPM 2.0” from “BIOS Settings”. Once done, proceed with the installation.
We have divided the article into two sections, the first details the steps to create a Windows 11 USB drive and the second walks you through the steps to install Windows 11 from the drive.
Create a Windows 11 bootable USB drive
Before continuing, make sure that the USB drive you will be using has at least 8 GB of storage. And you downloaded the Windows 11 Preview ISO file to your computer.
To create a bootable drive, we will be using the Rufus app. Go to rufus.ie to download the program, then run / open the program.

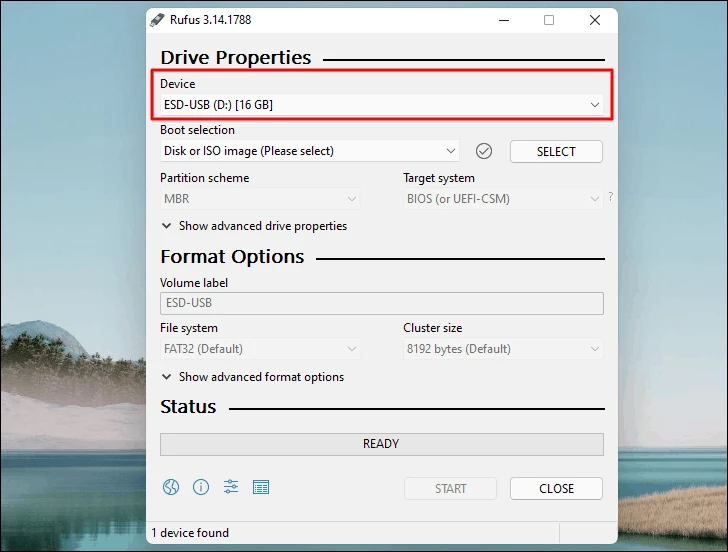
If only one external USB drive or disk is connected, it will be listed under “Device”. If you have connected more than one, click on the “Device” drop-down menu and select the desired option.
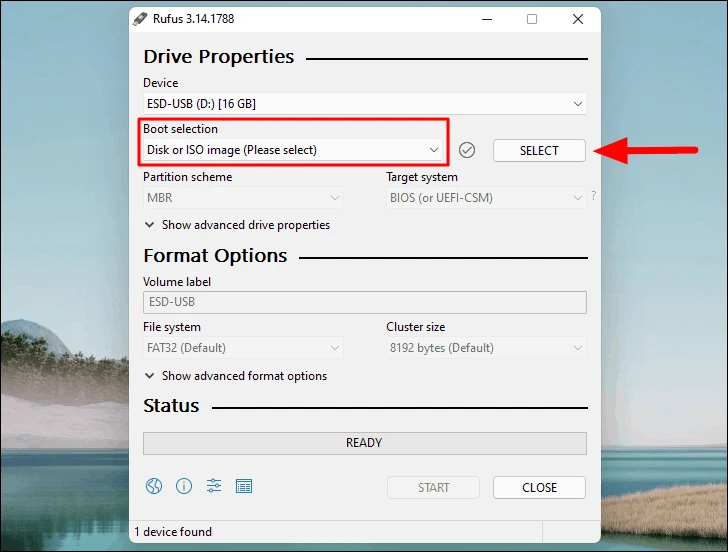
Next, make sure “Disc or ISO Image” is selected under “Boot Selection”, then click “SELECT” to browse and choose the ISO image you want to burn to the drive.
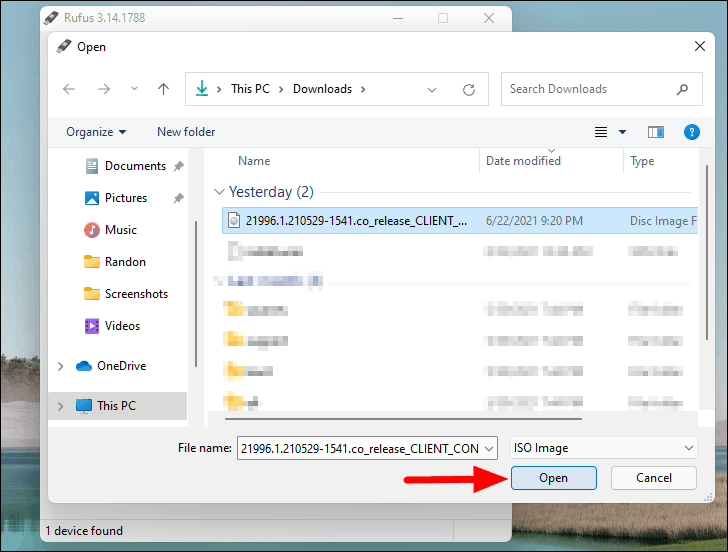
In the “File Explorer” window that opens, locate the file, select it and click “Open” at the bottom.
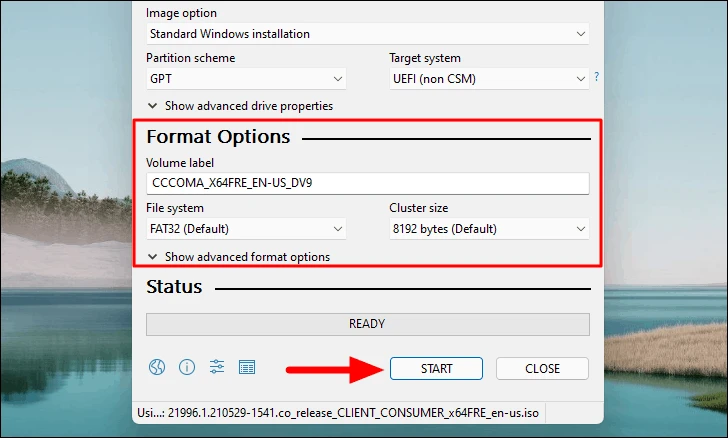
Under the “Image” option, you will have the two types listed in the drop-down menu, “Standard Windows Installation” and “Windows To Go”. The first is selected by default and it is recommended to use the default settings in place. In addition, Rufus will select the “Partition scheme” according to your device. In the case of “UEFI” Bios mode, the partition scheme would be set to GPT while in the case of “Legacy” it would be set to MBR.
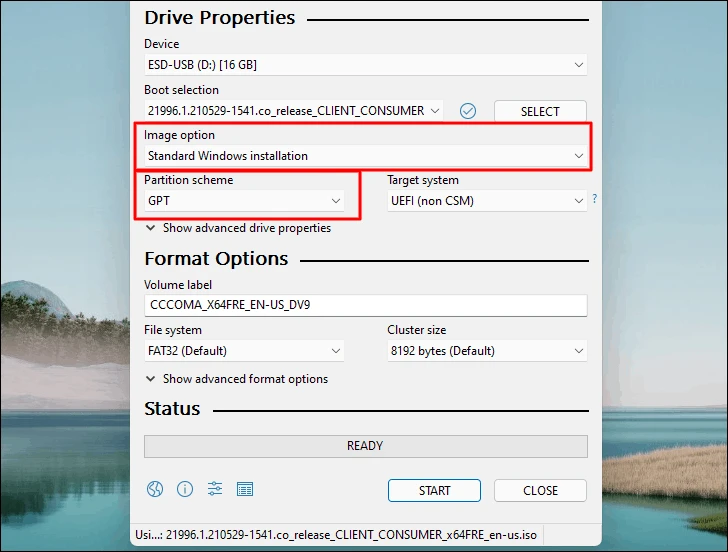
Again, it is recommended that you also use the default settings for the “format” options, although you can change the “volume label” if necessary. Also, there is a “Show advanced format options” section which should be left as is for a quick and easy process. Finally, click on “Start” to create a bootable Windows 11 USB drive.
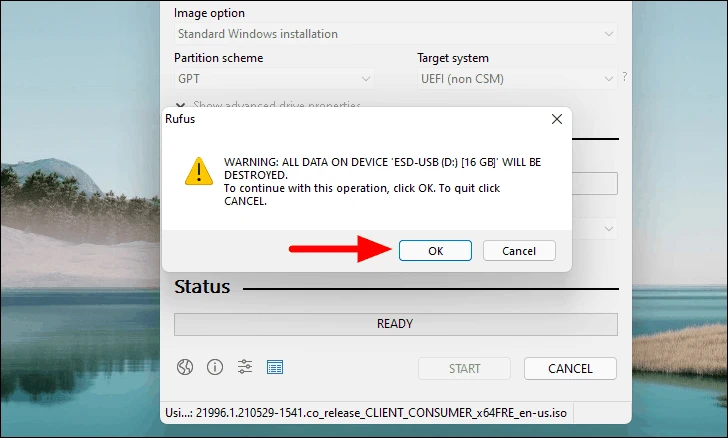
You will now receive a warning box informing you that the data on the USB drive will be deleted. Click “OK” to continue.
The process starts and may take a few minutes. When finished, unplug the USB drive. Now is the time to install Windows 11 that we just flashed on the USB stick.
Installing Windows 11 from a USB key
Now that you have a bootable Windows 11 USB drive, it’s time to start the installation process. Shut down the system where you want to install Windows and plug in the USB drive.
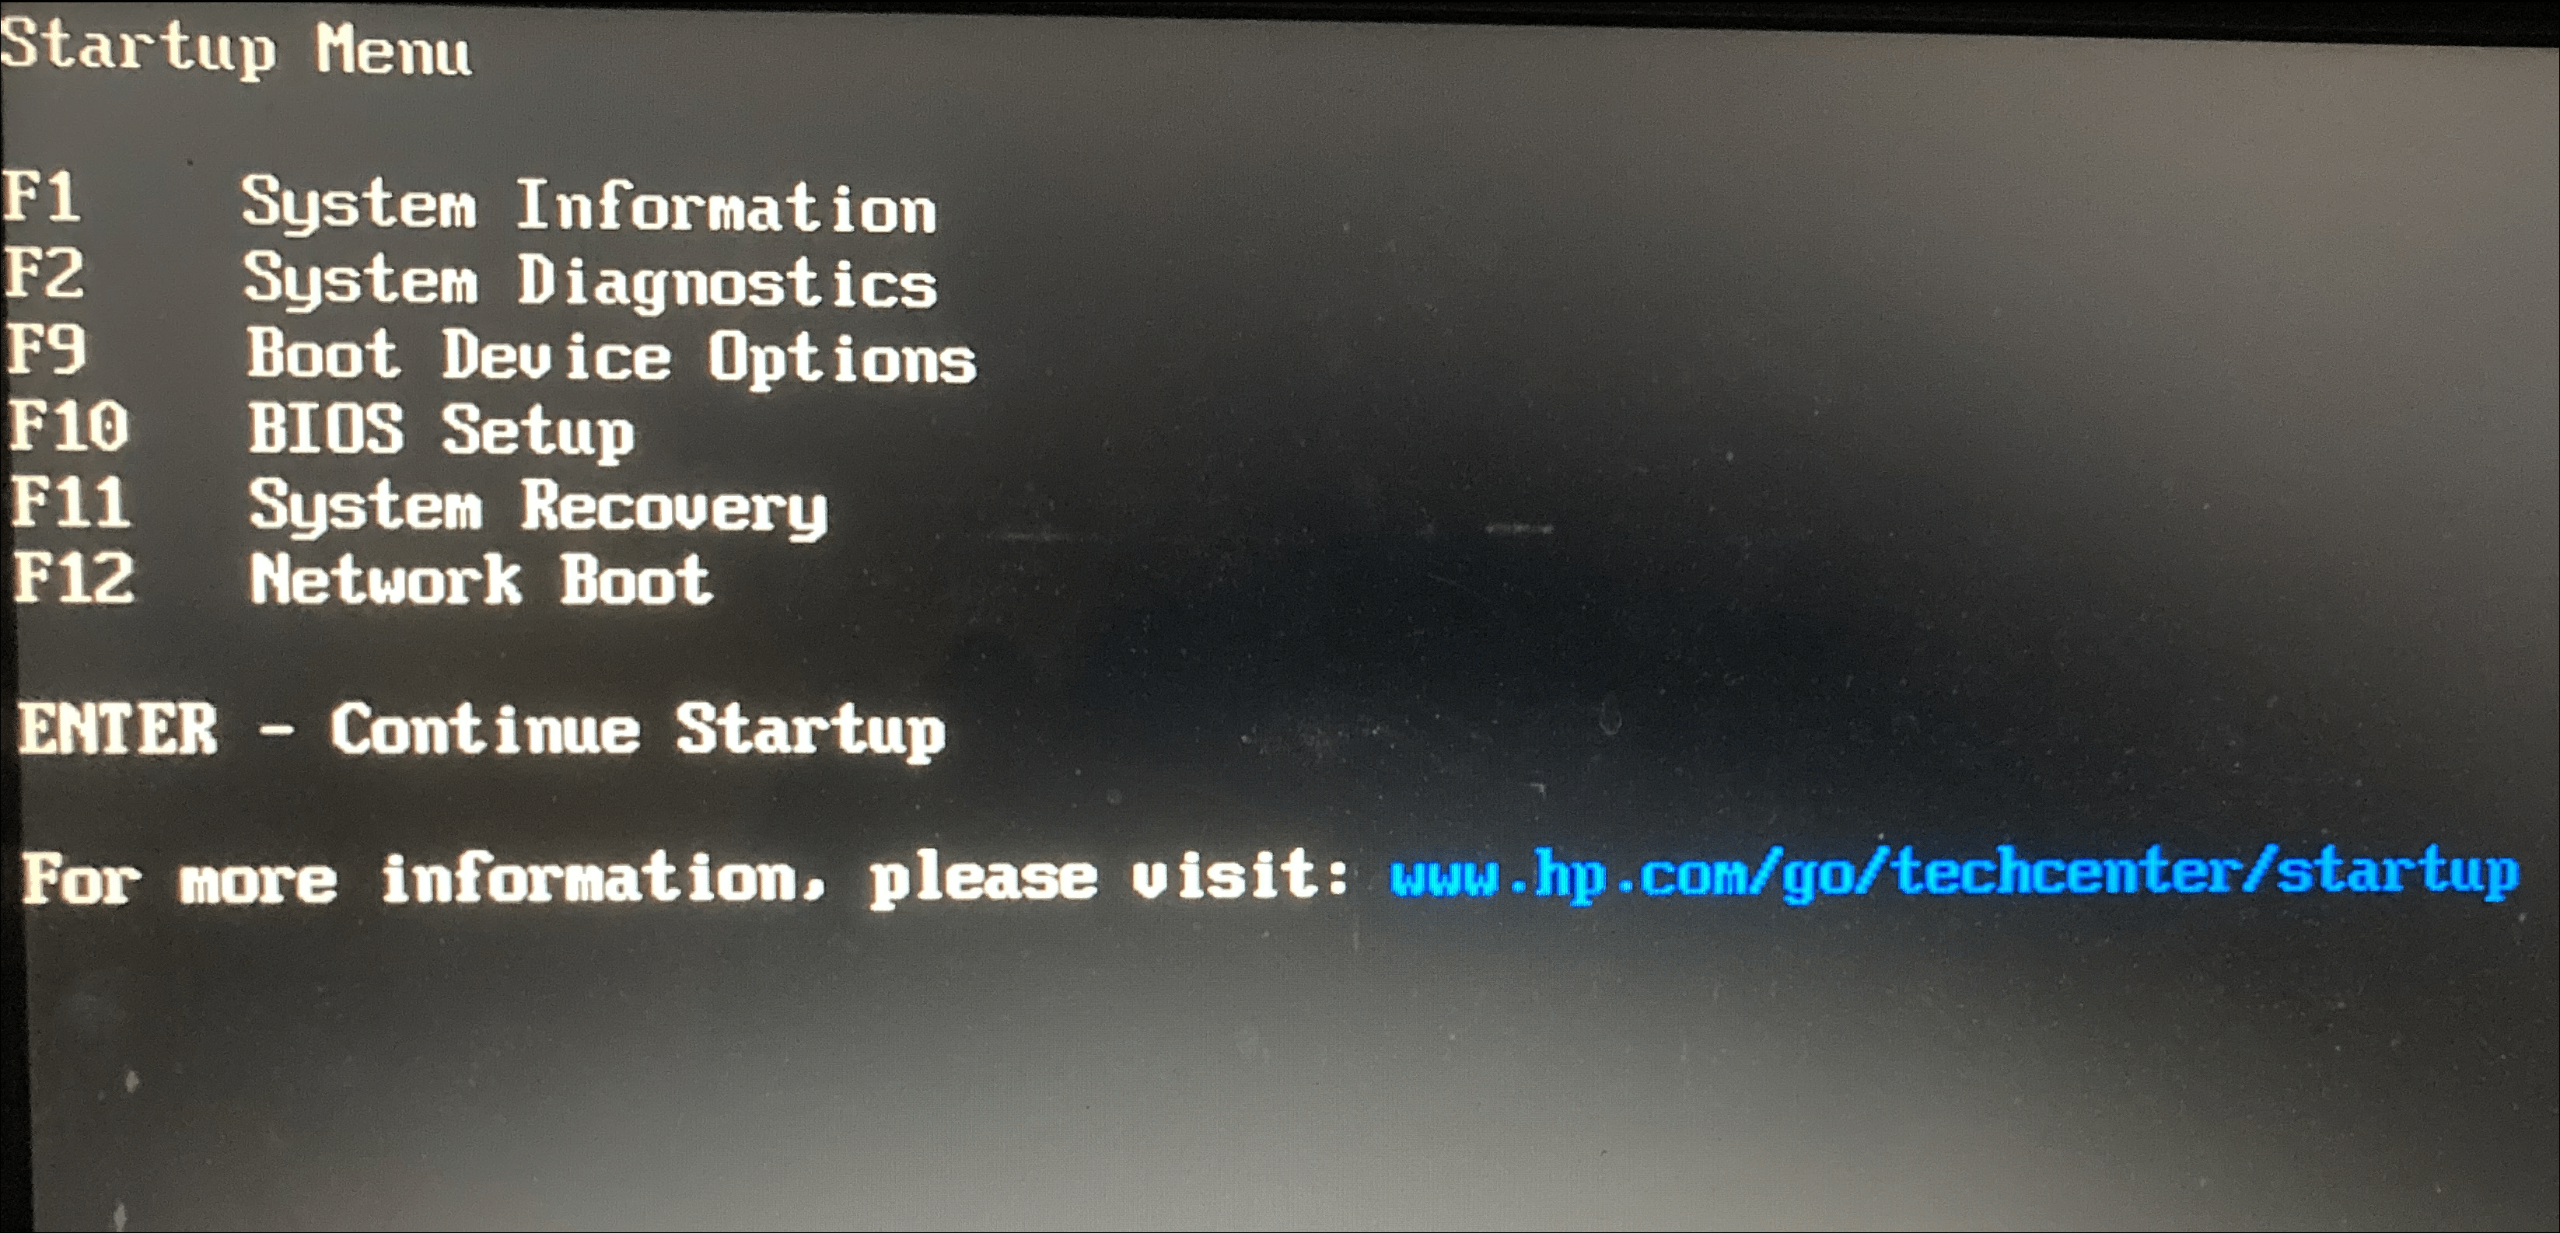
To note: We installed Windows 11 on an HP Compaq laptop. The interface and the ‘Startup Menu’ keys may differ from one manufacturer to another. Look for the user manual or search the web to get a feel for your system, although the concept remains pretty much the same.
Now press the power button to turn on the computer and press ESC as soon as the screen lights up to enter the ‘Startup Menu’. Then press the F9 to access the “Boot options menu”.
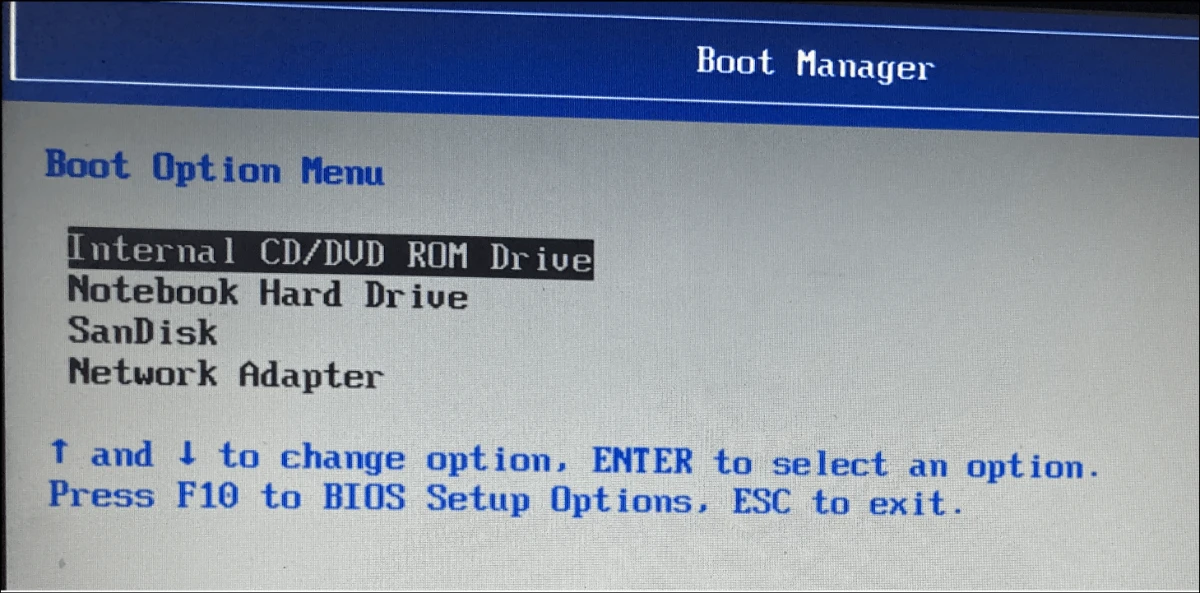
Now select the USB drive you started earlier using the arrow key and then press ENTER.
The system will take a few minutes to prepare things, do not turn off the computer during this time even if things do not seem to be progressing at all. After a while, the ‘Windows Setup’ screen will appear.
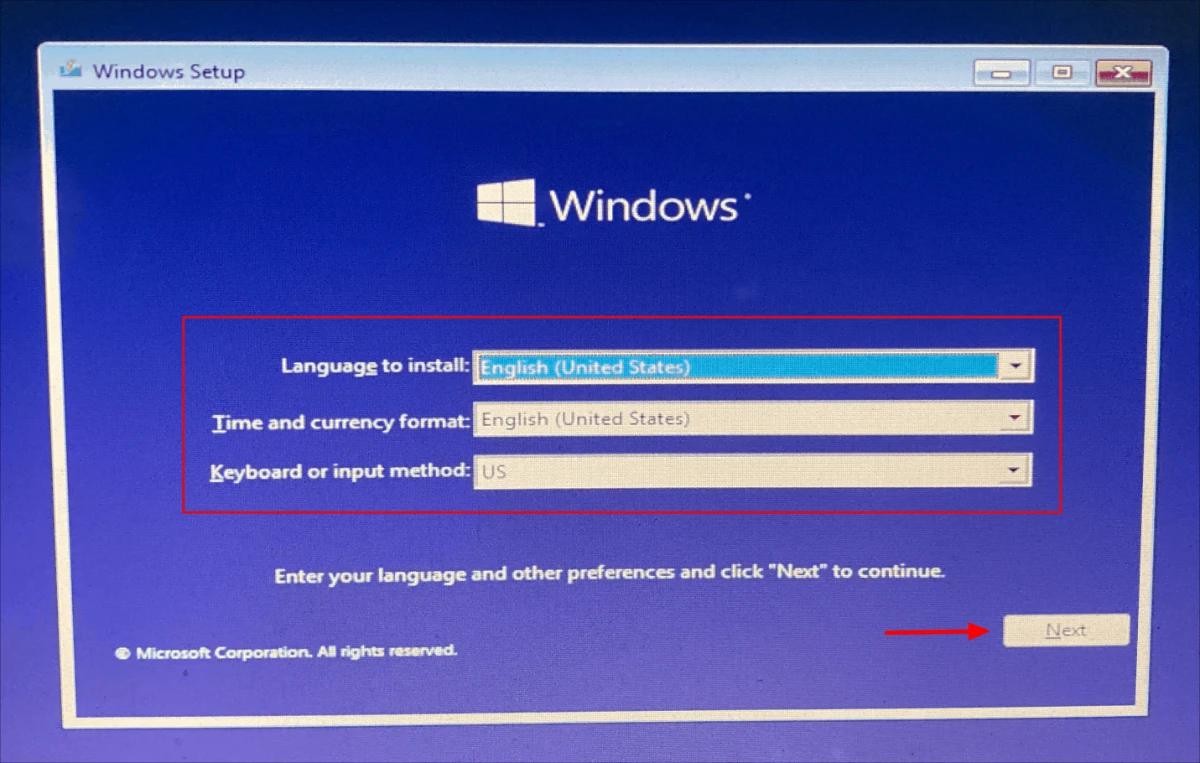
Select “Language”, “Time and Currency Format” and “Keyboard or Input Method”, then click “Next” at the bottom.
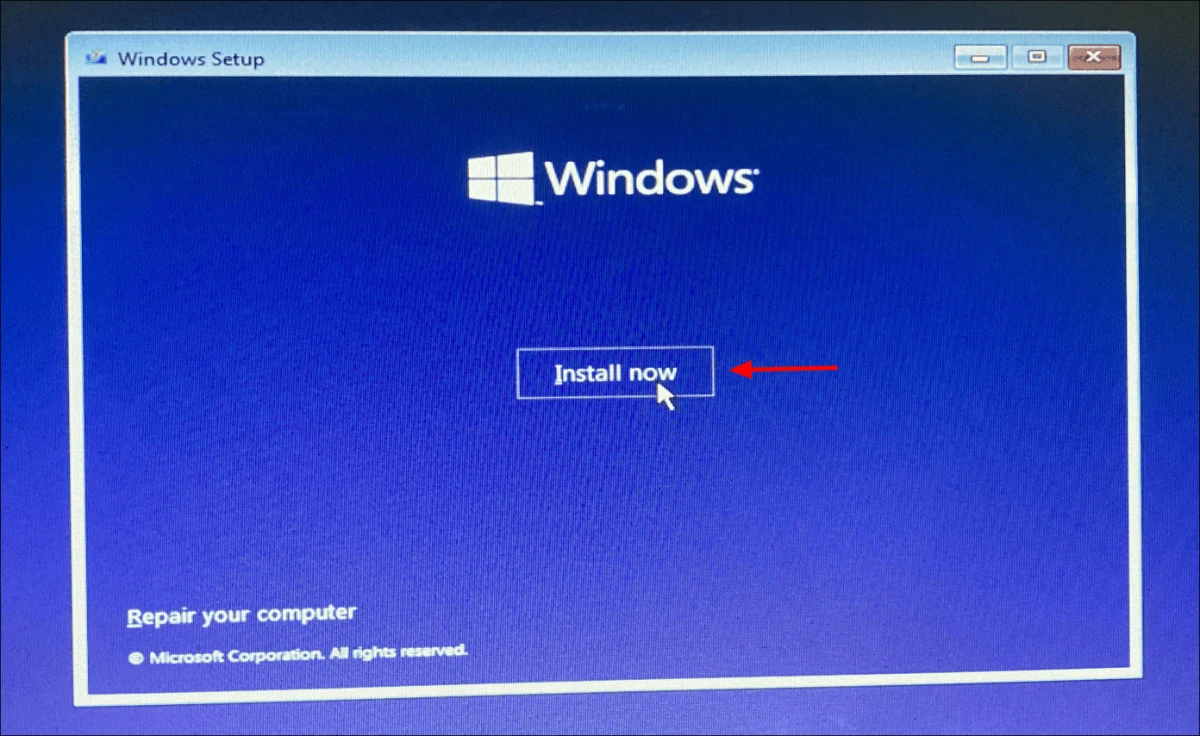
Then click on the ‘Install Now’ option.
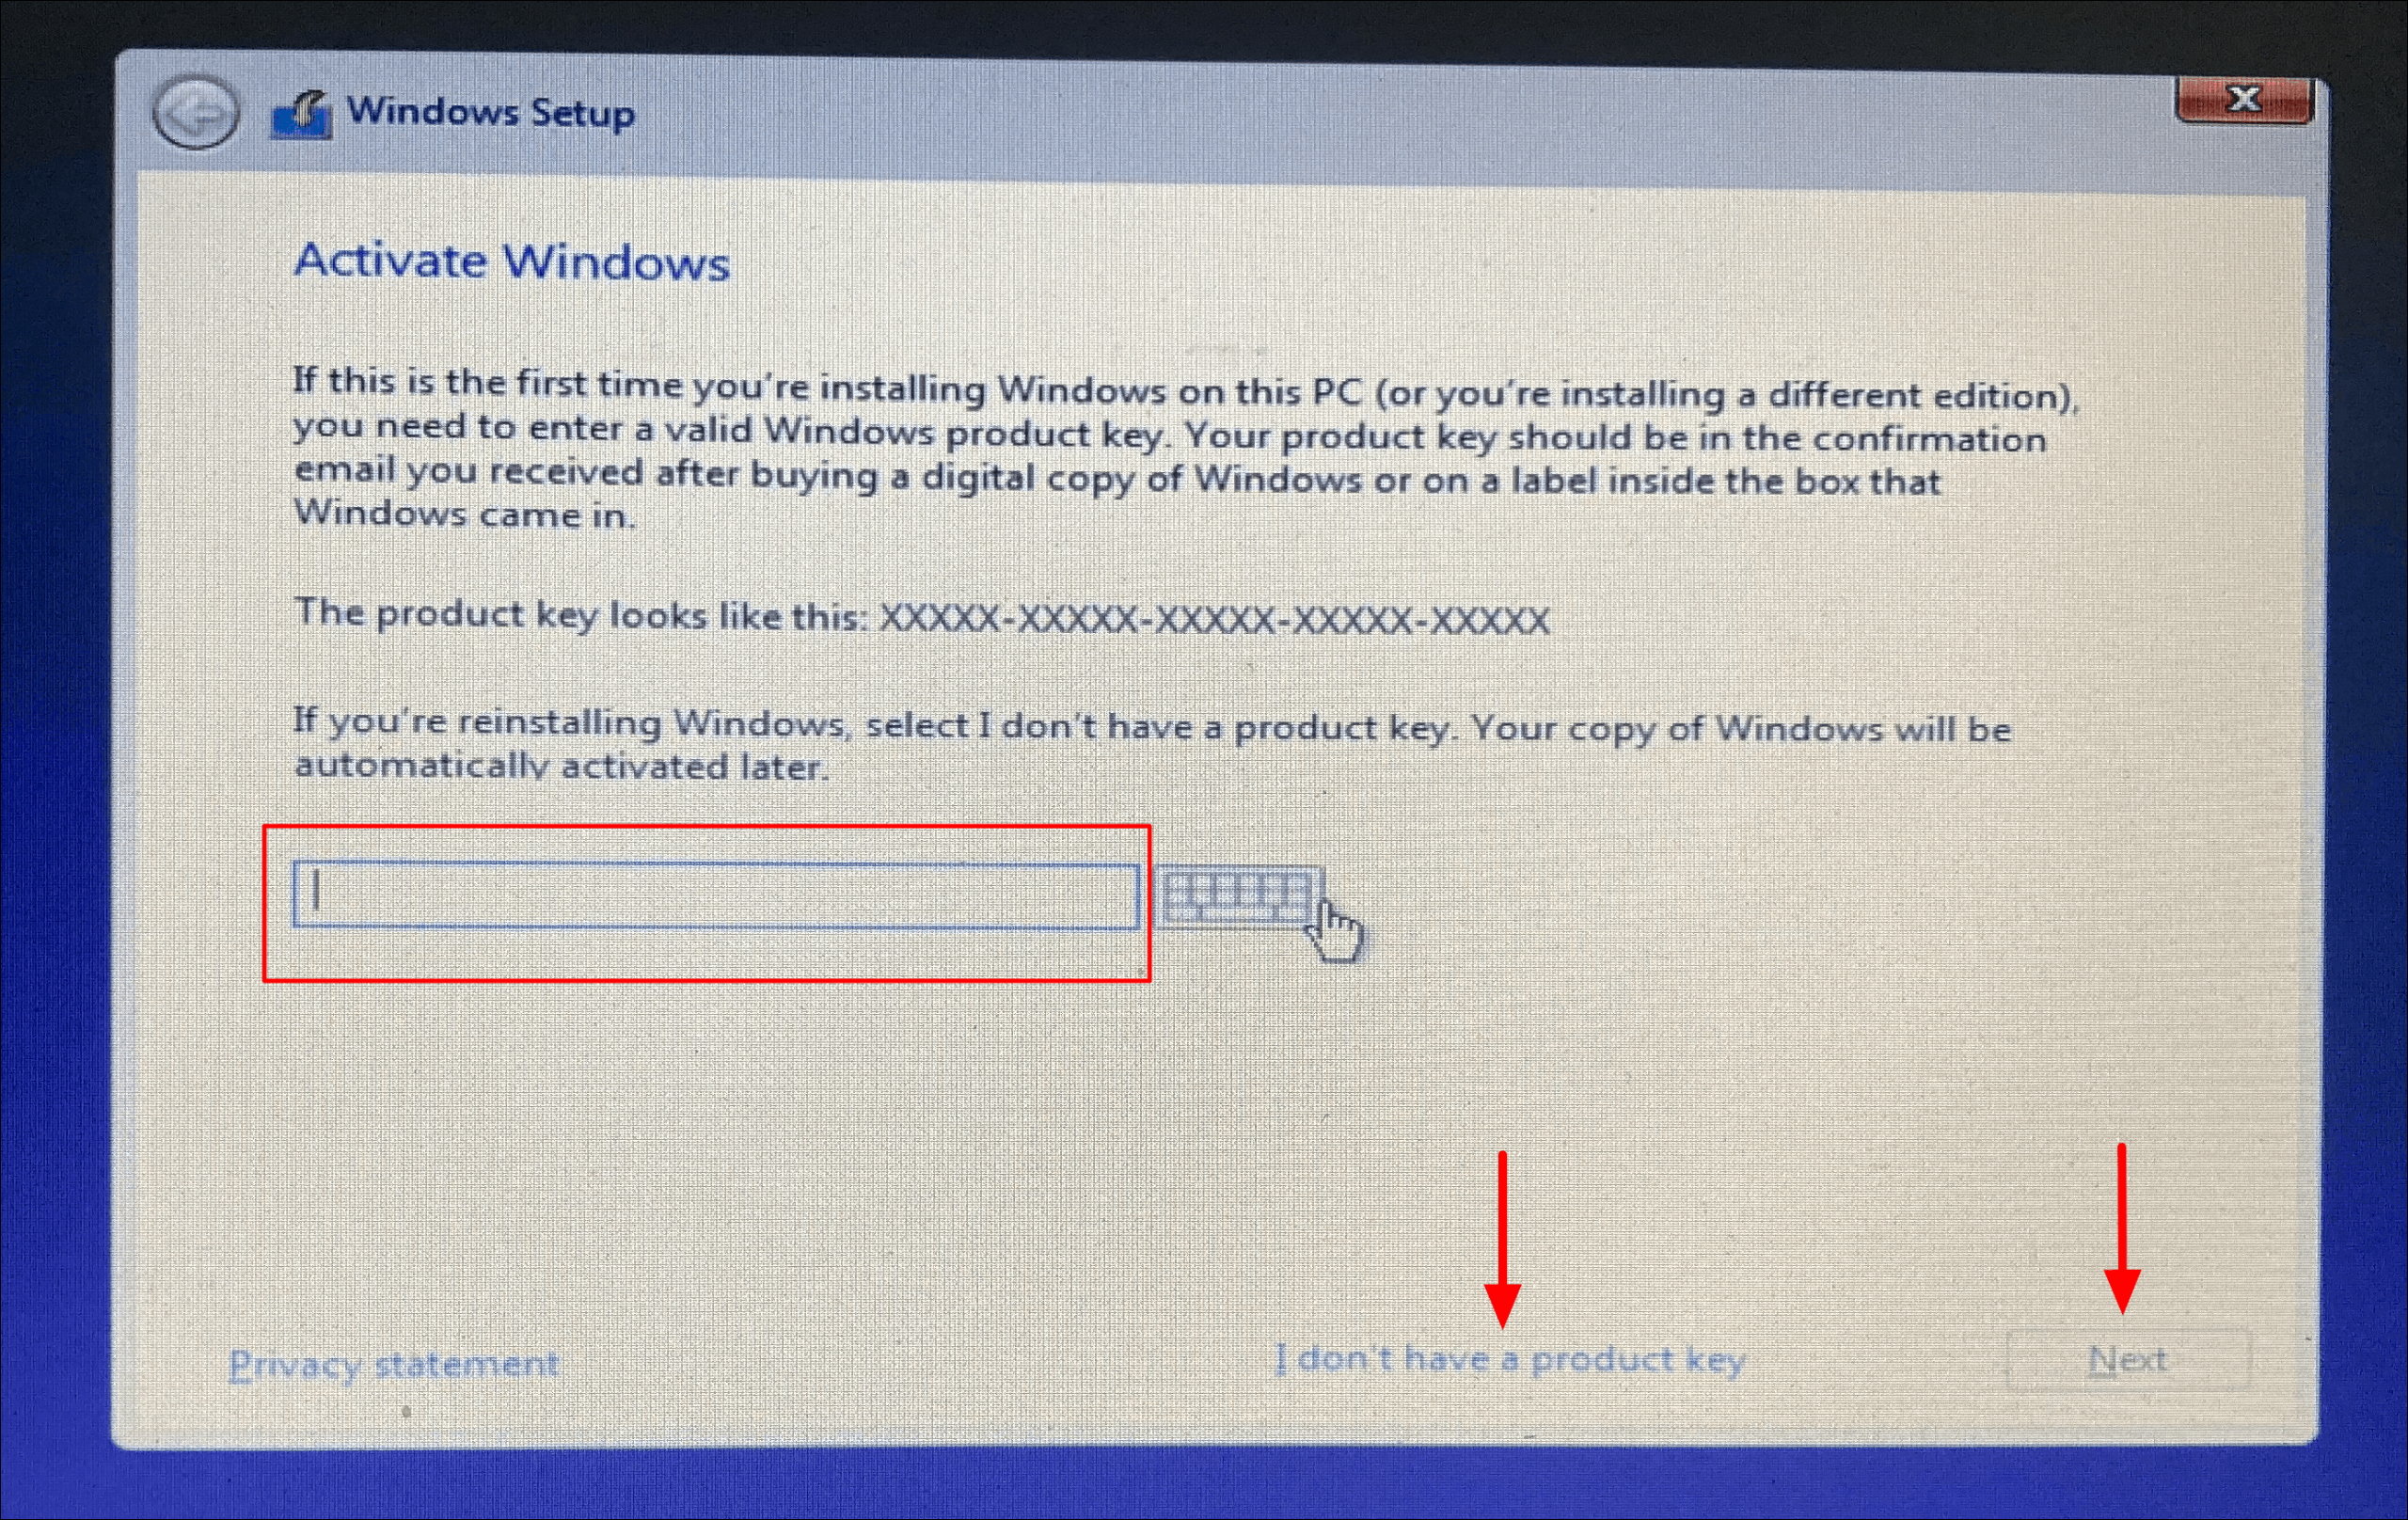
The ‘Activate Windows’ screen will then open. Enter the product key in the space provided and click “Next” at the bottom. However, if you don’t want to enter the product key right away, click the “I don’t have a product key” option, proceed with the installation, and enter it after Windows 11 is installed.
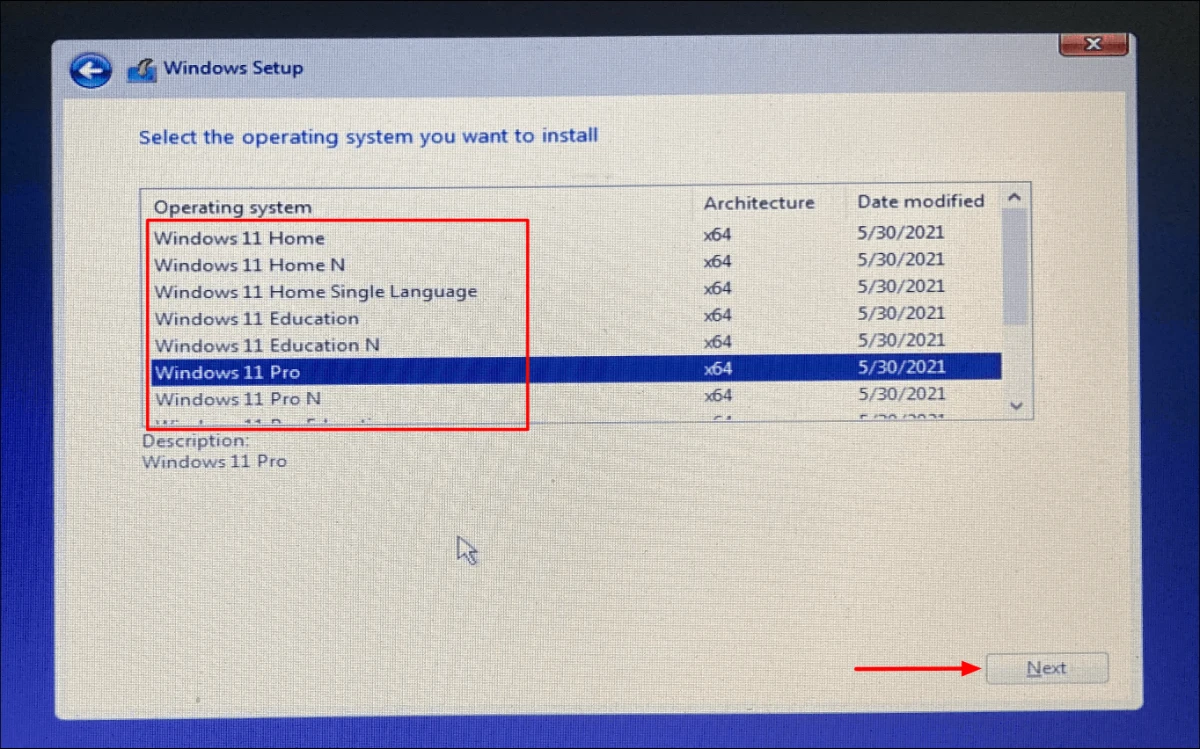
Now select the “Operating System” you want to install from the list and click “Next” at the bottom. We have installed the operating system ‘Windows 11 Pro’.
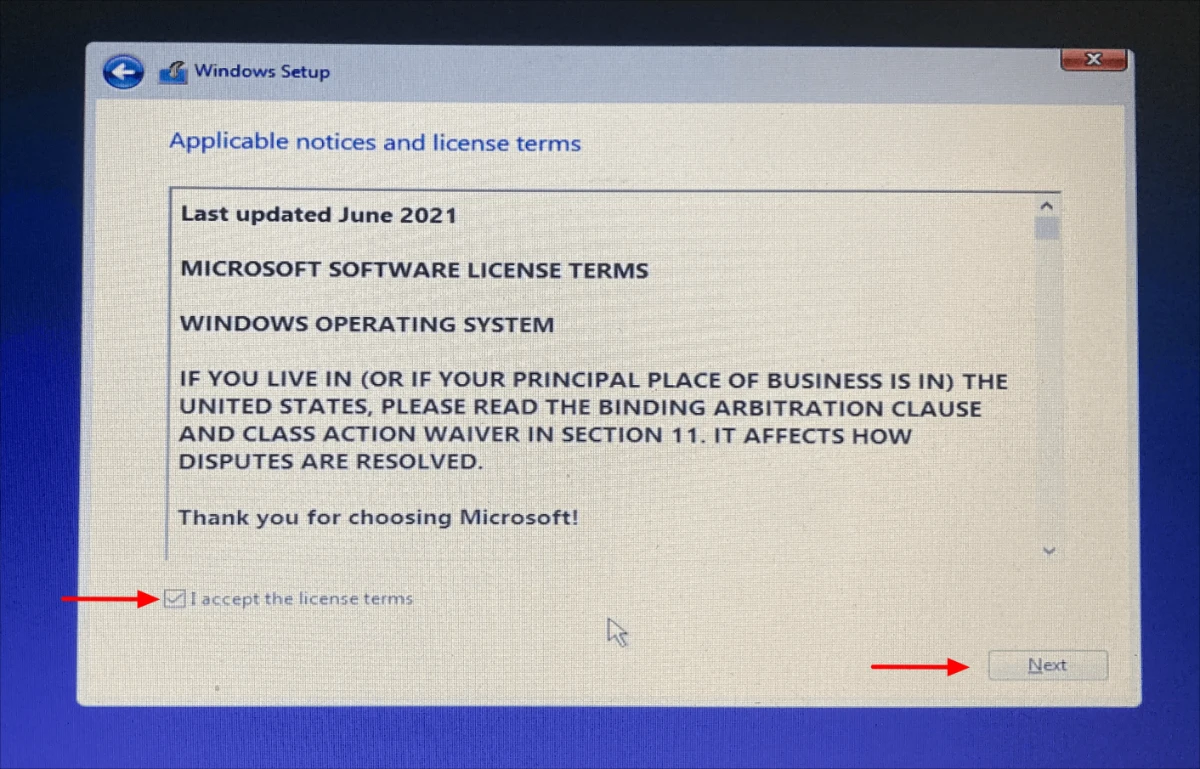
The following page lists the notices and license terms for Windows 11. When you have finished reading, select the “I accept the terms of the license” check box, and then click “Next”.
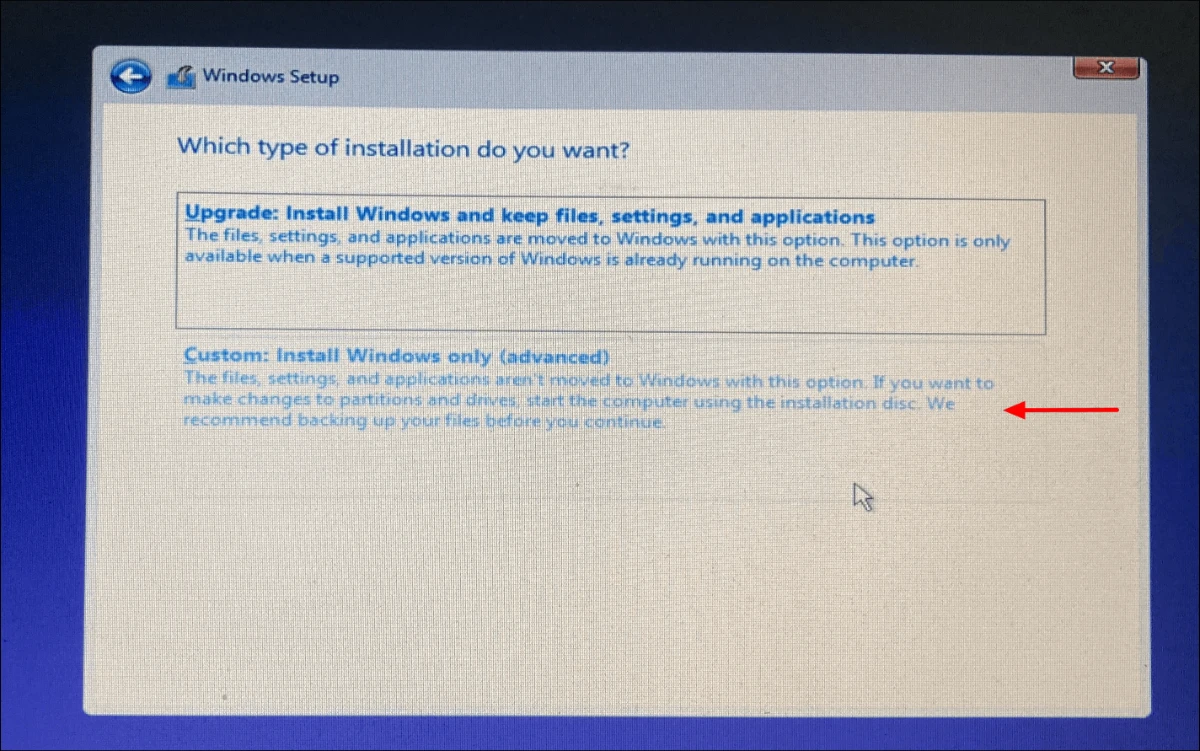
You will now be presented with two options for installation. If you select “Upgrade”, your files, application, and settings are moved to Windows 11. However, many users encounter an error when trying to opt for “Upgrade”. If you select “Custom”, all system data will be deleted and a new copy of Windows 11 will be installed. If you encounter an error with the “Upgrade” option or if you just want to start over with Windows 11, select the “Custom” option.
To note: Selecting the ‘Custom’ option will delete the data. Therefore, it is recommended to create a backup of important files and programs, if necessary.
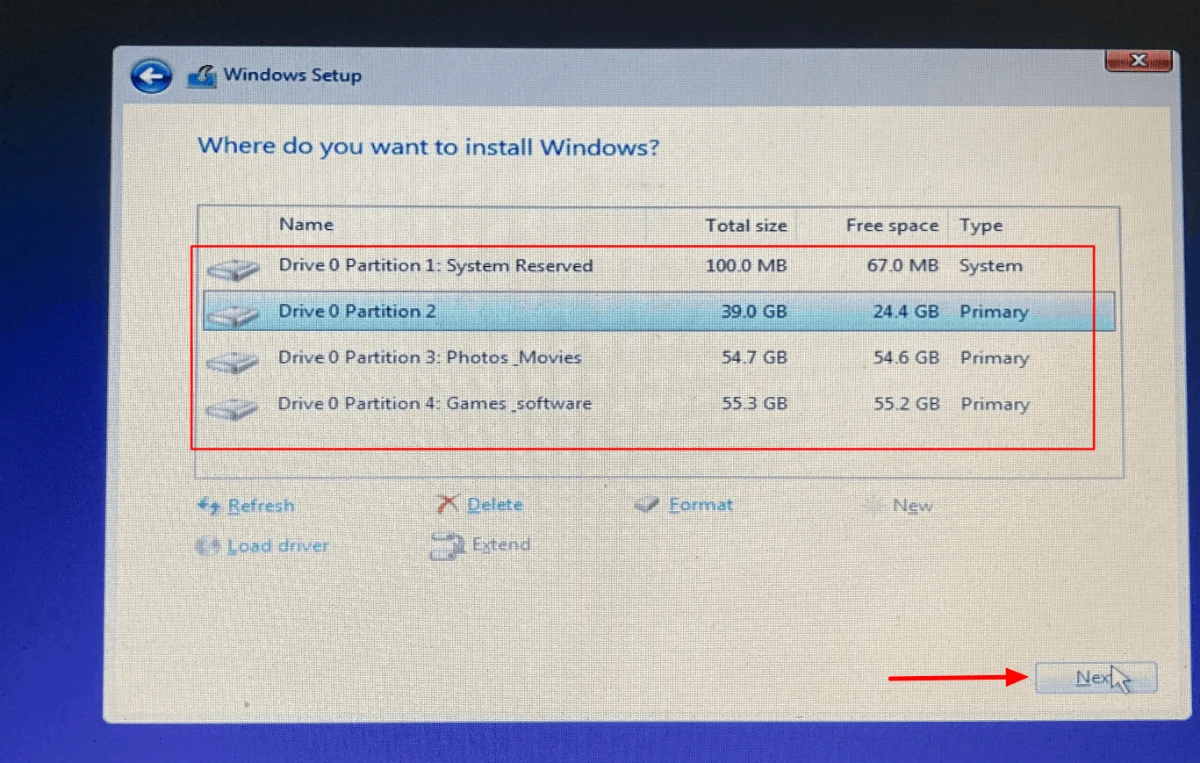
Then select the drive where you want to install Windows 11 and click “Next” at the bottom.
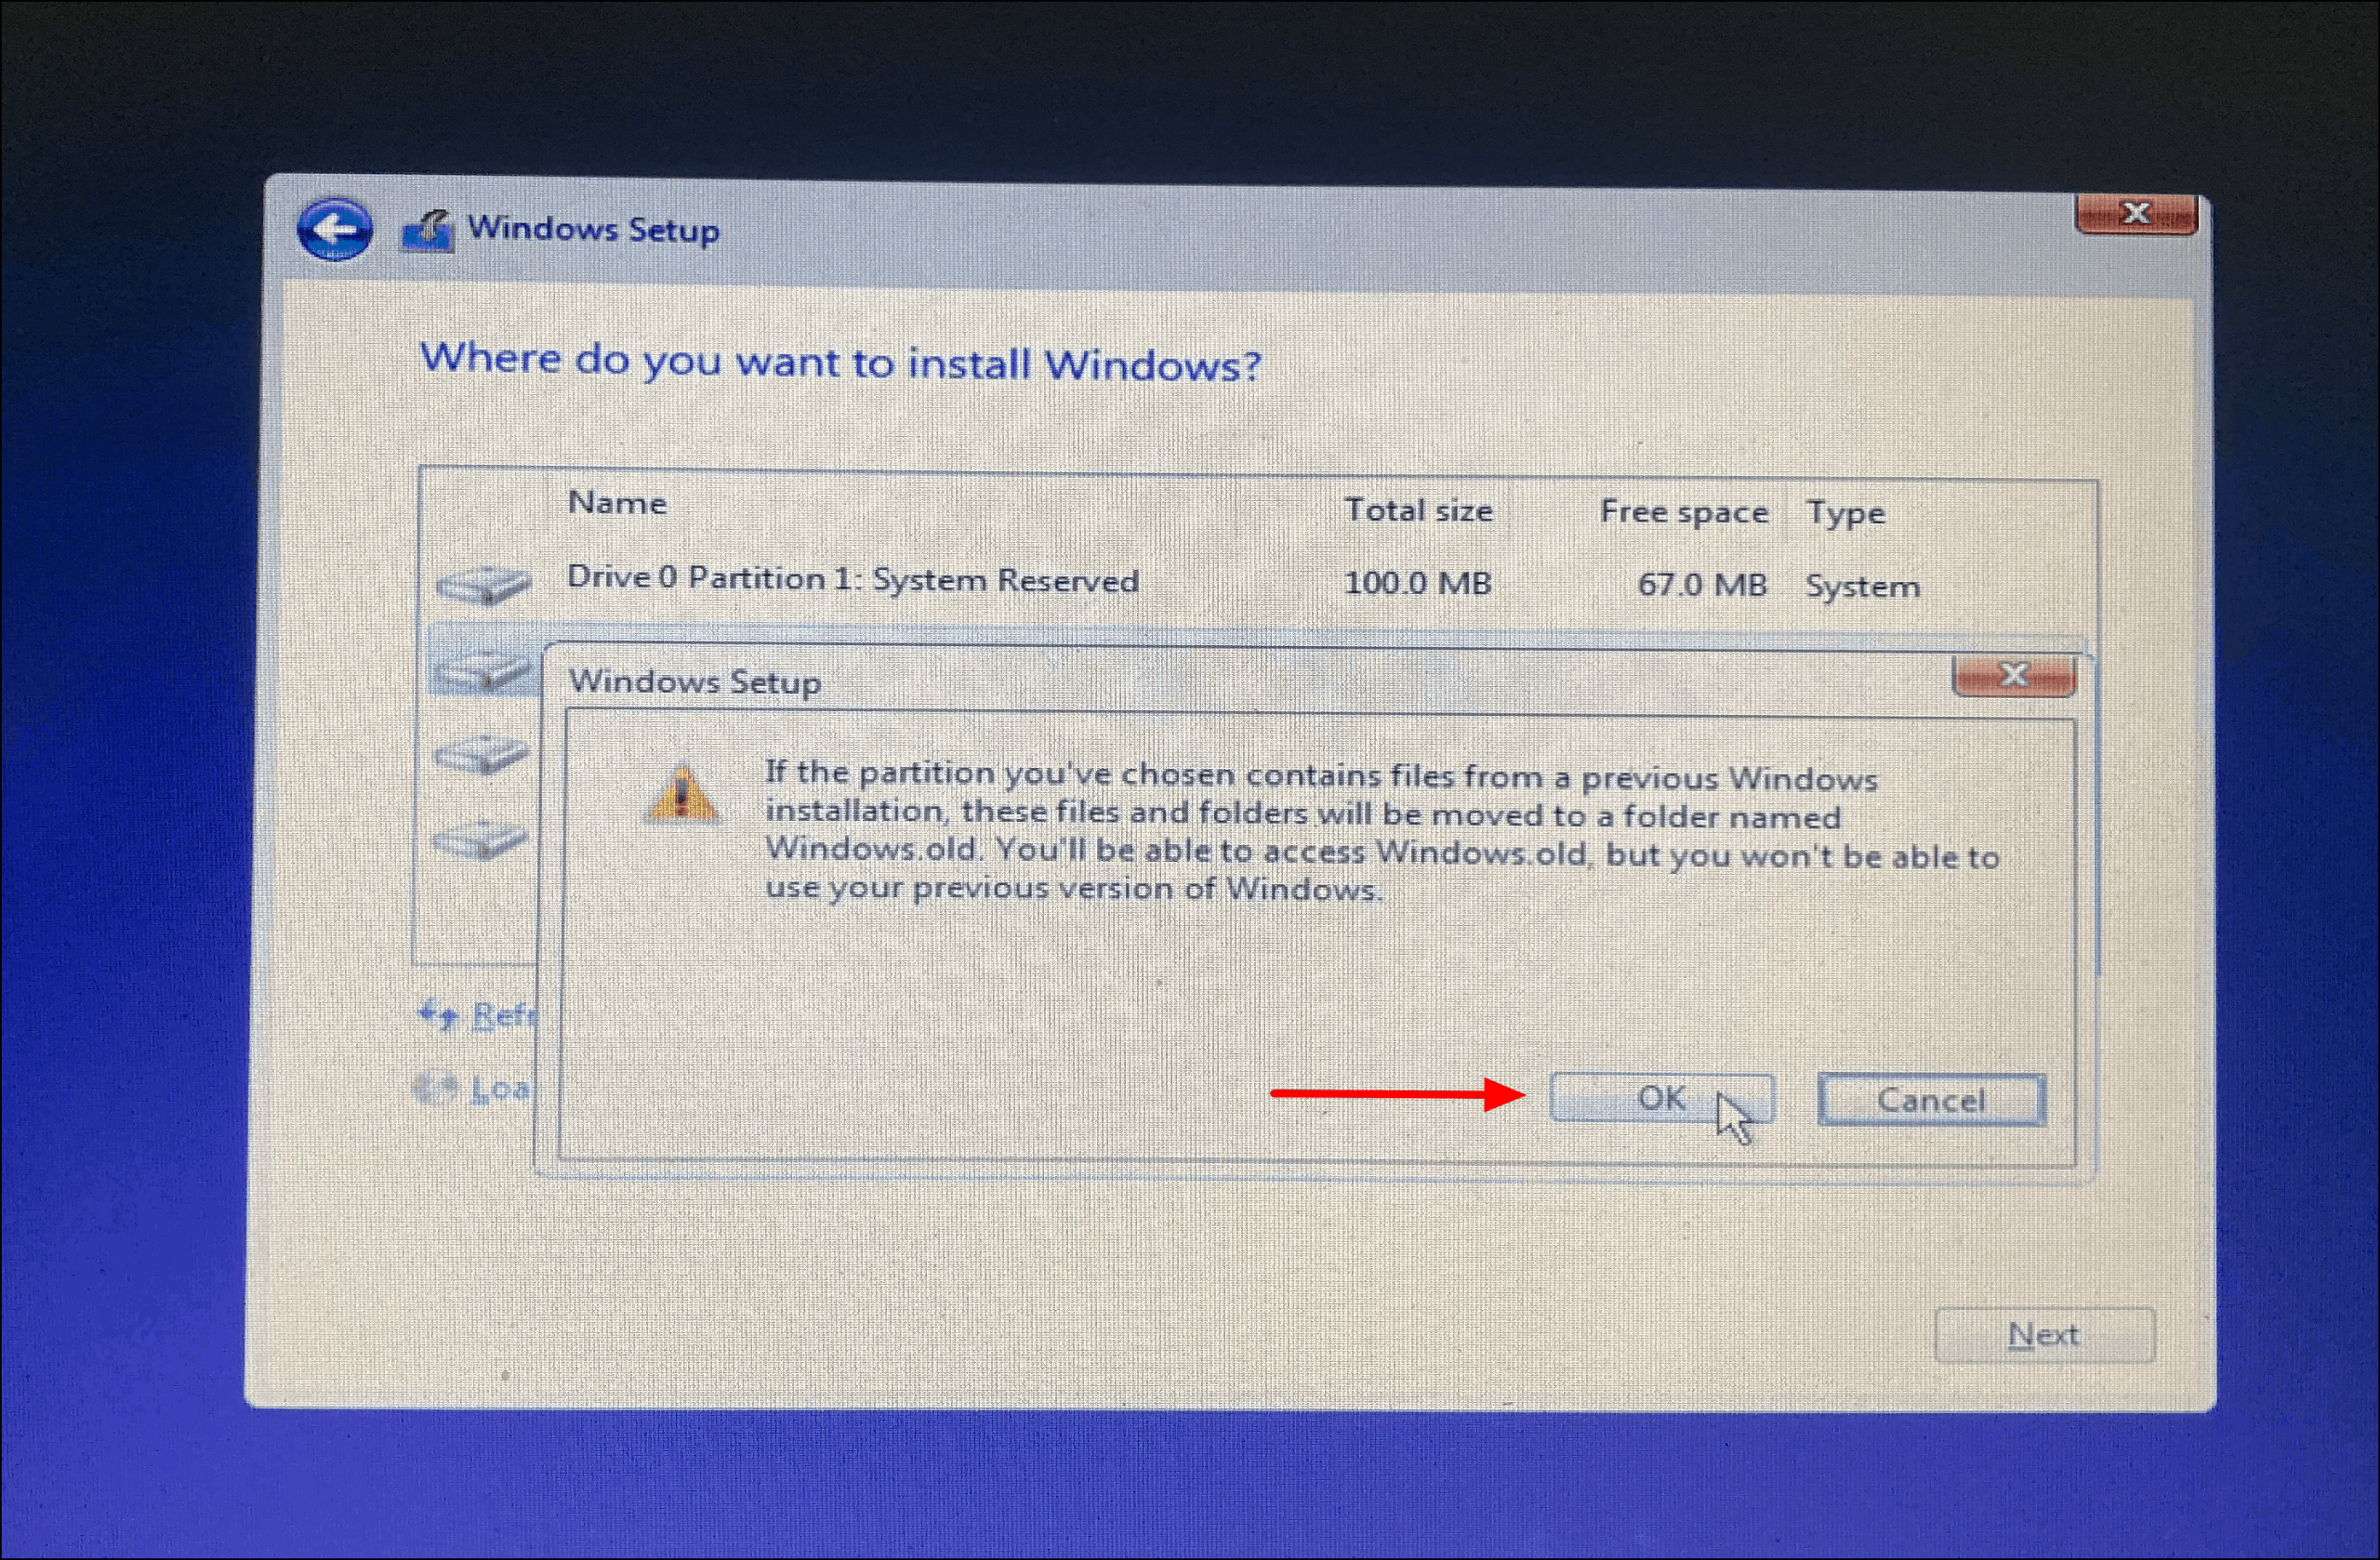
A notification box may appear to inform you that if the partition you have chosen contains files from the previous version, they will be moved to a new folder. Click ‘OK’ to continue.
That’s it! Windows 11 will now begin to install on the computer.
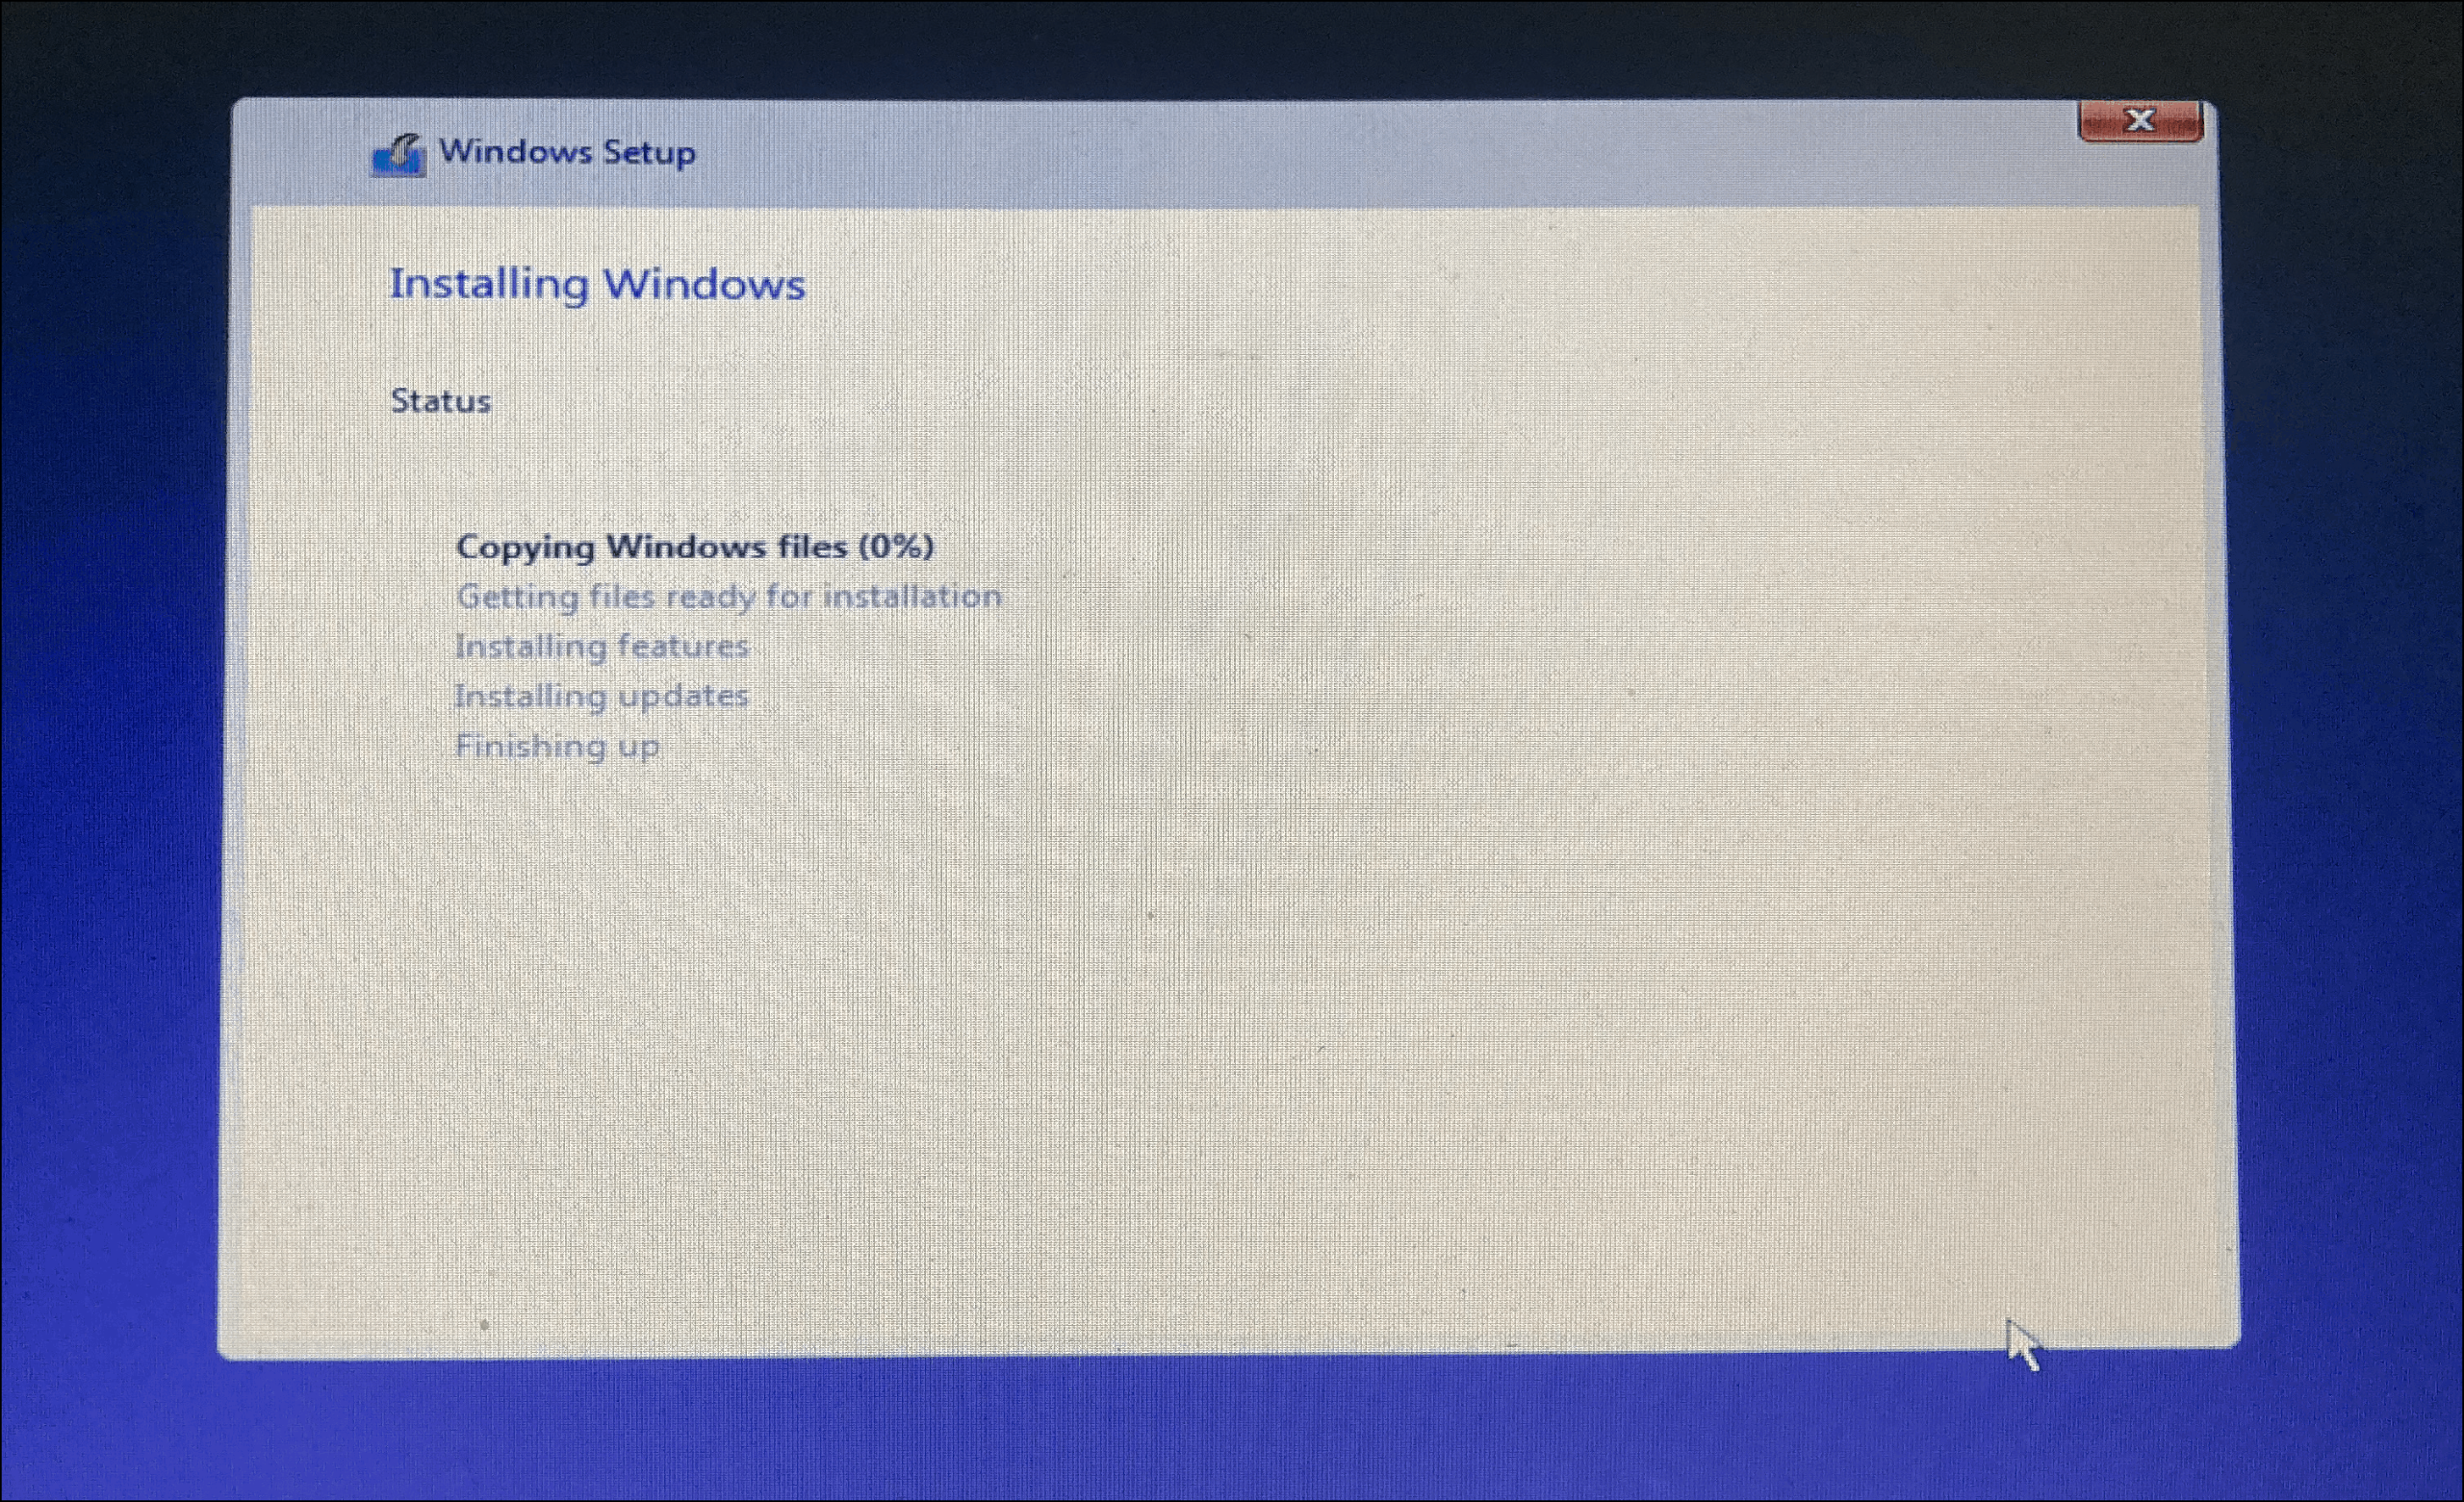
Wait for the installation process to complete and the computer to restart. Now set up Windows by following the onscreen instructions and you will be up and running on Windows 11 in minutes.
We have discussed one of the easiest methods to boot a USB flash drive and the whole installation process, however, if you are tech-savvy and have a good grasp of all the features, you are free to choose from. ‘to explore.