How do I disable startup programs or apps in Windows 11? Computer rules are so simple; the The more software you install on your PC, the longer Windows will take to start. Why? Many Windows programs add themselves to the list of startup apps, which means that startup programs will automatically start with them when your computer boots. Generally, startup programs are located in the Windows system tray and remain invisible to most Windows PC users.
Starting with Windows 10, Microsoft introduced the Settings app, which is also available in the Windows 11 operating system. With this settings app, you can control most Windows settings, even the startup app. There are many free tools available on the internet to control the startup applications on Windows 11. However, in this article from Gearupwindows, we’re going to be providing a guide on how to enable or disable the startup applications using the standard Windows option.
How do I enable or disable startup programs in Windows 11?
To enable or disable the Startup apps or programs in Windows 11 using the Settings app, do the following:
Step 1. Open the Settings app by pressing. to press
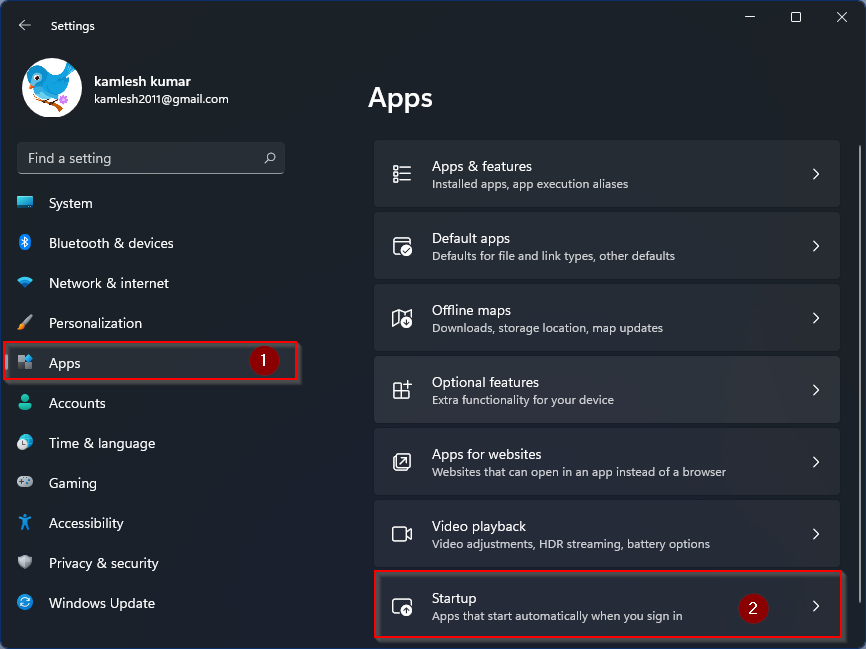
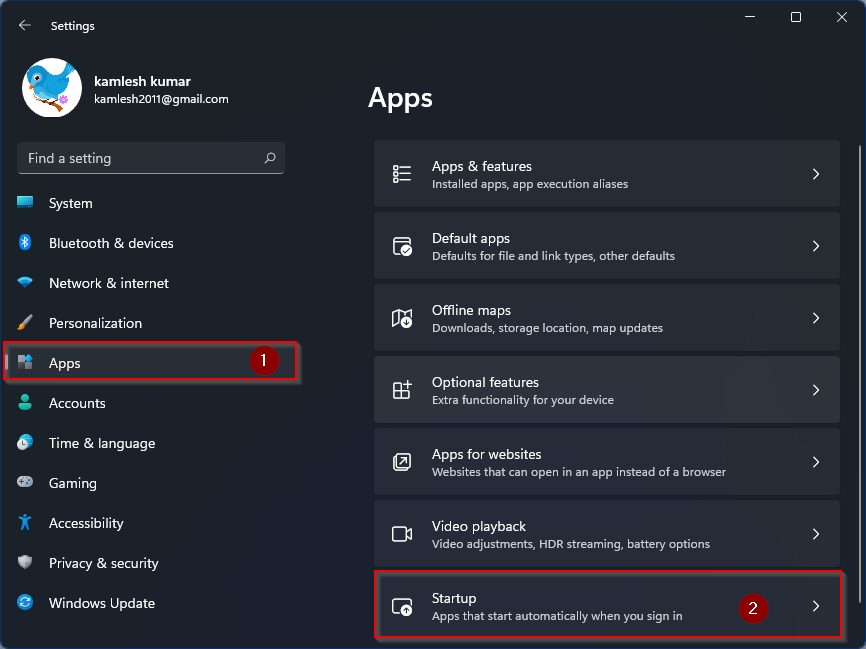
Step 2. In the Settings app that opens, click the
Step 3. Now im Startup apps In the section you will see a list of all UWP apps and traditional desktop programs that are currently either enabled or disabled.
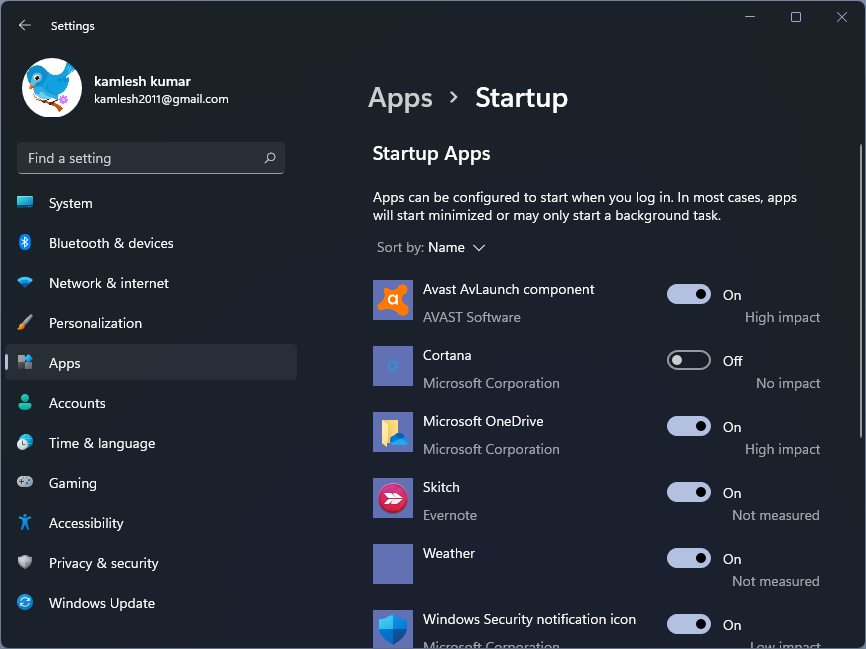
Step 4. Here, turn the toggle switch to the On position to enable start, and turn the toggle switch to the Off position to disable the selected program on startup. You must disable or enable the launcher one at a time.
That’s it.