Did you find anything on your phone lately? and would like to experience it on one bigger screen? Screen mirroring is the best option, there are a lot of third-party software for that, and luckily, Windows 10 has a feature called Wireless Display that you can use. In this article, I’ll show you how to add and delete wireless display on a Windows 10 laptop or PC But first we want to know what screen mirroring is.
Screen mirroring
Screen mirroring is the process of transferring data from one device to another presentation device over a wireless network. It is mainly used by business organizations and educational institutions to display their pictures, files, videos, etc.
If both devices (e.g. a smartphone and a TV) support screen mirroring technology, you can easily stream multimedia content from the smartphone to the TV. This technology also allows you to project your Windows 10 computer screen onto another compatible device. To do this, however, you have to “Wireless screen“on your computer. This article shows you how to add and delete the Wireless Display feature in Windows 10.
Adding and Deleting Wireless Display in Windows 10
We’ll show you how to add (install) and delete (uninstall) the Wireless Display feature on your Windows 10 computer using these 2 methods:
- Settings app.
- Command prompt.

This function can only be installed and uninstalled if you are logged in as an administrator. Also note that the system screen can only be projected onto the same wireless network device. The following steps will help you install this feature.
Method 1. Adding and deleting Wireless Display in Windows 10 using the Settings app delete
Follow the steps below to install this feature:
- Open that the settings Click on the app Apps.
- By doing Apps & functions Section, click the Optional functions.
- Now click on Add a function. This will open a new window.
- Scroll down the list to find them Wireless screen. Select it and click on that To install Button.
- The installation will take some time. After the installation is complete, the wireless display is added to the start menu as a Connect app. Your system is now ready to wirelessly connect to another display.
Follow the steps below to uninstall the wireless display feature in Windows 10:
- Open that the settings Click on the app Apps.
- In the Apps & Features section, click the Optional functions.
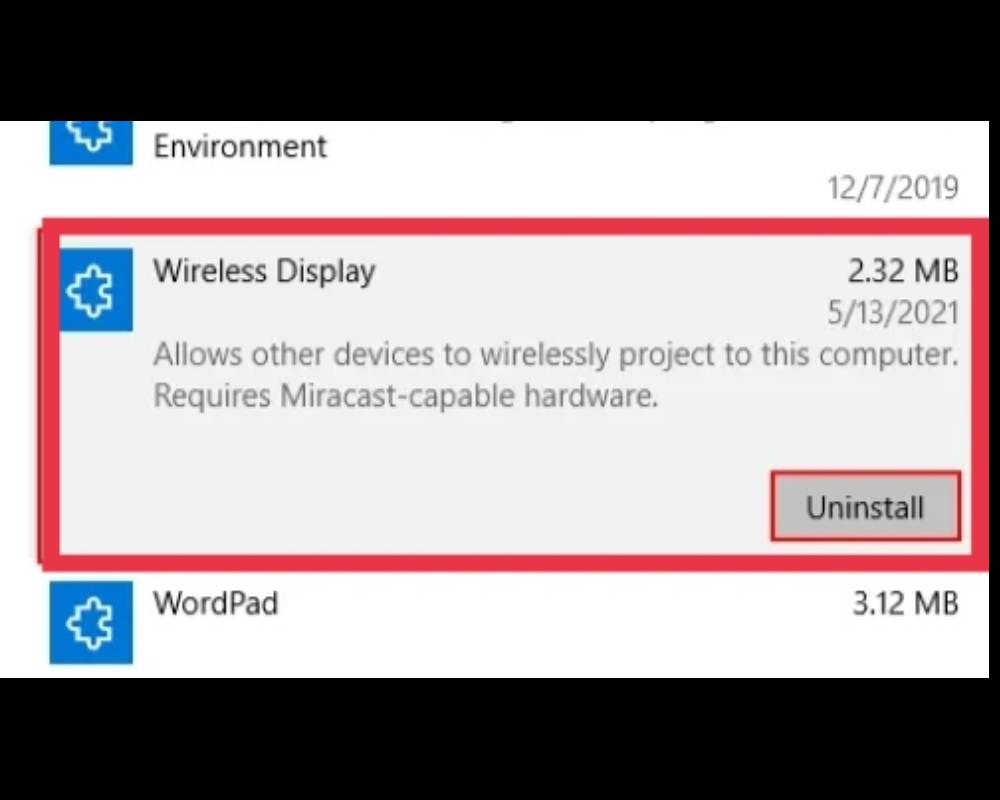
- Scroll down the list of apps shown in the optional features. Click on that Wireless screen and click Uninstall. It will take some time to uninstall.
Method 2. Adding and deleting Wireless Display in Windows 10 from Command Prompt
Before you begin, make sure your computer is connected to the internet.
Follow the steps below to install Wireless Display via cmd in Windows 10:
- Open that command prompt as an administrator.
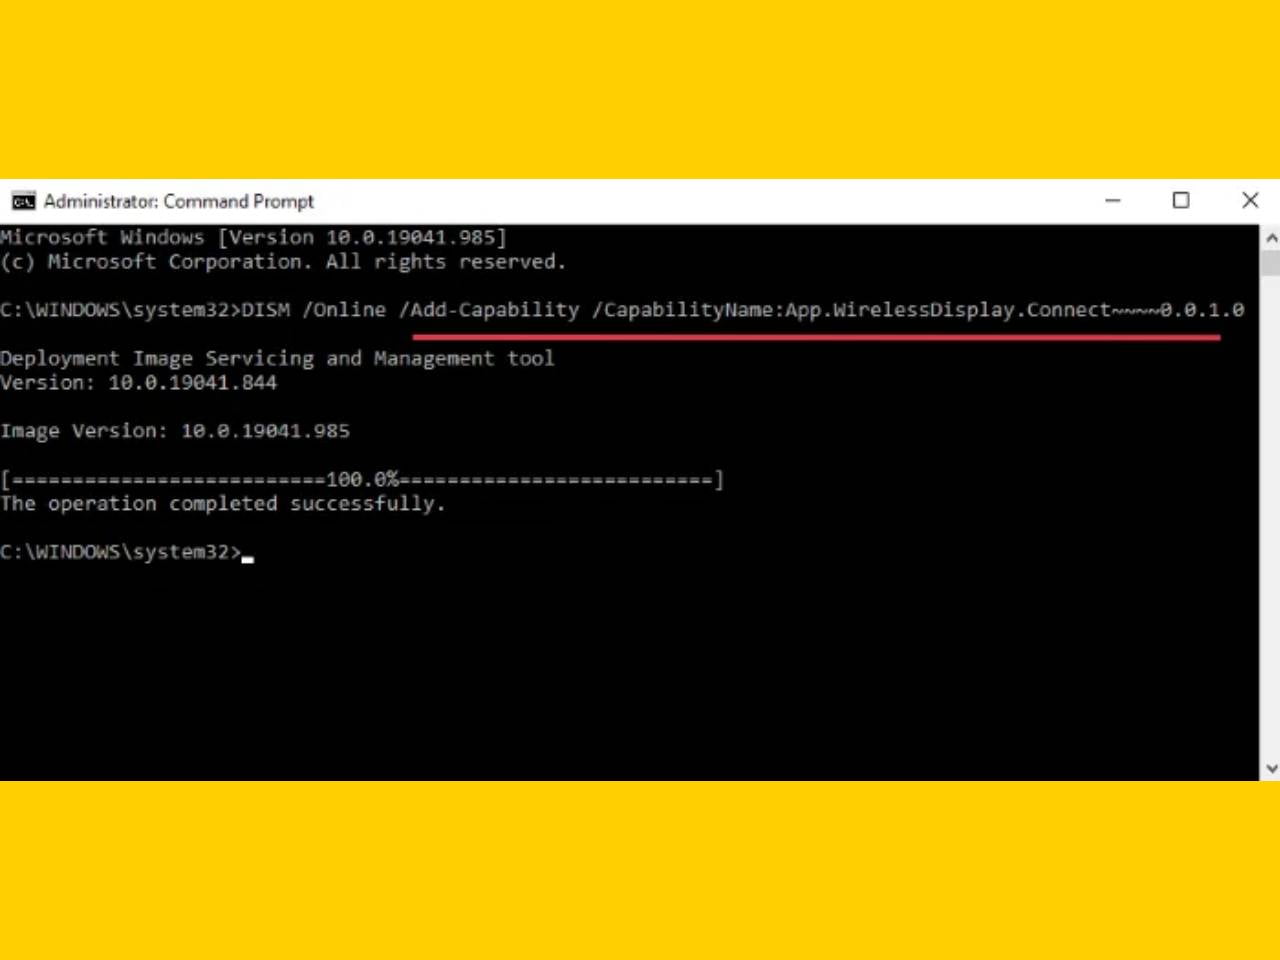
- Copy and paste the command below and hit Enter.
DISM /Online /Add-Capability /CapabilityName:App.WirelessDisplay.Connect~~~~0.0.1.0
- While installing this feature, you can see the progress in the Settings app.
- When the installation is complete, you will receive the message “The process has been completed successfully”.
If the prompt “Installation Failed” appears, check your system for any pending updates and install them if possible. I got an error message while installing the wireless display from an elevated command prompt. Then I updated the system and the problem was resolved.
To uninstall Wireless Display in Windows 10 via cmd, start the command prompt as administrator. Copy and paste the following command and press Enter.
DISM /Online /Remove-Capability /CapabilityName:App.WirelessDisplay.Connect~~~~0.0.1.0
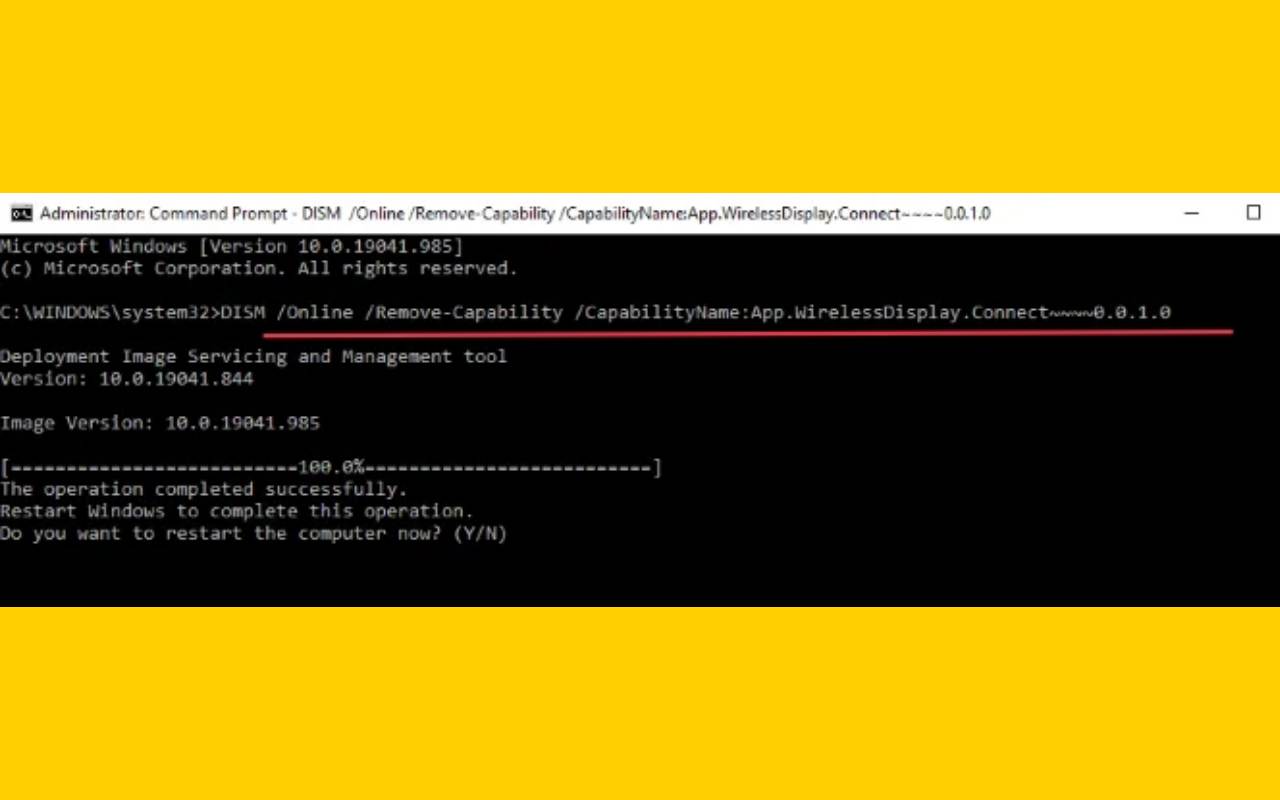
After the uninstallation is complete, restart your computer when prompted.
last words
That’s it. Here’s how to add and delete wireless displays on a Windows 10 PC or laptop. Now you can mirror your phone to your computer and watch your favorite movies. Good luck!
Also read:
- How to disable WiFi in Windows 10 using CMD or Powershell
- Here’s how to connect Galaxy Buds Live to your Windows 10 computer
- Here’s how to find out who has a TextNow number in 2024