The Settings app is powerful on Windows 11 and allows you to customize your Windows with ease. It will allow you to boot into Safe Mode, rename your PC name, remove Microsoft account, repair Microsoft Edge browser, etc. But what if the Settings app doesn’t work properly or crashes on your computer?
Although the Settings app is an application like a normal program on Windows 11, you cannot install and uninstall it from your PC. However, Microsoft has provided an option to easily reset this app. Resetting this app will uninstall and reinstall it and then it should work. In this Gearupwindows article, we are going to show you how to easily reset the Settings app.
How do I reset the Settings app in Windows 11?
If the Windows 11 Settings app isn’t working as expected, it’s good to reset it. To reset the Settings app you need to do the following:
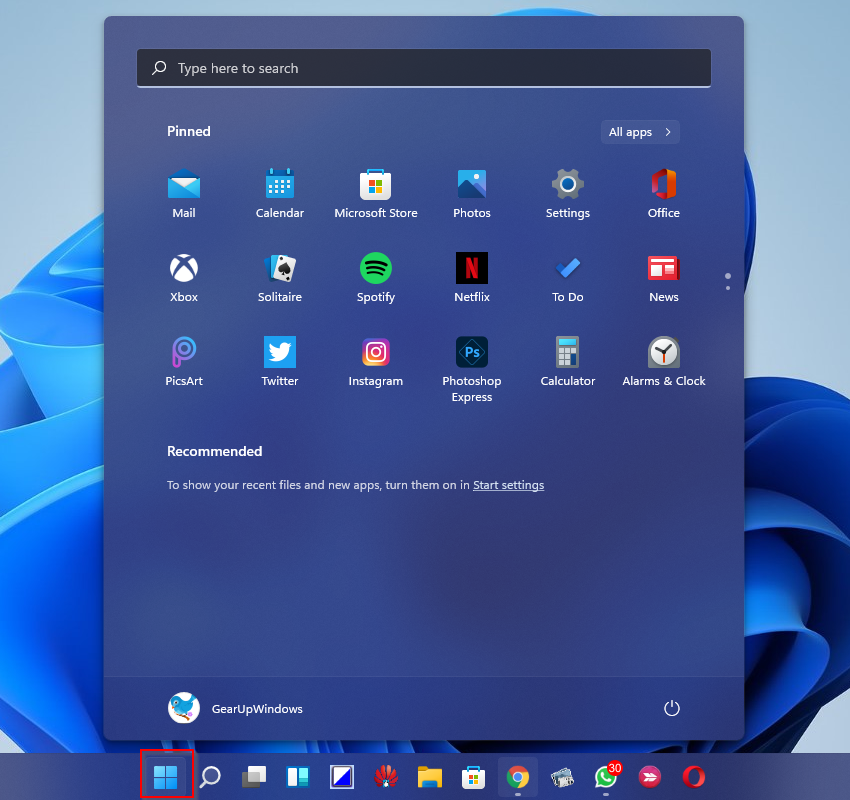
Step 1. Click begin Taskbar button to open the Start menu.
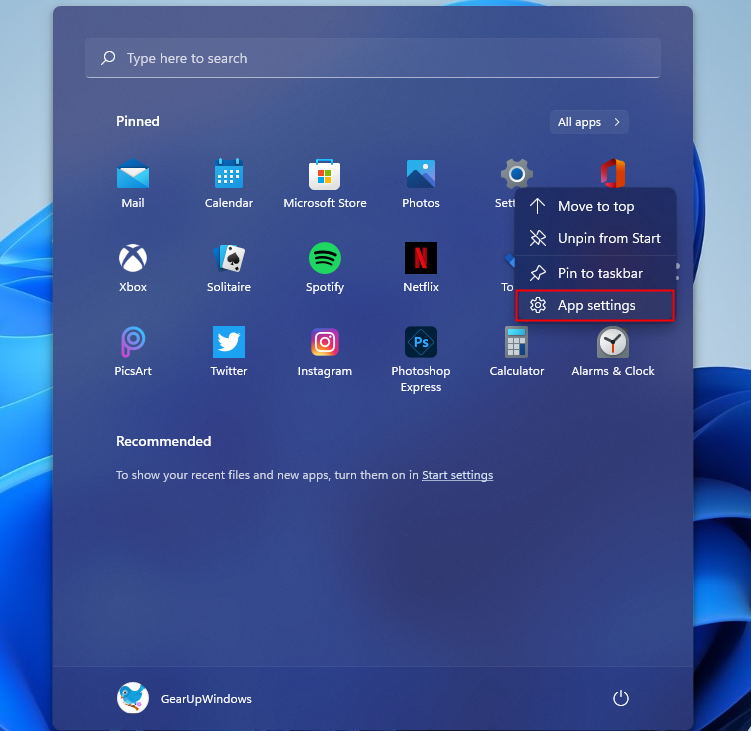
Step 2. Im Start menu, right-click the the settings Gear icon and select the
Step 3. On the Settings page that opens, scroll down on the right-hand side and then click on
Reset to default – If the Settings app is not working properly, Windows will try to repair it. The data in the app are not affected.
Reset to default – If the Settings app is still not working properly, you can try resetting it. The data in the app will be deleted.
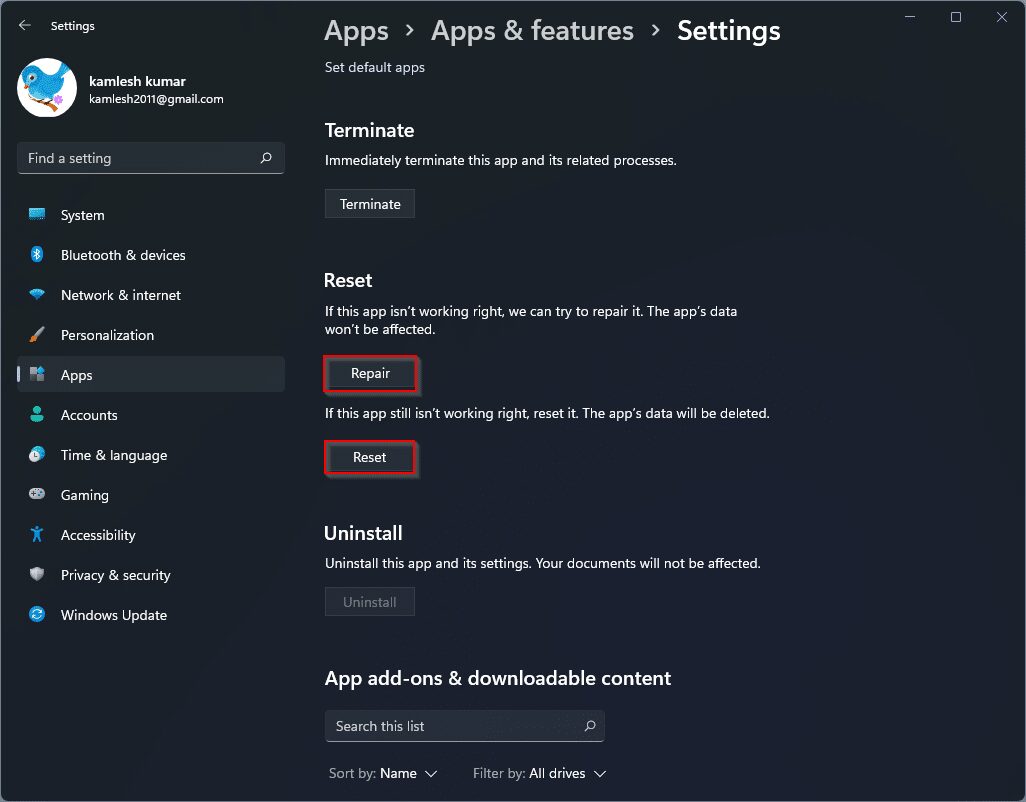
The above options should fix the Settings app and work normally.
also read:
How to Backup and Restore the Start Menu Layout in Windows 11/10?