Windows 11 comes with completely new settings. While Microsoft has now made things easier for its users on Windows11, Windows 10 addicts may struggle to find the new settings. If you are troubleshooting problems with your Windows PC and cannot enable or disable the Wi-Fi and Ethernet adapter on Windows 11, this article from Gearupwindows will help.
There are at least three simple ways to enable or disable Wi-Fi and Ethernet adapters in Windows 11. Depending on your needs, you can use one of the following methods:
- Via the Settings app
- Via the control panel
- From the device manager
Topics covered
How do I enable or disable the Wi-Fi / Ethernet adapter in Windows 11 using the Settings app?
Step 1. Press
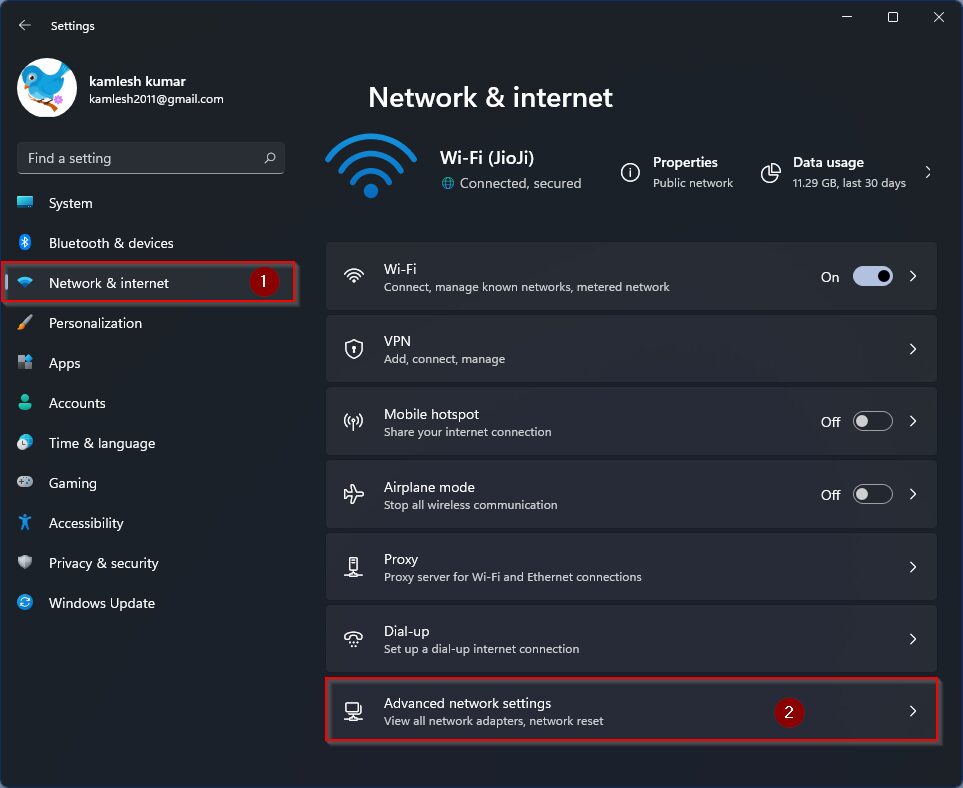
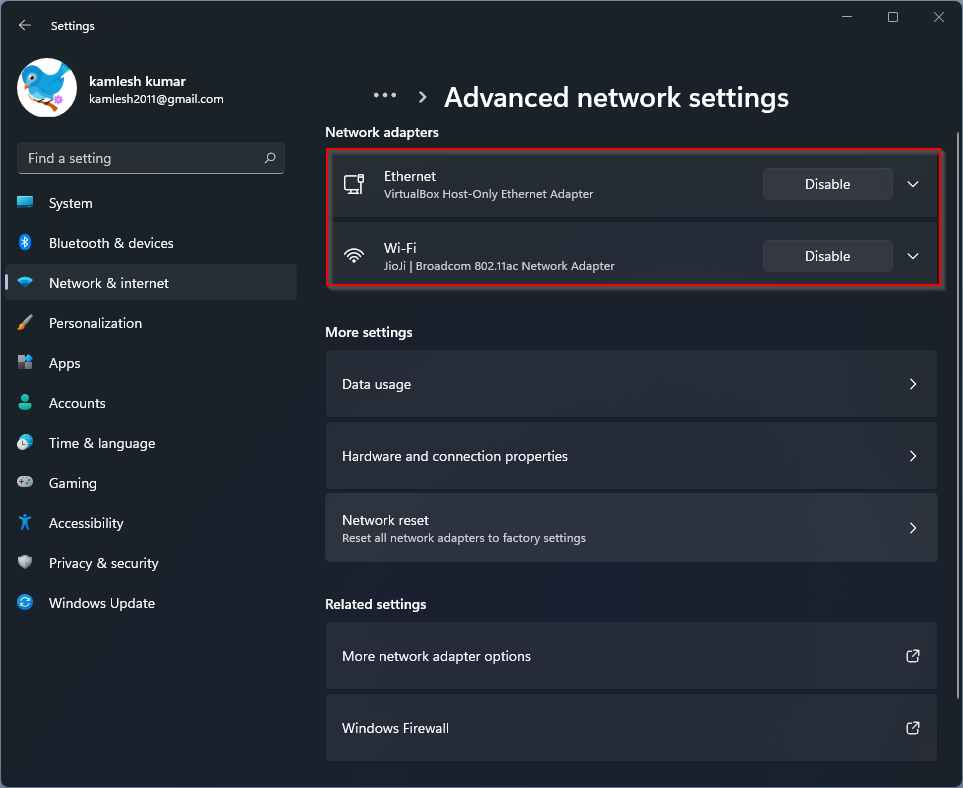
Step 2. Under the list of Network adapter, find all your network adapters, even virtual ones. From here you can enable or disable any network adapter of your choice.
How do I enable or disable the Wi-Fi / Ethernet adapter in Windows 11 using the Control Panel?
If you are more familiar with the Control Panel, you can also enable or disable the WiFi / Ethernet adapter in Windows 11. You need to do the following:
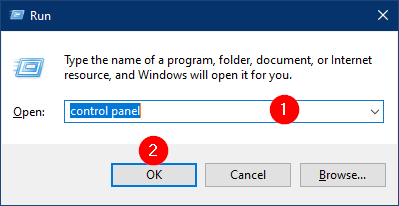
Step 1. Open the Control Panel.
To start the Control Panel, press
Step 2. In the Control Panel window, click the Network and internet.

Step 3. In the Network and Internet window, click the
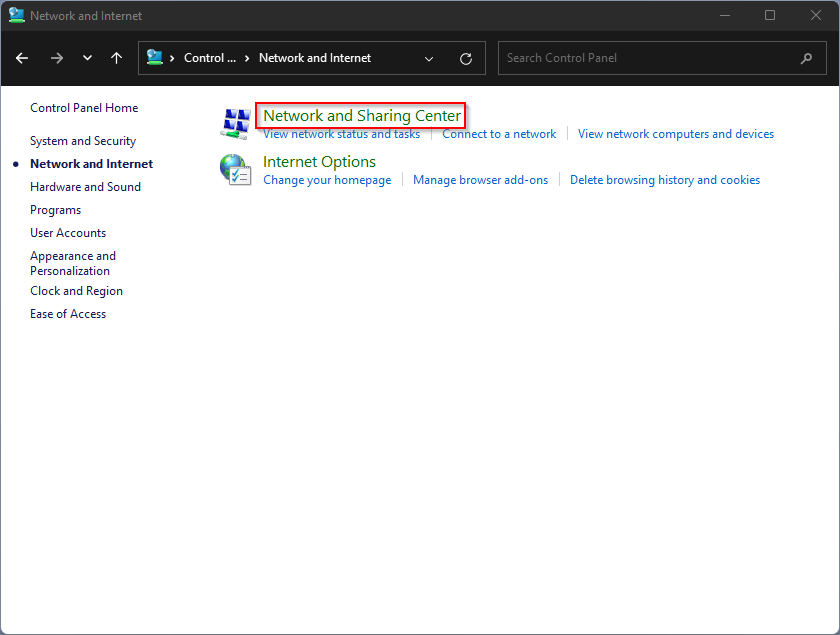
Step 4. Next, click on that

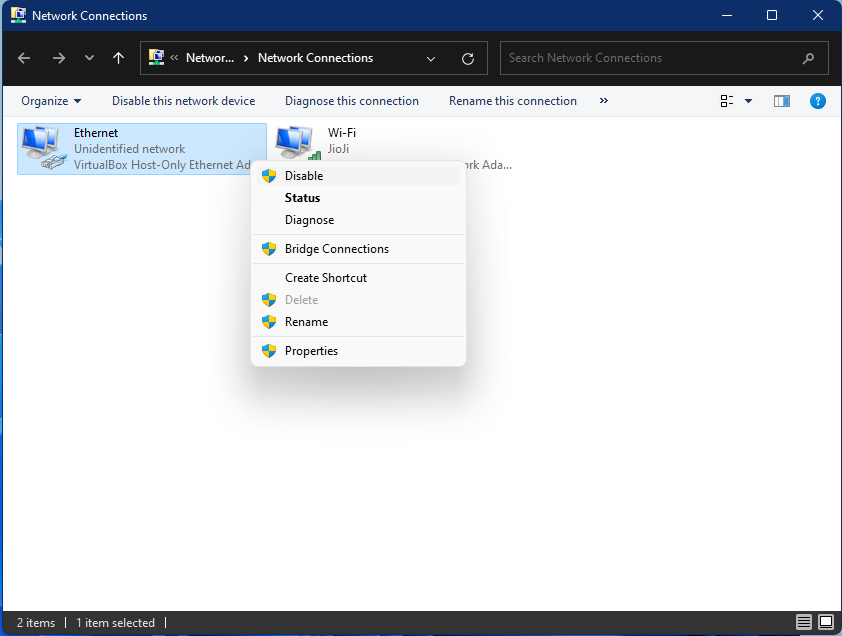
Step 5. Network Connections will now appear, where you will find all the WiFi / Ethernet adapters listed. Straight to everyone you want to disable or disable.
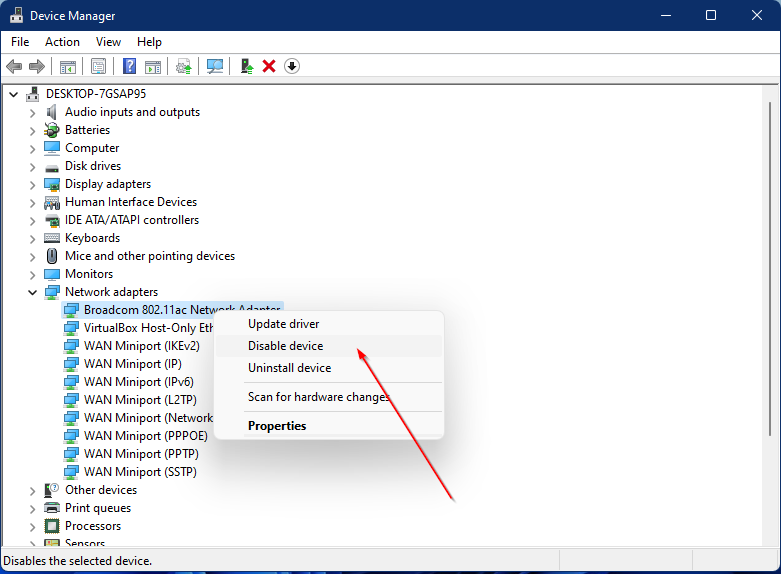
How do I enable or disable the Wi-Fi / Ethernet adapter in Windows 11 via Device Manager?
Windows 11’s Device Manager is another good place to enable or disable the WiFi / Ethernet adapter. Do the following: –
Step 1. Press
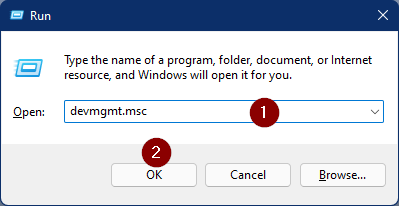
Step 2. Now expand the list of network adapters and then right-click to enable or disable the selected device on your PC.