How do I uninstall and install WordPad on Windows 11? WordPad is a lesser-known application of the Windows 11 operating system. Perhaps a few percent of Windows PC users are familiar with the WordPad app. Similar to Notepad, WordPad is an application that is integrated into the Windows 11 operating system. Previously on Windows 10, Microsoft provided an option to uninstall the WordPad application like any other software. Now on Windows 11, too, you can get rid of this useless software if you never use it.
We often use Notepad for basic purposes, while most Windows users prefer the free Notepad ++ application for more advanced uses. While Notepad ++ is fine for most Windows PC users, if you want full-fledged word processing and spreadsheets, you can use the MS Office application. As a result, WordPad goes unnoticed by most Windows users.
Compared to Notepad, WordPad offers some advanced features such as text formatting, changing the font name, changing the font color, aligning text and inserting images into documents. However, WordPad doesn’t support advanced features like grammar checking, inserting the table, changing the background color, etc.
Either way, if you don’t want to use WordPad or want to ignore it, there is a way on Windows 11 to uninstall that application. If you want to install it on your PC in the future, then that too is possible. That said, when WordPad is not needed, you can remove it from your PC and download and install it if necessary.
Topics covered
How do I uninstall the WordPad app from Windows 11?
Follow these recommended steps to uninstall the WordPad app from your PC:
Step 1. Open the Settings app by pressing. to press
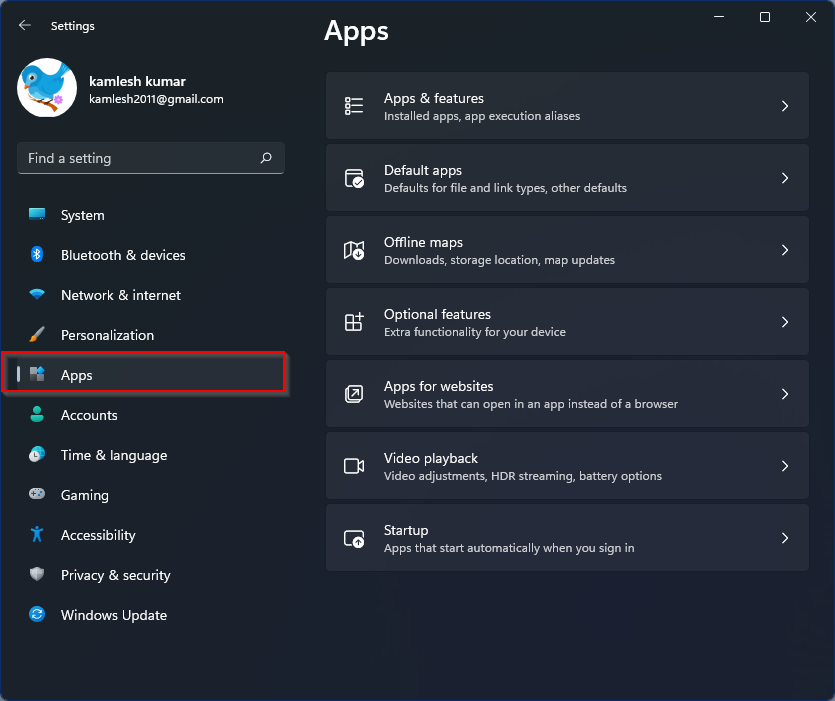
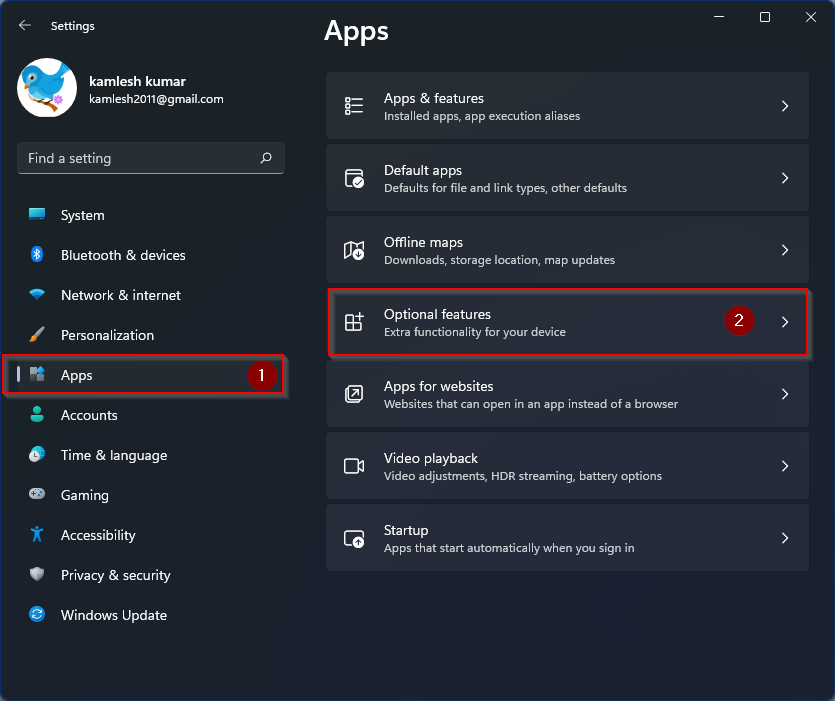
Step 2. Click the
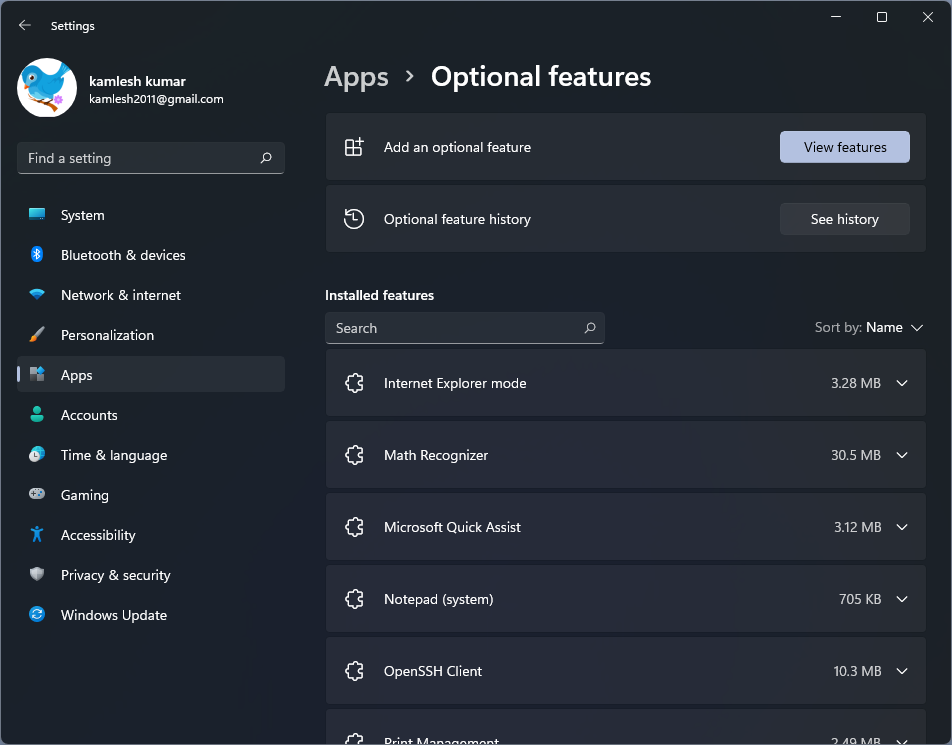
Step 3. On the Optional functions Settings page, please scroll down in the right area to the entry of. to find WordPad and then click on it to expand it.
Step 4. Click the under the WordPad

Once you complete the above steps, the WordPad application will be removed from your PC.
How do I install the Windows 11 WordPad app?
If for some reason you’ve uninstalled WordPad and now you want to reinstall it on your PC, follow these steps:
Step 1. Open the Settings app by pressing. to press
Step 2. Click the
Step 3. Now click on that
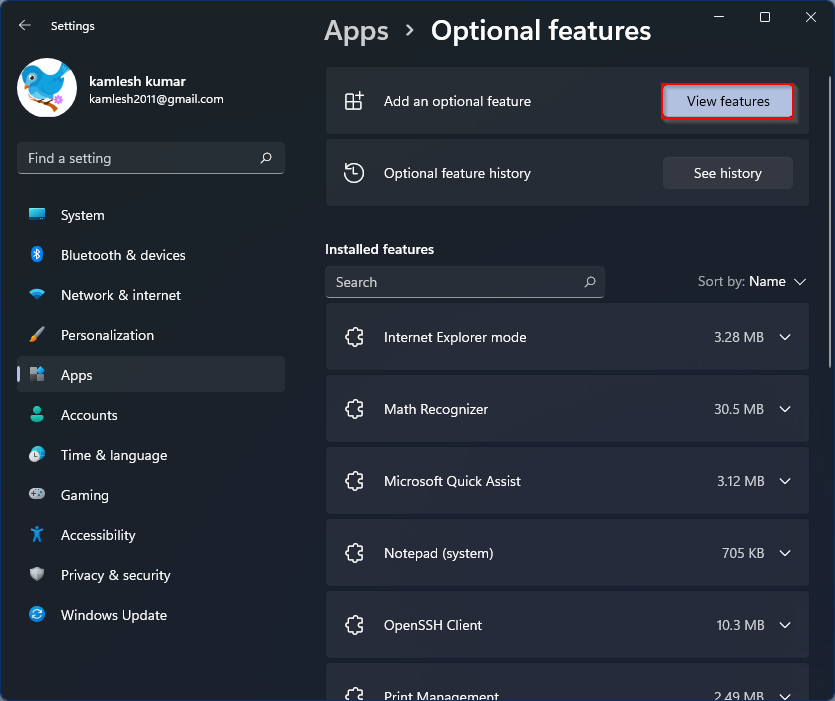
Step 4. In the pop-up window that appears, enter WordPad in the search field. In the available search results, select the check box “WordPad“And then click on that
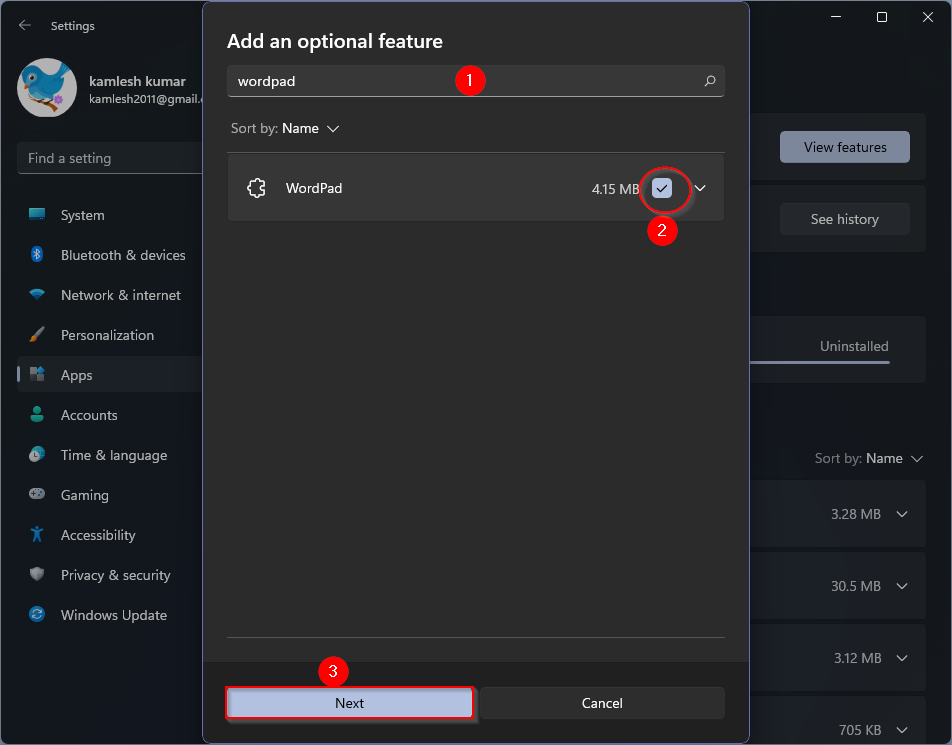
Step 5. Finally, click the
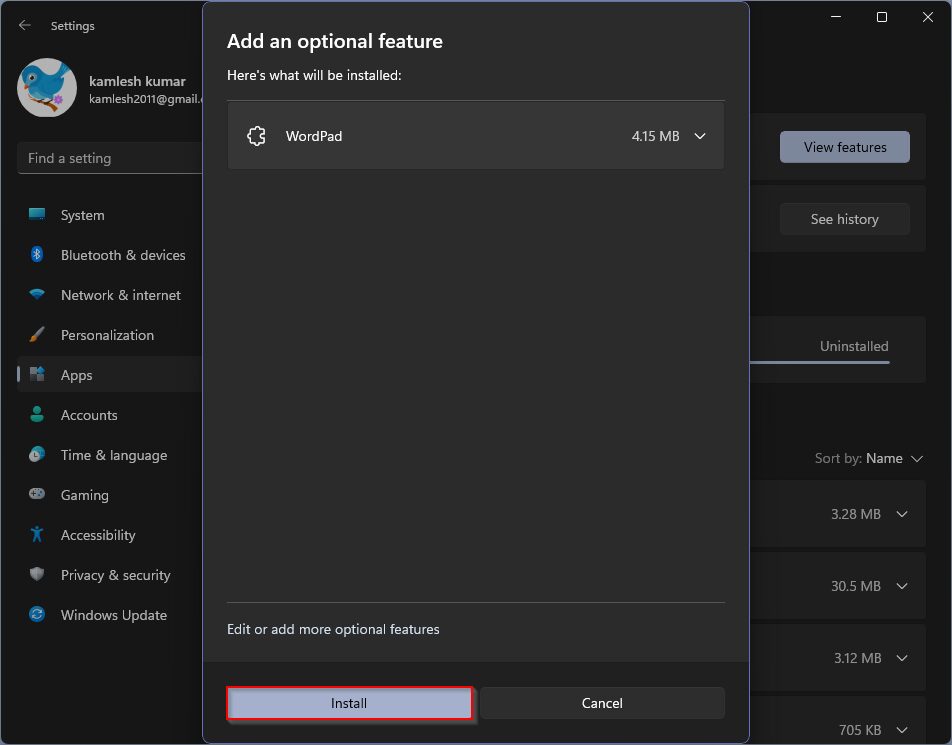
WordPad will now begin downloading and Windows will automatically install it for you.