Windows 11 was announced by Microsoft and is expected to be released in the public domain in November 2024. Since Windows 11 is still under development, it is not recommended that you upgrade your existing Windows 10 to Windows 11. Those who want to test the latest Windows operating system can install Windows 11 on a virtual machine.
Microsoft continues to push the updates for Windows 11, including driver updates, new features, some bug fixes, security patches, etc. After the updates are released by Microsoft, it is gradually reaching all Windows users. This means that if you have not disabled the automatic update, your PC will constantly update itself with the latest drivers, patches and more. To keep your system running smoothly, it is always recommended to turn on automatic updates.
Since these updates may not arrive immediately after Microsoft’s release, there is an option on Windows 11 to manually check and update your PC. That means you can keep your PC up to date with the latest updates without notifying Microsoft.
Topics covered
How do I manually update Windows 11?
Step 1. Open the Settings app by pressing. to press
Alternatively, click the begin from the system tray and then click the the settings Gear icon.
![]()
Step 2. In the Settings window, select the option

After following the steps above, your PC will ping the Microsoft update server. If an update is available, it will be downloaded automatically. You may have to restart your PC to complete the update, but you can do so later if there’s no urgency.
How do I schedule a restart for Windows 11 Update?
It is also possible to schedule a restart for the Windows 11 update. To schedule a restart on Windows 11, do the following:
Step 1. Open the Settings app by pressing. to press
Alternatively, click the begin from the system tray and then click the the settings Gear icon.
![]()
Step 2. In the Settings window, select the option
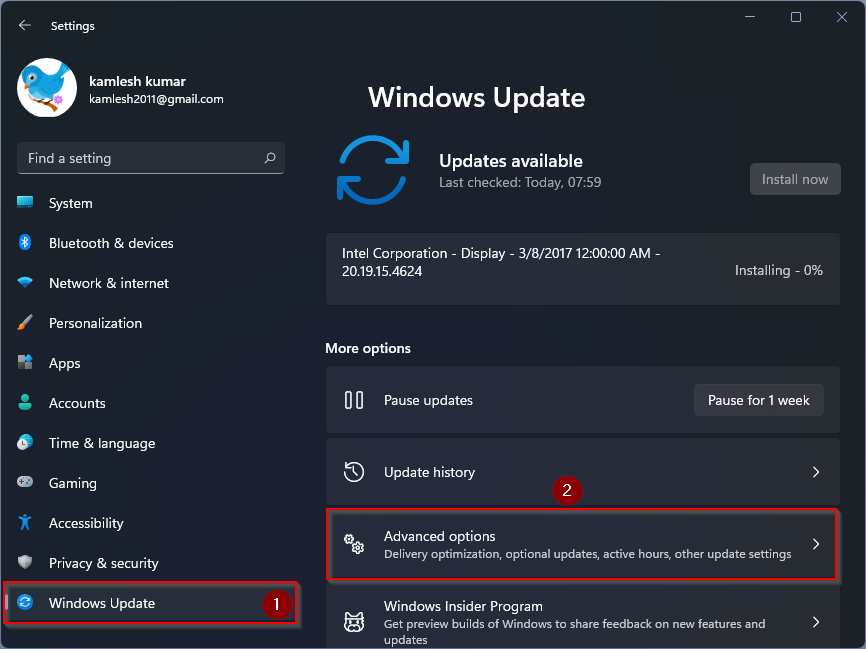
Step 3. Click the

Step 4. Under the “Active hours”Section, choose
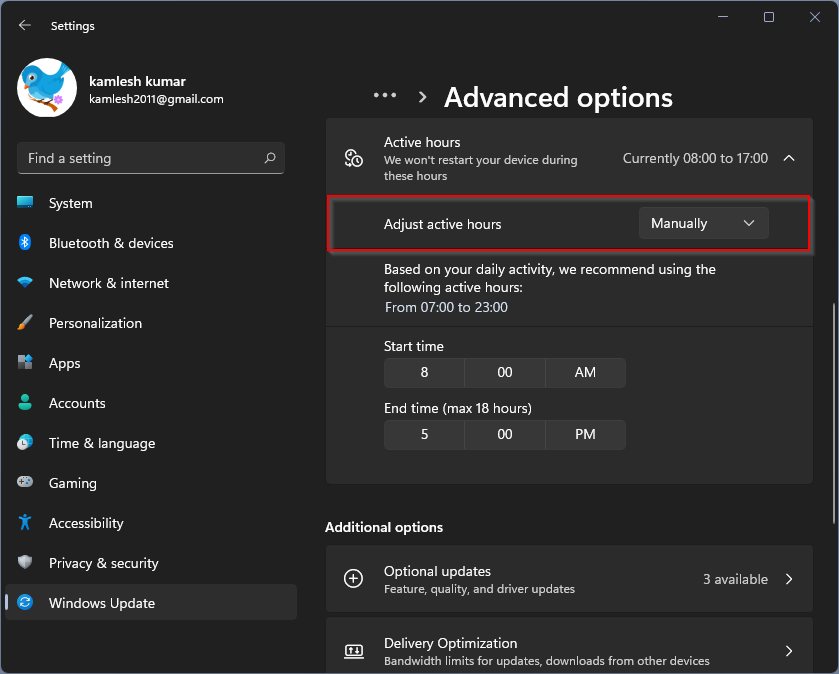
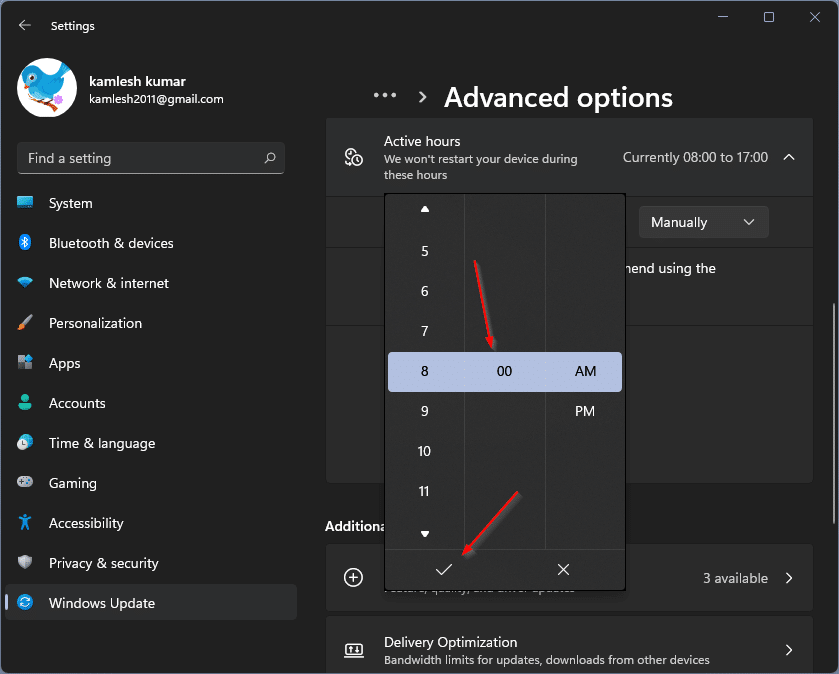
Step 5. Windows will suggest active hours during which your PC won’t restart after receiving an update based on your activity. If you want to customize the active hours and set your own, click this Start time to open the time selection flyout. Select the time, then click the Check mark symbol apply. Similarly, select the End time.
Now you can close the settings window. You will still receive updates from Microsoft during active hours, but your PC will not restart to apply the updates.
also read:
What are “optional updates” in Windows 11 and how do I install them?