How do I activate night light for warmer colors in Windows 11? Today, without computers and laptops, our life is nothing. You will find PCs at every workstation. People stare at the computer screens all day. The increased use of computers has negative effects on human health, especially the eyes. The main reason for this is the blue light from screens.
The Windows 11 operating system now has a built-in feature called Night light. When this night light function is on, it reduces the blue light on the screen and gives a warmer feeling. Unfortunately, this feature is disabled by default and needs to be enabled in order to use it.
This Gearupwindows article will teach you how to enable and use the night light for warmer colors on Windows 11. You can even Schedule auto triggering to reduce blue light and protect your eyes.
Topics covered
How to activate the night light on Windows 11
Follow the steps below to enable or disable the night light function in Windows 11:
Step 1. Open the Settings app by pressing. to press
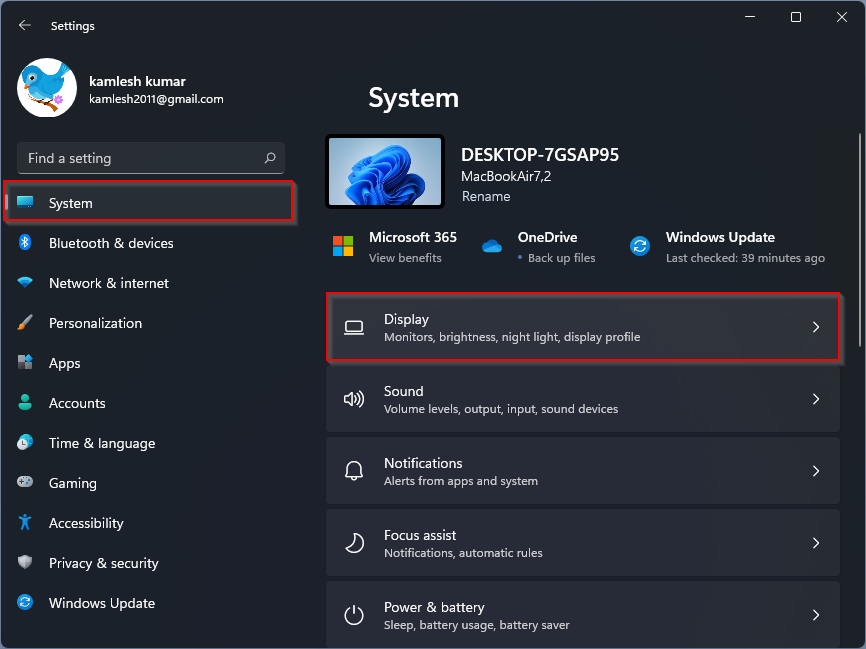
Step 2. Now turn on the toggle switch next to the “Night light” Possibility.
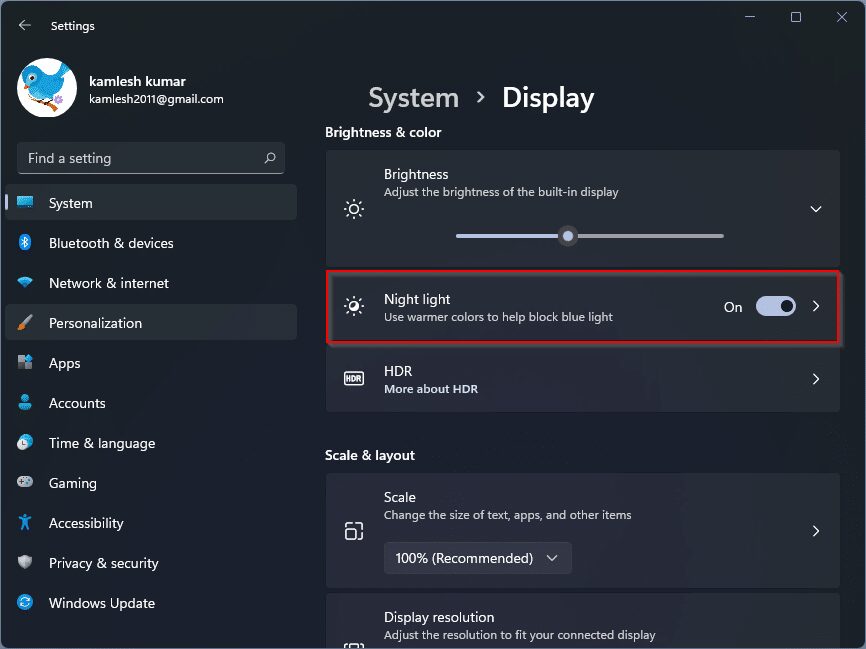
As soon as the night light function is active on your Windows 11 computer, you will notice a warm color tone on the screen, which indicates this activation. IIf the amount of heat on your screen doesn’t meet your needs, you can always change the night light heat.
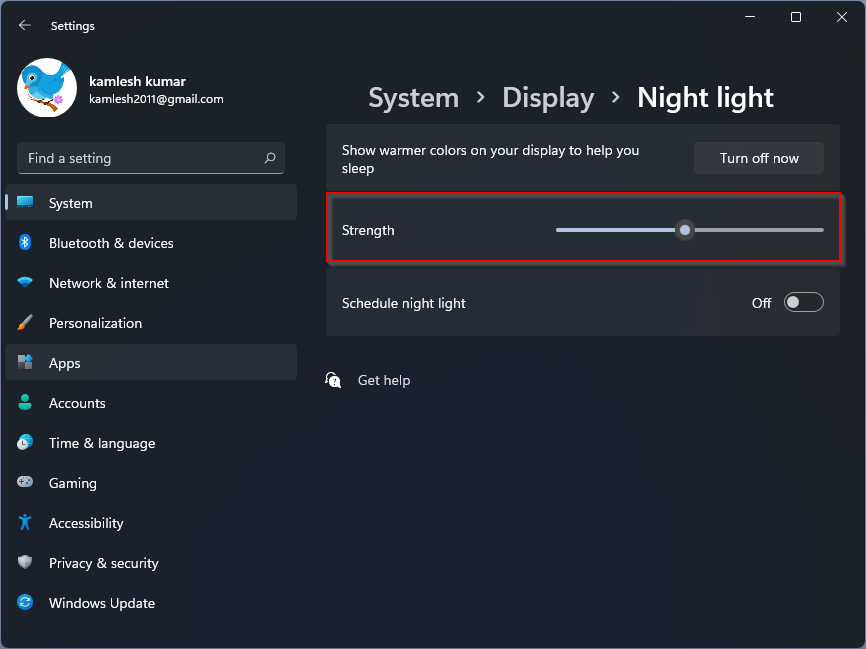
Step 3. Click the on anywhere in the same window Night light Possibility. On the Night light Page, navigate to the Strength Section that has a slider in the row from 1 to 100, each from left to right. The closer you move this switch to 100, the warmer the night light will be.
How to schedule night light on Windows 11
If you enjoy using Windows 11’s night light feature, turning this feature on and off every time can be time consuming and irritating. You can plan the night light according to your working hours and save time. After planning, this function is automatically activated and deactivated.
To schedule the night light on a Windows 11 PC, do the following:
Step 1. Open the Settings app by pressing. to press
Step 2. Now turn on the toggle switch next to the “Night light” Possibility.
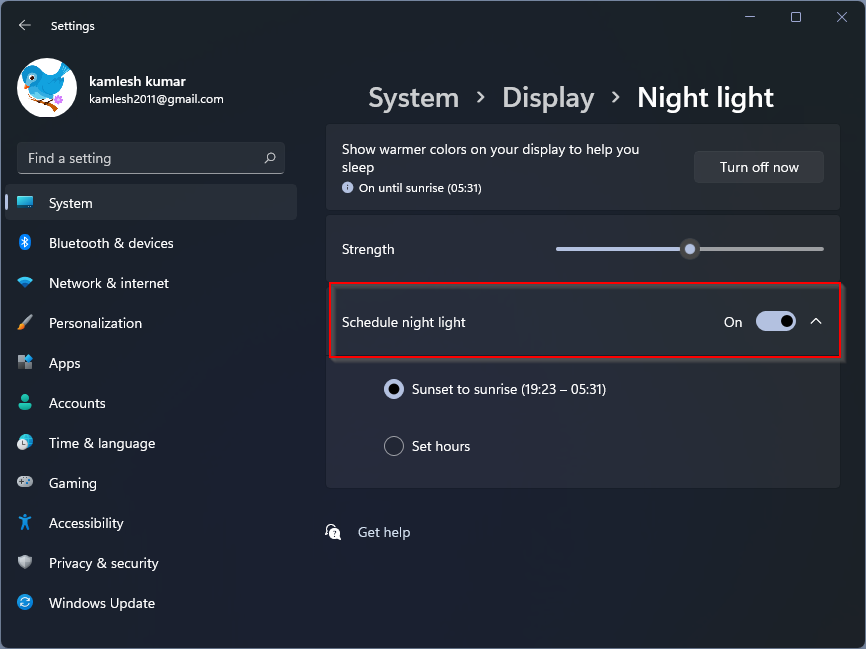
Step 3. Once the Night light Function is turned on on your PC, click anywhere on the Night light Option to open its other settings. Now switch on the toggle switch next to the option “Plan night light”. You will find two options here: –
- Sunset to sunrise: Windows automatically determines sunset and sunrise and automatically plans the night light hours for you.
- Set the hours: If you are not satisfied with Windows’ automatic scheduling, you can select the “Set hours” option and adjust when the night hours should be activated.