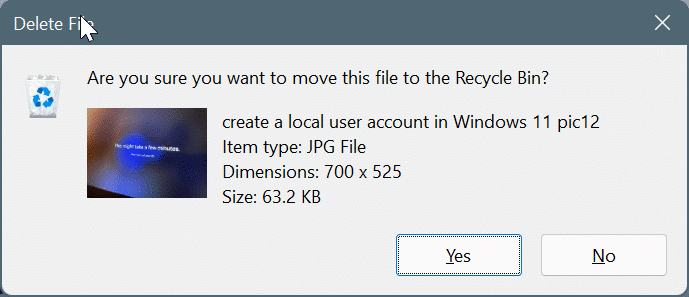
Windows 11 does not display a delete confirmation message by default. That is, when you try to delete a file, the file is immediately moved to the Recycle Bin without prompting for your confirmation.
Although deleting files with a click or pressing a button without showing any confirmation dialog box makes the whole process much faster, you may end up accidentally deleting files as you will not be prompted for any confirmation before deleting the file.
If you’re concerned about this, thankfully, you can re-enable the delete confirmation dialog. Yes, you can configure Windows 11 to display a delete confirmation message (in a dialog box) before moving the selected files to the Recycle Bin.
Enable delete confirmation dialog in Windows 11
Here’s how to enable the delete confirmation dialog in Windows 11.
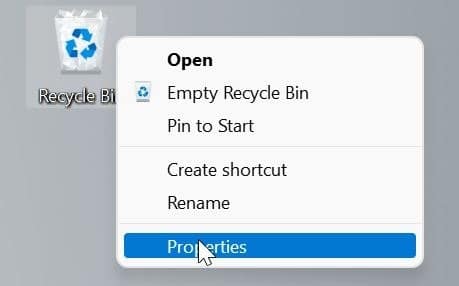
Step 1: Make a the right button of the mouse on the Recycle Bin icon on the desktop, and then click Properties.
Step 2: At general tab, select the Show delete confirmation dialog check box, and then click the Request button. That is all! From now on, Windows 11 will display a delete confirmation dialog every time you try to delete a file.
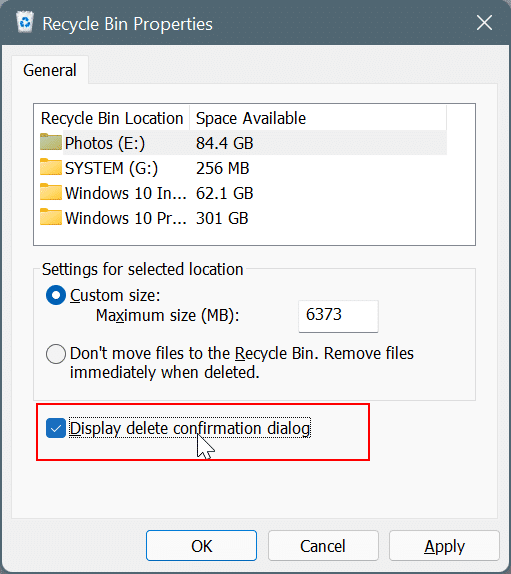
NOTE: As you can see from the image above, the Recycle Bin Properties dialog also offers an option to permanently delete files without moving them to the Recycle Bin. Select the “Do not move files to the Recycle Bin. Delete files immediately when deleted“Check box and click Request if you want to permanently delete files without moving them to the Recycle Bin.
Tip 1: By default, Windows 11 moves all deleted files to the Recycle Bin. If you want to bypass the Recycle Bin and delete files permanently (without enabling the option mentioned above), use the Change + Delete hotkey after selecting file (s).
Tip 2: To restore a deleted file to the Recycle Bin, open the Recycle Bin, right-click the file you want to restore to its original location, and click the Restore option.
Three easy ways to delete files in Windows 11
Method 1 of 3
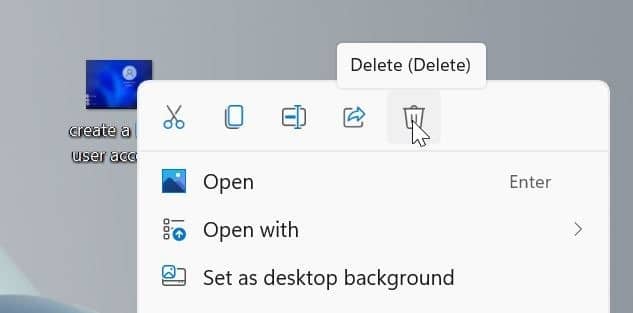
Step 1: The right button of the mouse on the file you want to delete and click the Delete icon to delete the file. If you have enabled the delete confirmation dialog, you will see the same. Click on the Yes to delete the file.
Method 2 of 3
Step 1: Select the file you want to delete and then press the Delete wrench.
Method 3 of 3
Step 1: Select the file you want to delete and then use Change + Delete keys to delete the selected file immediately without moving it to the Recycle Bin.