After finishing our task, we close open files and programs and then shut down our PC. This is the standard process that we regularly perform on our computer. But Microsoft added sleep and hibernation modes to Windows 8, rather than just a normal shutdown. However, Windows 10 doesn’t include Microsoft in hibernation, with the rest of the shutdown options under Start> Performance By default. However, it is possible to reset the options on Windows 10/8. The Hibernate option can help your Windows PC boot faster.
Like Windows 10, Windows 11 has the Fast Startup feature to help boot faster. Hence, you can opt to hibernate instead of shutdown. By default, most Windows 11 PCs will leave hibernation on, but you won’t find it in the power menu. If you want to add the hibernation option in the Start menu on Windows 11, this post from Gearupwindows will help.
Hibernation is a mix of traditional shutdown and sleep mode, primarily designed for laptops. When you instruct your PC to go to sleep, it saves the current state of your PC, including open programs and documents, to your hard drive and then turns off your PC. Then when you start it again, all of your previous work is ready and waiting for your decision. The sleep mode does not consume any power either, but it takes longer to start up again.
Topics covered
How do I turn hibernation on and off in Windows 11?
By default, the hibernation function is enabled; However, if you want to enable or disable it, here’s what you need to do:
Step 1. Open the command prompt with administrator rights.
To do this, call the Run Dialog box by pressing
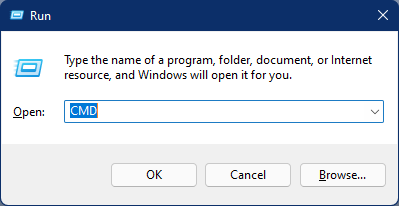
Step 2. To enable the hibernation feature, copy and paste the following command, then press
Powercfg /hibernate on
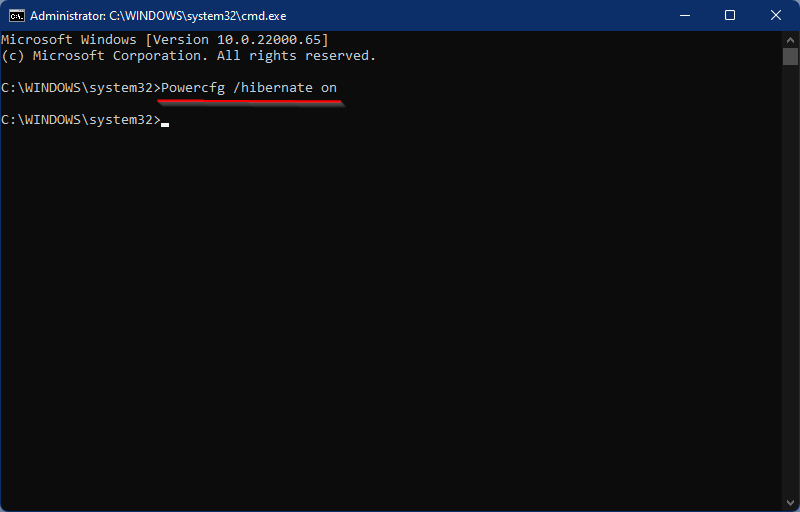
Once you complete the above steps, it will go into hibernation on your Windows 11 PC. The hibernation function takes up a lot of memory. If you need to turn off the hibernation feature, run the following command:
Powercfg /hibernate off
That’s all.
How do I add hibernation to the start menu in Windows 11?
To add hibernation to the Start Menu power button in Windows 11, make sure you have this feature enabled, then continue with the following steps:
Step 1. Click the begin from the system tray and look for Switchboard. Form the available results, click that Switchboard App to start them.
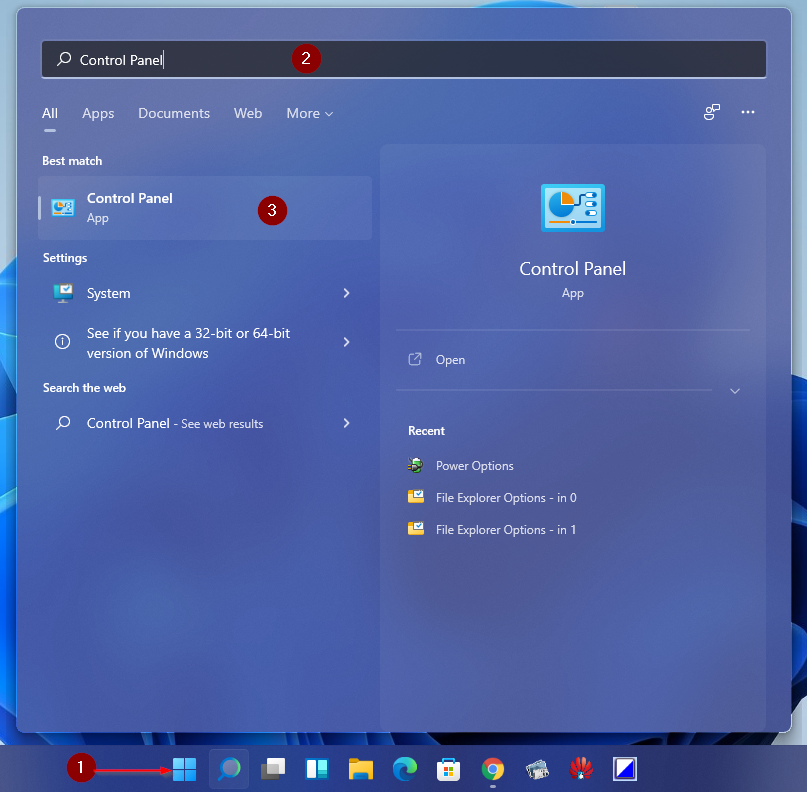
Step 2. Im All elements of the control panel Set “View By” as “Large Icons”, then click “Power Options”.

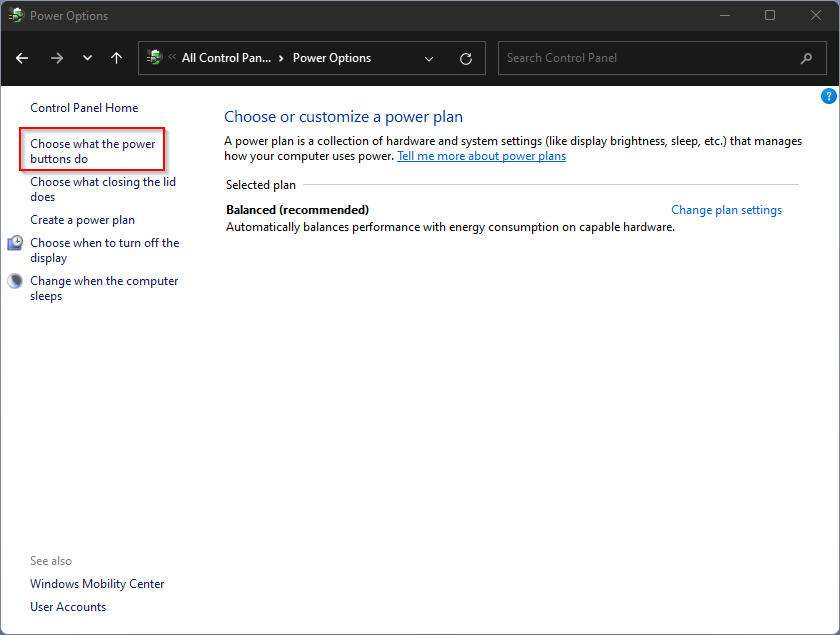
Step 3. In the Power Options window, on the left sidebar, click Choose what the power buttons do.
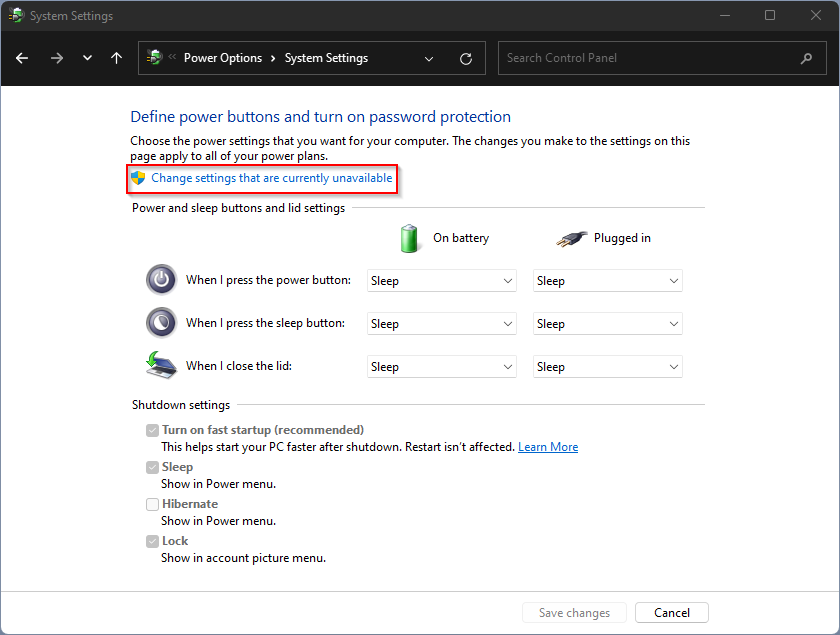
Step 4. Next System settings Window appears. From here, click the “Change settings that are currently unavailable” link.
Step 5. Finally, enable the option
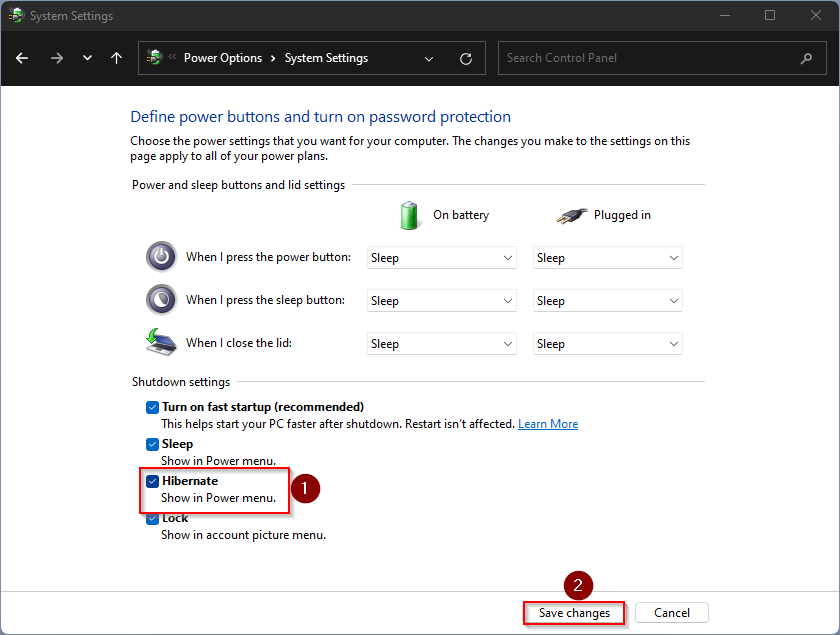
That’s all. You can now close the Control Panel. Now the Hibernation option is added to both the Start menu and the WinX menu.
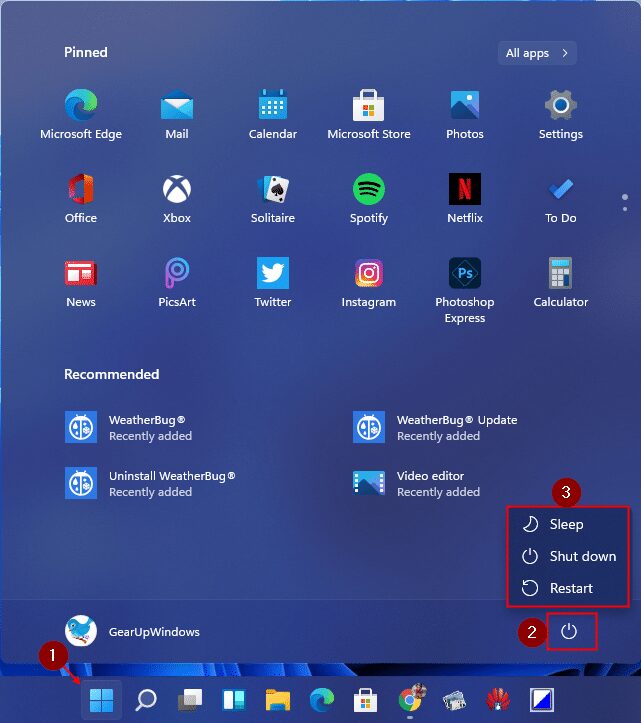
Sleep option in the start menu:

Hibernation option in the WinX menu:

Quick tips: You can access the WinX menu by right-clicking the Windows logo in the system tray or press