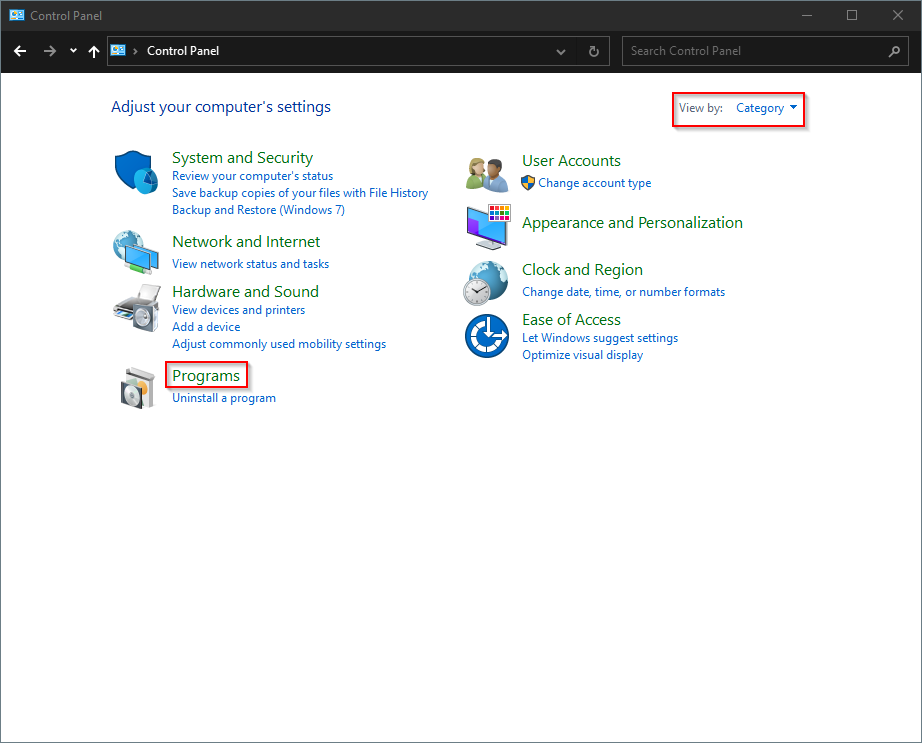
Windows 11 comes with a modern Settings app that allows users to perform various tasks including adjusting the screen resolution, checking for updates, personalizing Windows themes, setting the lock screen, adding / removing devices, etc. This means that you can do a lot of basic and administrative tasks with the Settings app. Although the Settings app was introduced with Windows 10 and should remove the classic Control Panel, it is still part of Windows 11.
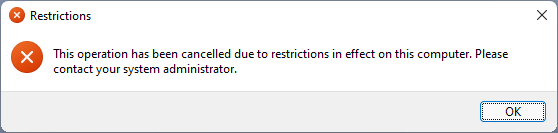
In other words, on Windows 11, you’ll find the Control Panel and the new Settings app. You can use these two features to change and control the features and behavior of Windows 11. If for any reason you want to stop access to the Control Panel and Settings app, you can do so on Windows 11 without a third-party tool. Once you’ve disabled the Settings app, it will flash quickly and close if someone tries to access it. While the Control Panel displays a message that the operation has been canceled due to restrictions.
Topics covered
How do I disable Control Panel and Settings in Windows 11 using Group Policy?
With the integrated group policy editor of Windows 11 you can activate or deactivate the Control Panel and the Settings app in Windows 11. You need to do the following:
Step 1. Open the Local Group Policy Editor.
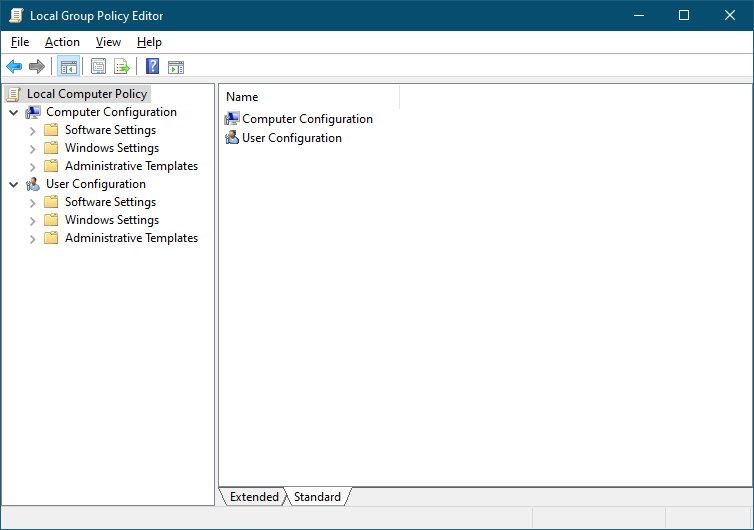
Step 2. In the Local Group Policy Editor window, navigate to the following path in the left sidebar:
User Configuration > Administrative Templates > Control Panel

Step 3. In the right pane of the Control Panel folder, look for the policy name
“This policy disables all control panel programs and the PC Settings app.
This setting prevents Control.exe and SystemSettings.exe, the program files for control panel and PC settings, from starting. As a result, users will not be able to start Control Panel or PC Settings or perform their items.
This setting removes the Control Panel from:
The home screen
File manager
This setting removes PC settings from:
The home screen
Settings charm
Account picture
Search results
When users try to select a Control Panel item from the Properties item in a context menu, a message is displayed explaining that a setting is preventing the action. “
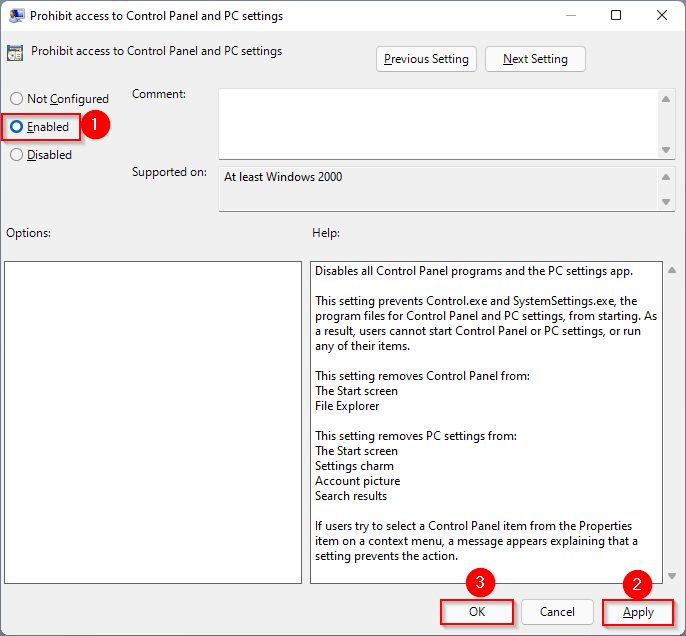
Step 4 Select Allows.
Step 4. Click Use.
Step 5. Click OK.
Step 6. Restart your computer or laptop.
After following the steps above, both the Control Panel and the Settings app on your PC will be disabled and no user account on your computer will be able to open them.
If you want to grant access to the Control Panel and Settings app, repeat the steps above and select the in step 3 above Not configured Opportunity.
How do I restrict access to the Control Panel and the Settings app in Windows 11?
Group policies are not part of Windows 11 Home Edition; You need to apply the policy using Registry Editor.
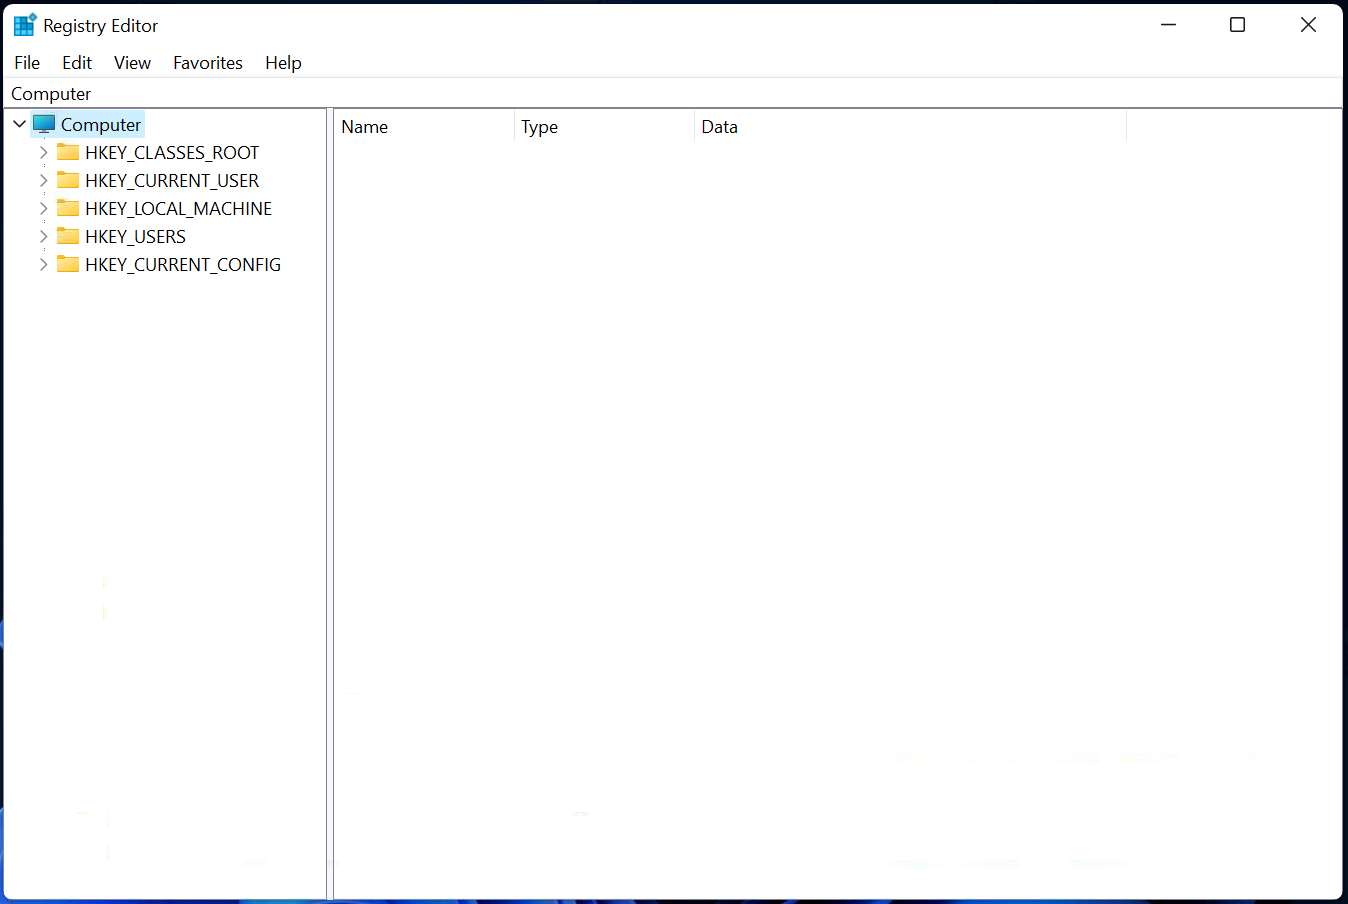
Step 1. Open the registry editor.
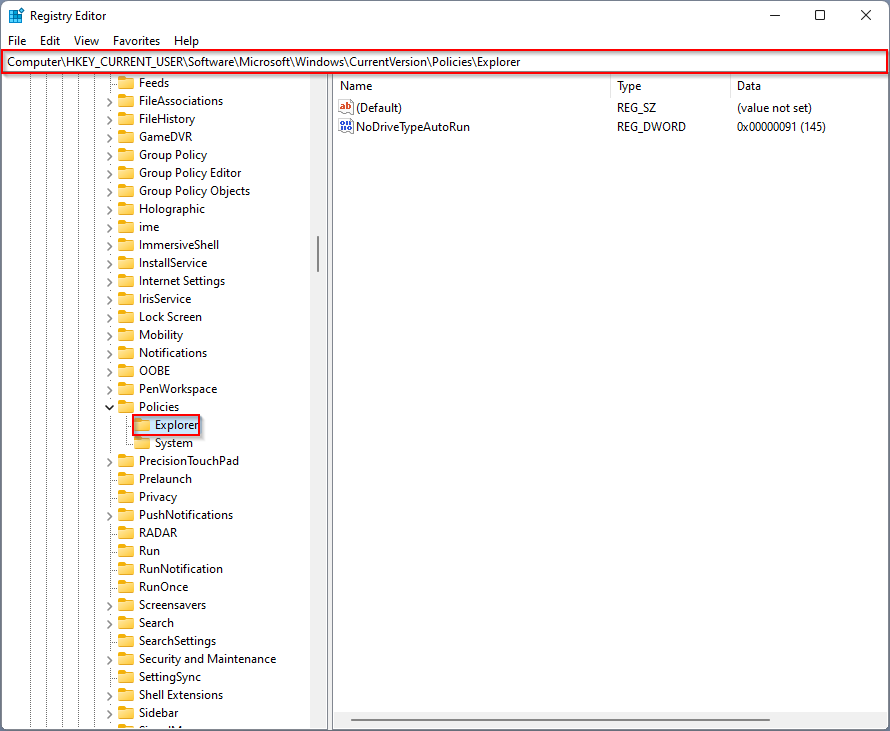
Step 2. In the left pane of Registry Editor, navigate to the following key:
HKEY_CURRENT_USERSoftwareMicrosoftWindowsCurrentVersionPoliciesExplorer
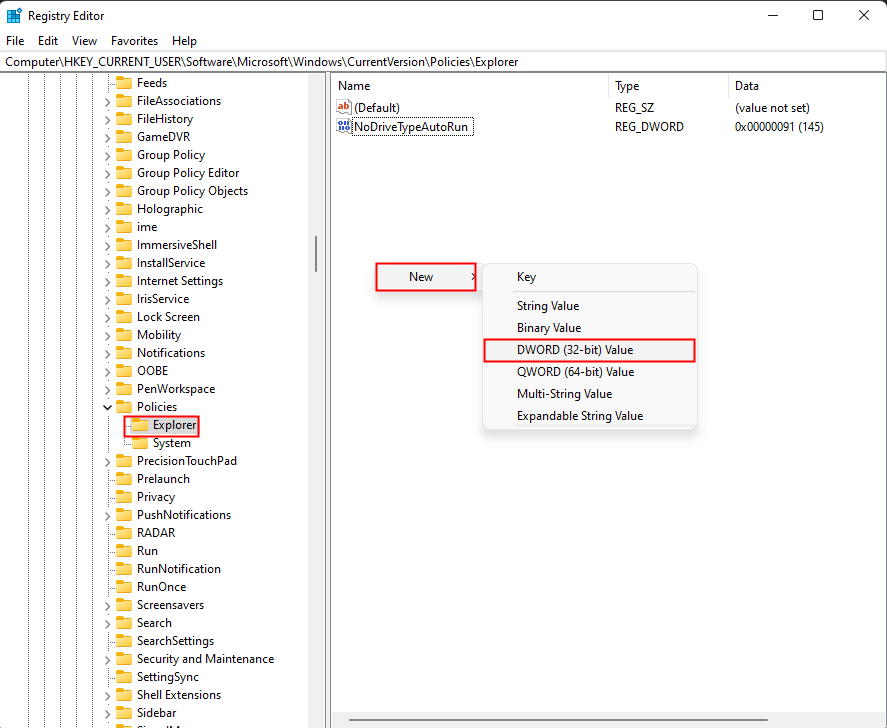
Step 3. On the right side of the Researcher Right click on the free space and select
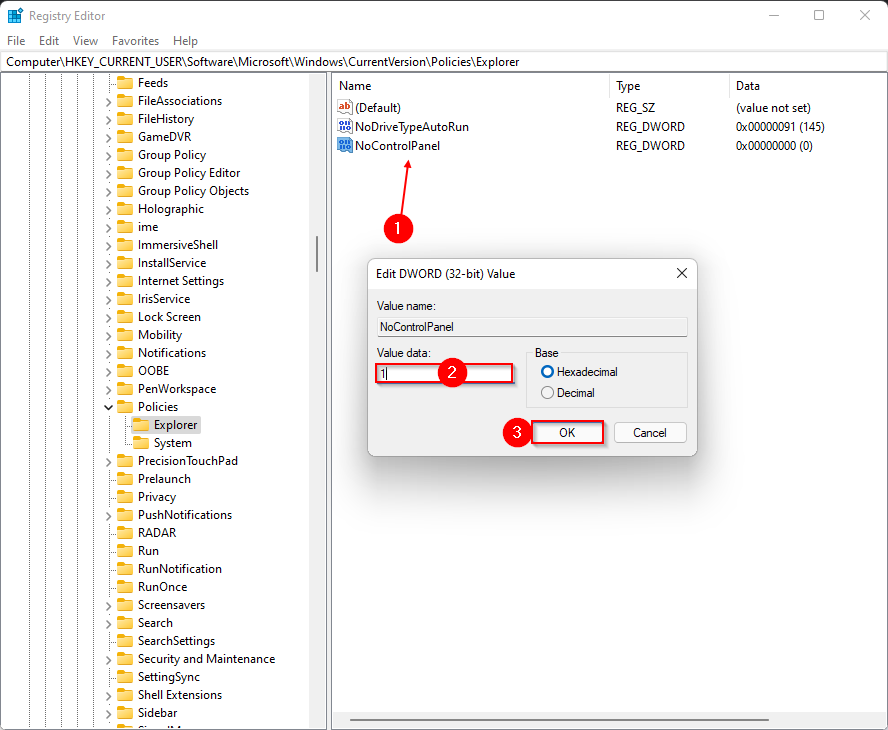
Step 4. Now double click on NoControlPanel and adjust it Measured value to 1. Then click on
Step 5. Again, navigate to the following registry key:
ComputerHKEY_LOCAL_MACHINESOFTWAREMicrosoftWindowsCurrentVersionPoliciesExplorer

Step 6. On the right side of the Researcher Right click on the free space and select
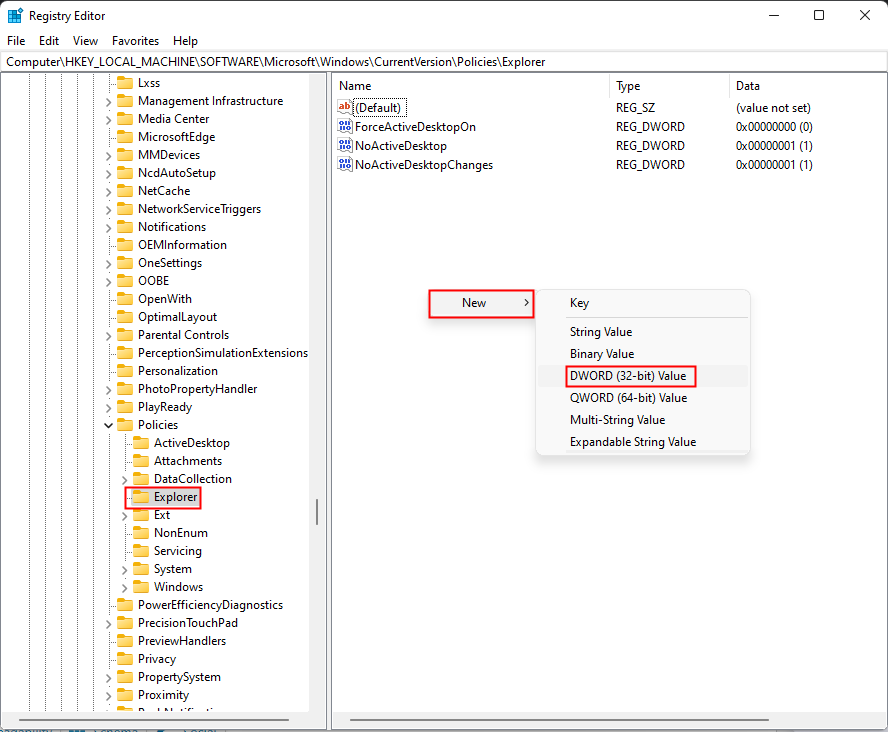
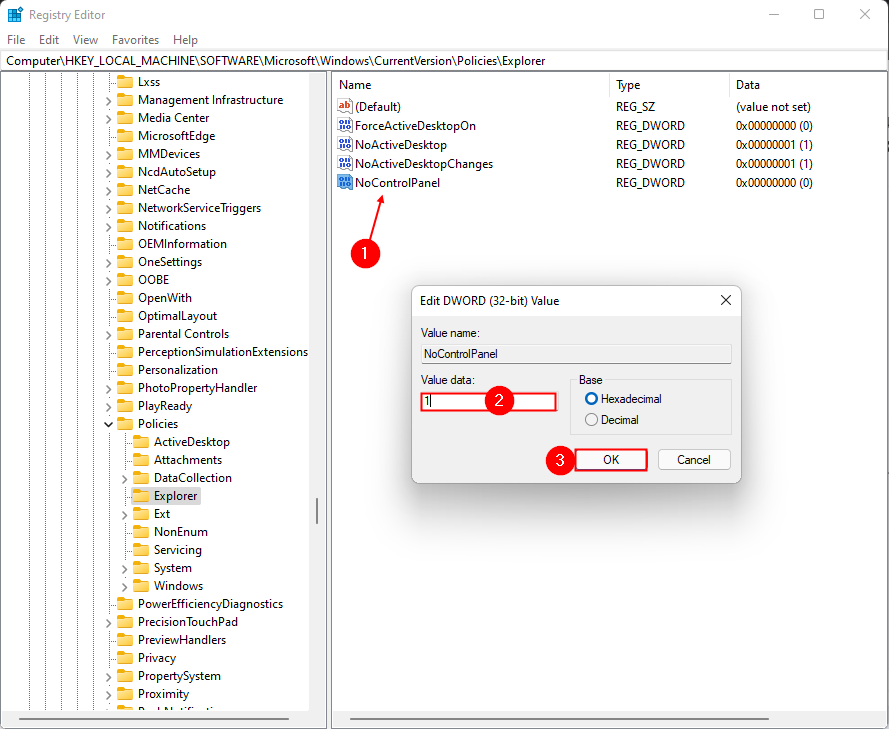
Step 7. Now double click on NoControlPanel and adjust it Measured value to 1. Then click on
Step 8. Restart your computer.
After following the steps above, the Control Panel and Settings app on your computer will no longer be accessible to any user account.