Both Microsoft and local accounts can be used to log into Windows 11. Although a Microsoft account must be used to use all the features offered, many users prefer to use a local user account.
Cons of using a local user account in Windows 11
Many of the features offered in Windows 11 require a Microsoft account. For example, the Find My Device feature (which helps you track down your lost or stolen Windows 11 device) doesn’t work with a local account.
Similarly, even while using a local account, you will need to sign in with a Microsoft account to install apps and games from the Store. OneDrive also requires you to sign in if you need to access files saved in your OneDrive account. Also, you cannot sync multiple Windows 11 settings on your computers while using a local account.
If you don’t mind missing out on these features, you can go ahead and create a local user account.
Tip: How to install Windows 11 without a Microsoft account.
Method 1 of 2
Create a local user account through the Settings app in Windows 11
NOTE: If your PC is not connected to the internet, see the instructions in Method 2 (scroll down to see)
Step 1: Open the Settings app. Go to Accounts > Family and other users page.
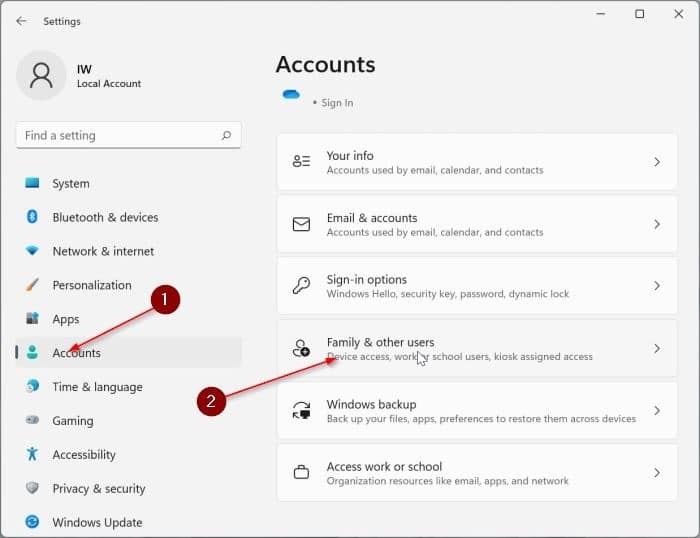
Step 2: Here in the Other users section, click the Add Account button.

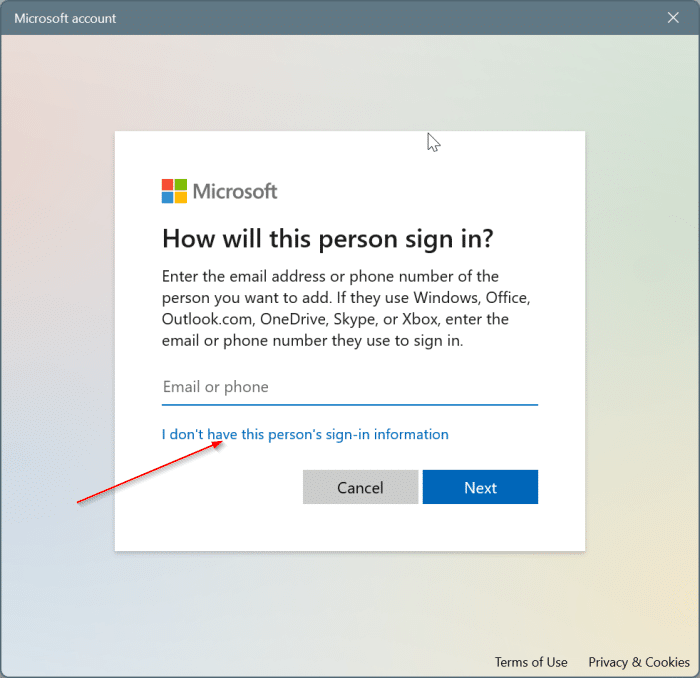
Step 3: When you click the Add Account button, the Microsoft Account dialog box appears. To see the hidden option to create a local user account, we must click on the I don’t have this person’s login information Link.
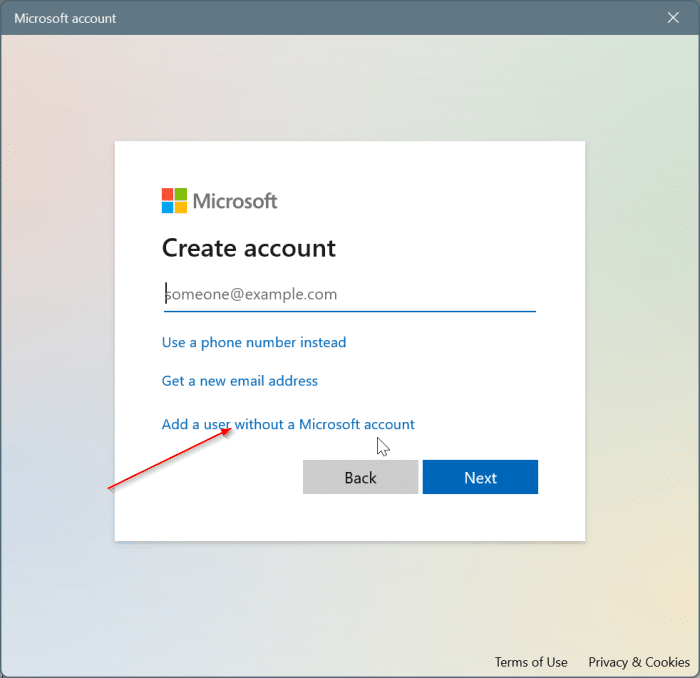
Step 4: Then you will get the following dialog box. Here, click on the last link labeled Add a user without a Microsoft account.
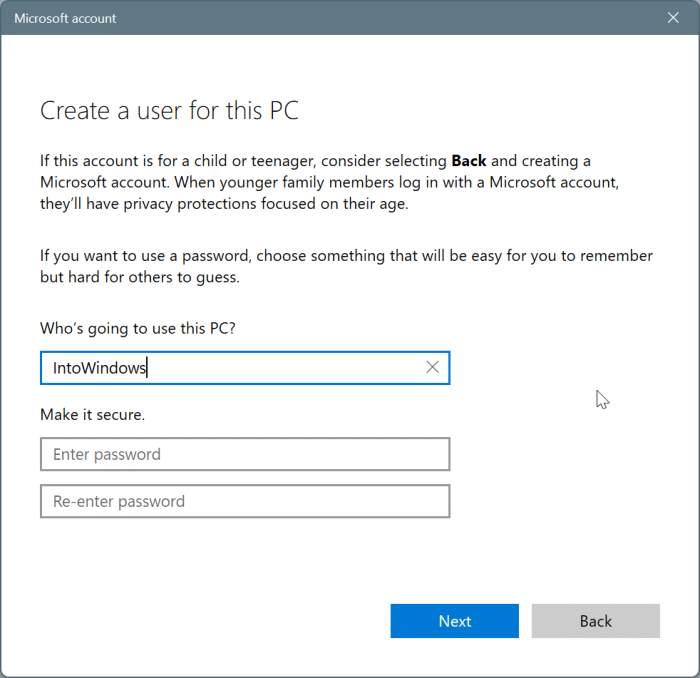
Step 5: Now you’ll see Create a user for this PC dialogue. Here, enter a name for your local user account, enter and re-enter the password before clicking on the next button.

If you do not want to set a password for your account, please leave the password and re-enter the password fields blank.
By clicking on the next The button will create the local user account.
NOTE: In Windows 11, it is not possible to add a user account through the Control Panel. The Control Panel> User Accounts> Manage Accounts section shows Add a new user in the PC settings link which redirects to Settings> Accounts> Family and other users. Therefore, the Control Panel cannot be used to create a new user account in Windows 11.
Method 2 of 2
Create a local user account quickly in Windows 11
The above method takes you through the standard procedure you must follow to create a local account. However, if you don’t want to go through so many steps, there is also an easy way out. All you need to do is turn off your PC’s Wi-Fi for a minute!
Step 1: Disconnect your PC from the Internet. To do that, click on the Wi-Fi icon in the taskbar system tray, click the right arrow icon next to Wi-Fi, and then turn off Wi-Fi (see image below).
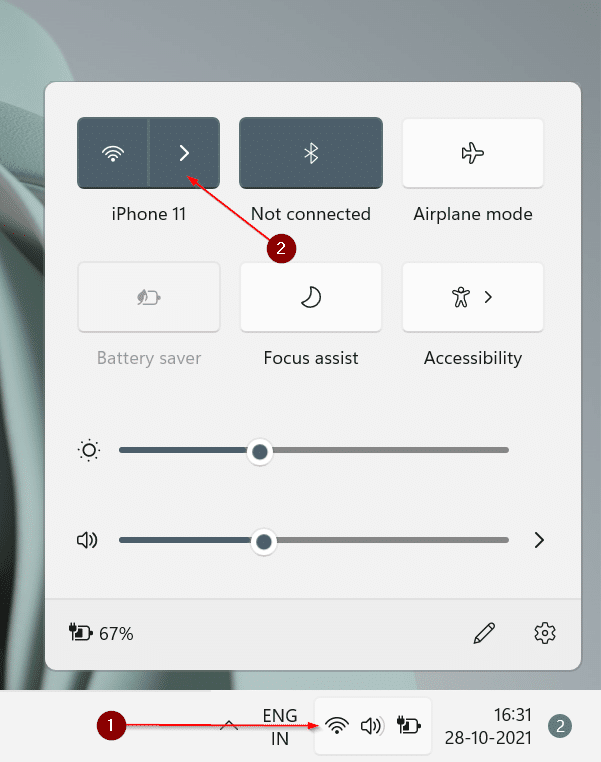
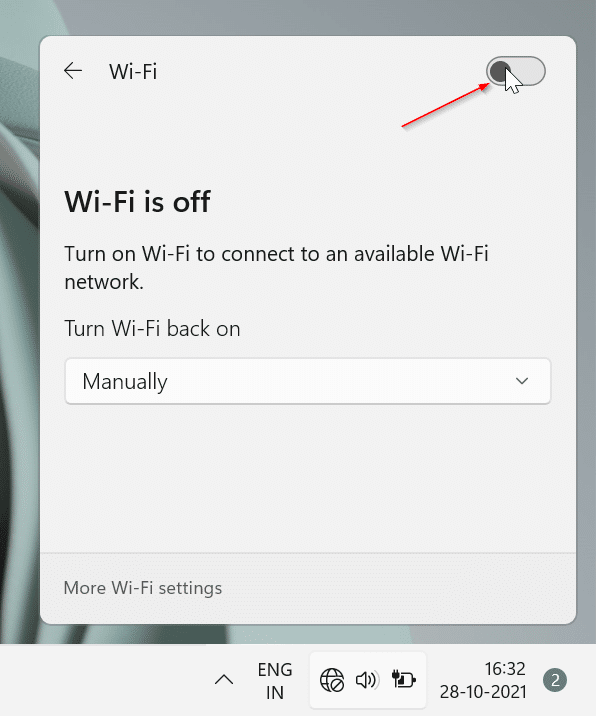
NOTE: If your PC is connected to the Internet through an Ethernet connection, disconnect the cable.
Step 2: Go to Settings > Accounts > Family and other users page.
Step 3: At Other users section, click the Add Account button.

Step 4: By clicking on the Add Account The button opens the following dialog where you need to type an account name for the local account, password, and then re-enter the password.
Click on the next button to create a local account. Simple as that!
You can turn on Wi-Fi now (see instructions in Step 1 of this method).
Sign in to a local account in Windows 11
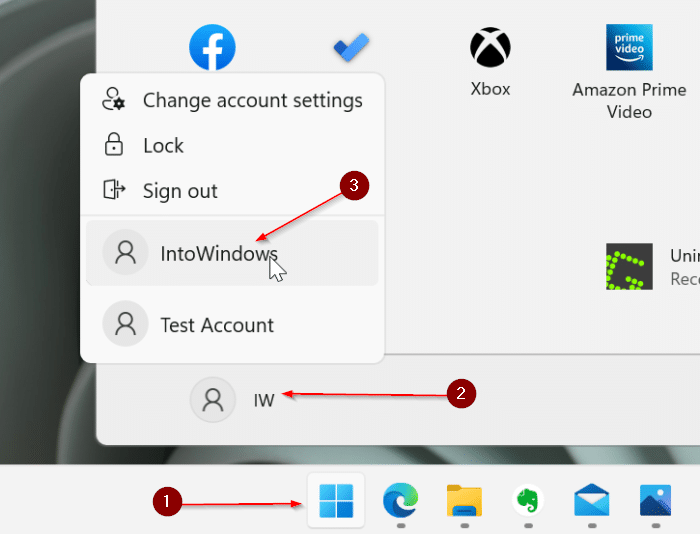
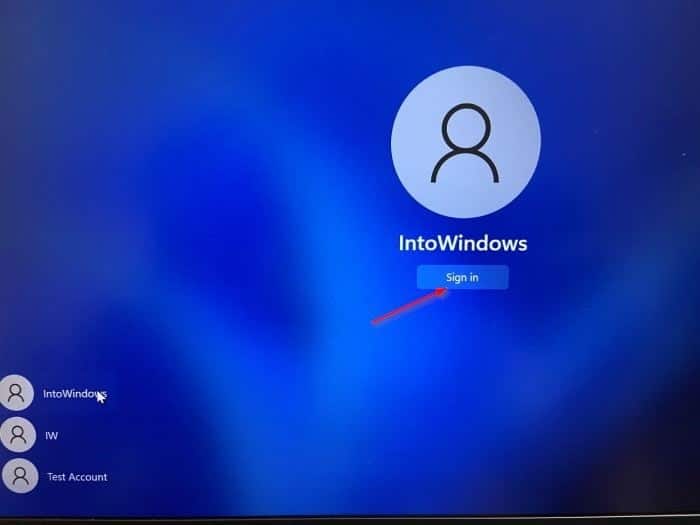
Step 1: To log in to the newly created local account, open the Start menu, click the user account icon, and click the name of the newly created local account.
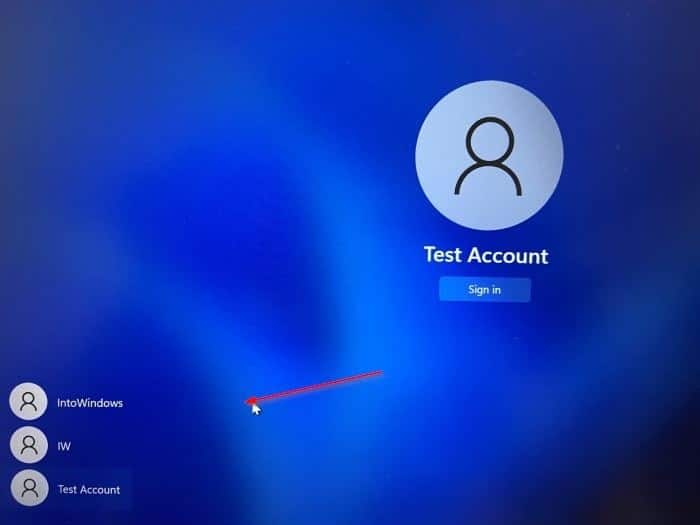
Alternatively, on the login screen, click your local account username and then click the Check in button. If you have set a password, type the password and press the Get into wrench.
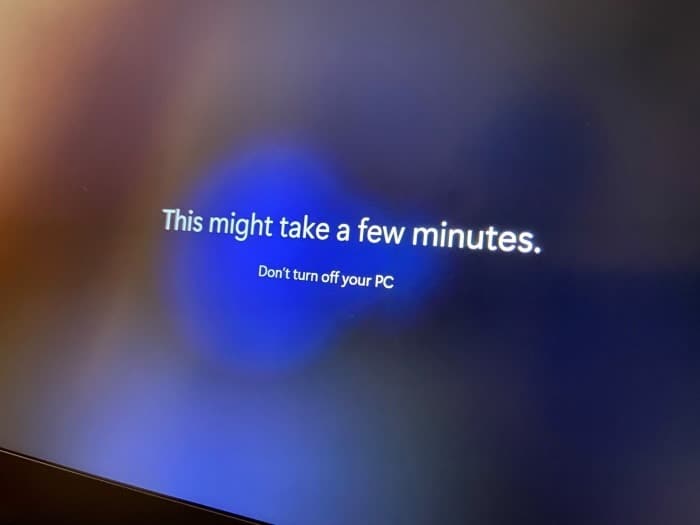
Step 2: You will see the “Hello” screen “This may take a few minutes” for a minute or two. Windows 11 takes about a minute to finish setting up your local user account.
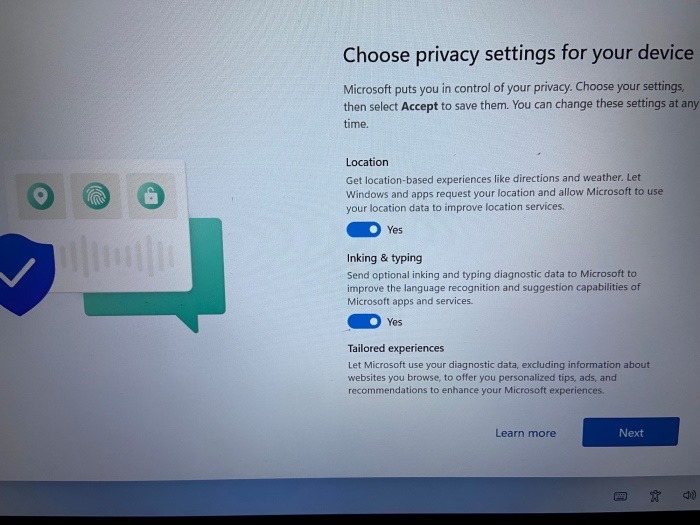
Step 3: You will then see the following privacy settings page where you can disable some of the settings. Finally, click on the To accept button.
Step 4: That is all! You should see the desktop now. You can start using your PC now.