How do I clear cache in Windows 11? Although cache helps to access similar windows quickly, having many caches can degrade system performance. Therefore, it is recommended to clear the system and browser cache on Windows 11 to improve system performance. Aside from boosting performance, it also helps free up disk space and fix minor bugs.
What is cache The cache is made up of temporary files that are stored on the system by various programs to make a task faster on subsequent attempts. Windows and browsers create a cache. Over time, the cache builds up on your PC and consumes a lot of storage space, which leads to performance issues.
However, on Windows 11, there is no easy way to clear all of your saved cache at once because these locations can be different. It can be saved in different folders depending on the application that generated it.
Why should I clear the cache?
The following are the main benefits of clearing the cache:
Free up space: Over time, the cache builds up and can occupy a significant amount of space on your hard drive. When your system is low on memory, clearing the cache will help to free up space.
Increases the performance: If your Windows drive is low on free space, your PC’s performance will slow down. Therefore, clearing the cache increases the overall system performance.
Prevents mistakes: Like other system files, cache files can become corrupted, resulting in errors. Regularly cleaning the cache prevents errors and keeps your system healthy.
How do I clear temporary cache files on Windows 11 using the% tmp% Run command?
As mentioned above, Windows stores cache files generated by different apps as you perform different tasks. These cache files are stored on the temperature Folders and can be removed at once. This Temp folder is separate for all of your user accounts that are created on your Windows PC. So to remove these temporary files from your PC, you need to log into an individual account and then delete it. This Temp folder fills up again when you access programs or apps on your PC. Hence, there is nothing wrong with removing these temporary files from your Windows PC.
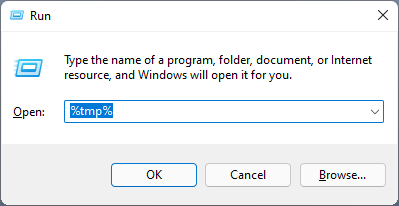
Step 1. Call the. on Run Dialog box by pressing window + R. Keys at the same time from the keyboard.
Step 2. Im Run Enter the following and press Enter from the keyboard: –
%tmp%
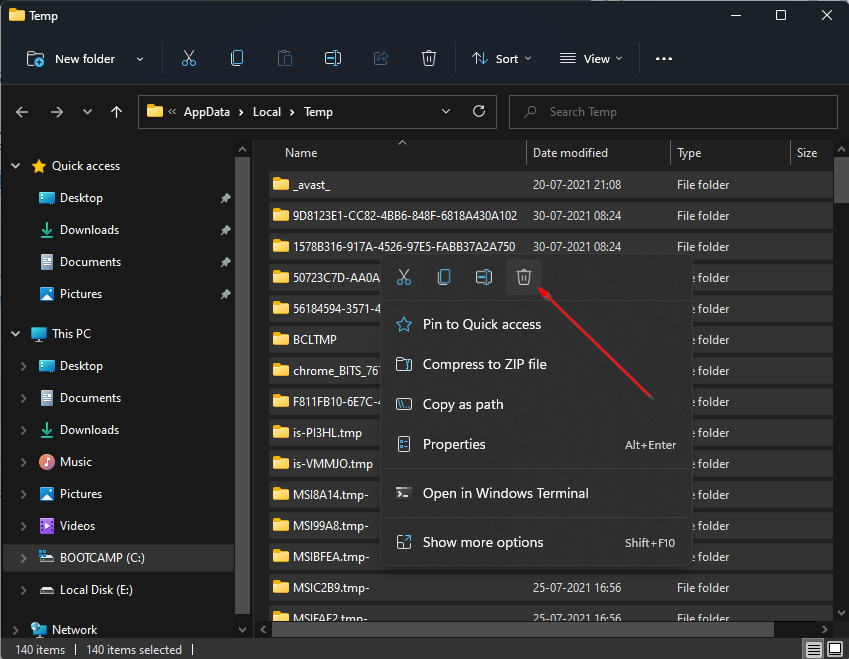
Step 3. After following the above steps, temperature Folder will open. Please select all files and folders and then right click on them to select them Extinguish Symbol.
How do I remove temporary cache files on Windows 11 using the Settings app?
You can also clear the temporary cache files on Windows 11 using the powerful Settings app.
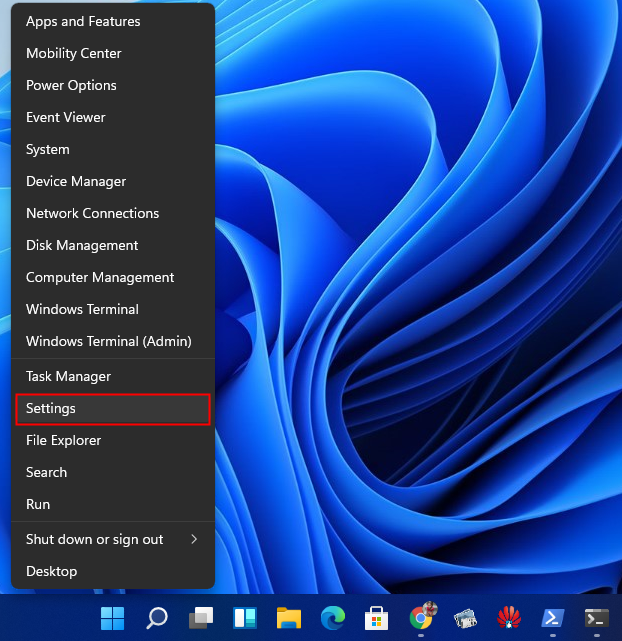
Step 1. Hold the window Key, and then press the I Key from the keyboard to open the Settings app. Alternatively, press window + x Keys simultaneously from your keyboard to access and select the quick menu settings from the app list.
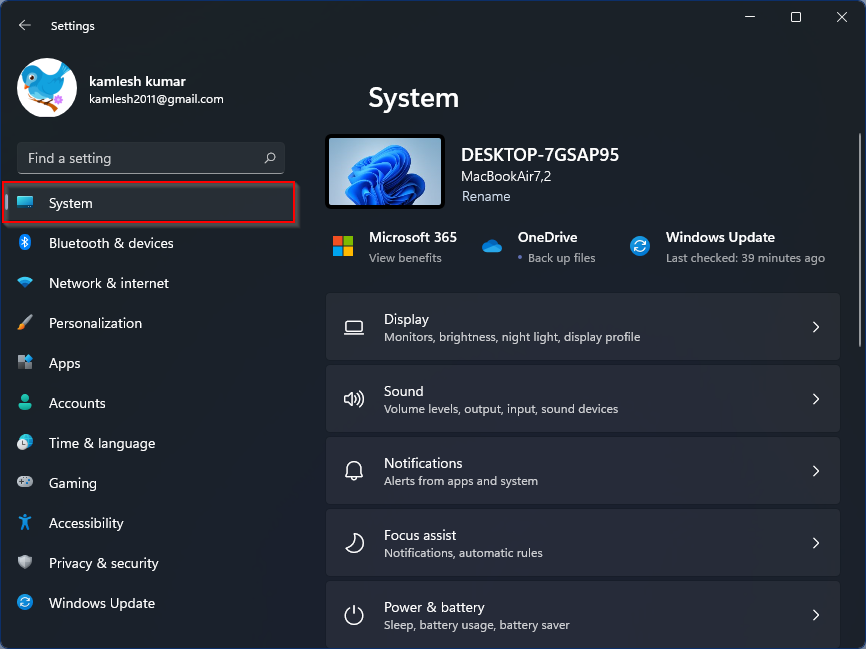
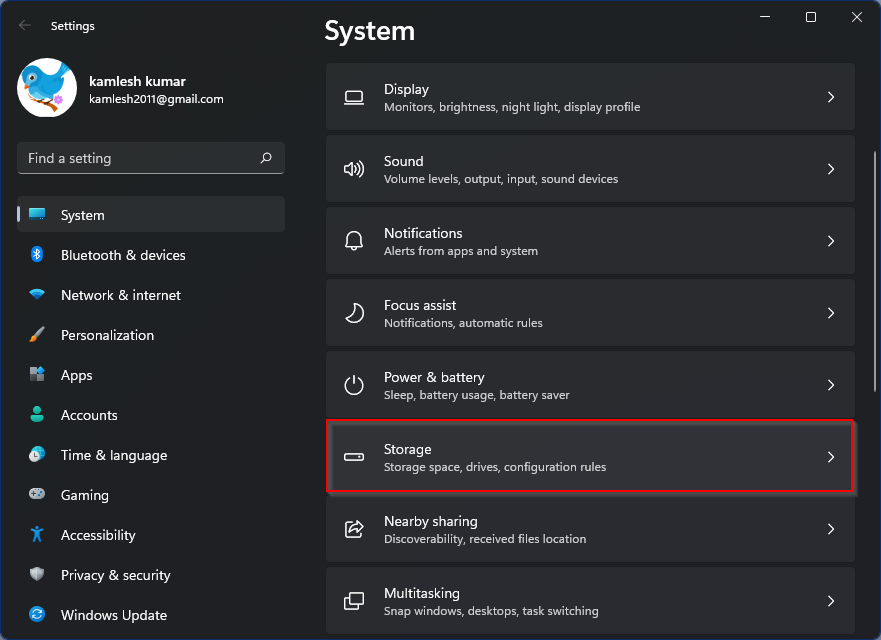
Step 2. On the settings Window, click that system Category from the left side of the page.
Step 3. In the right area of the system Category, click on the storage Tab.
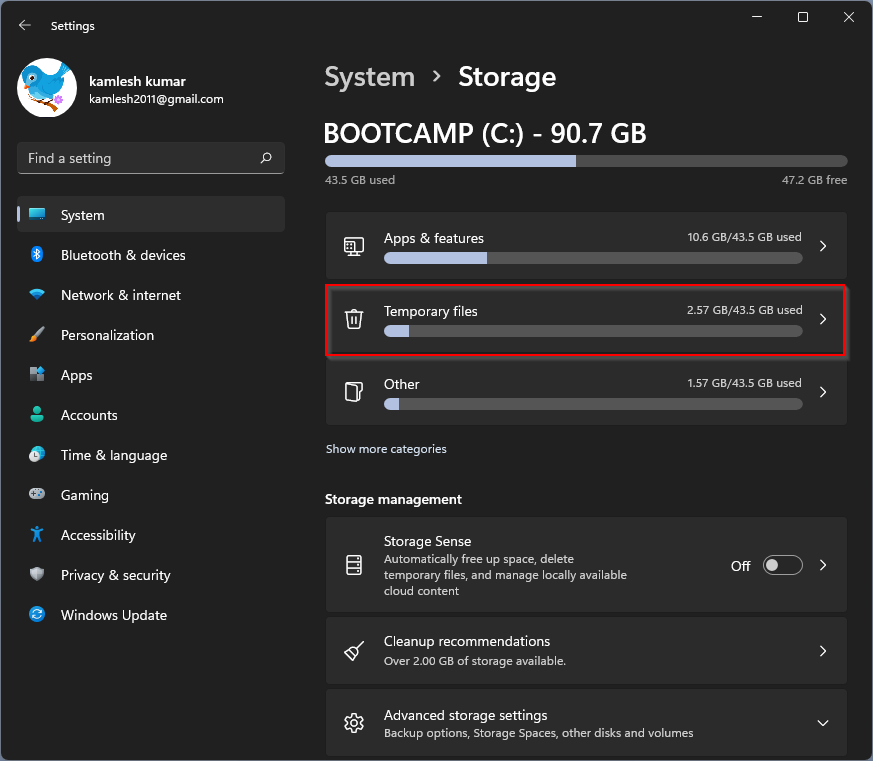
Step 4. Now Windows will scan and collect the temporary cache files that are stored on your system. click on the Temporary data Option above.
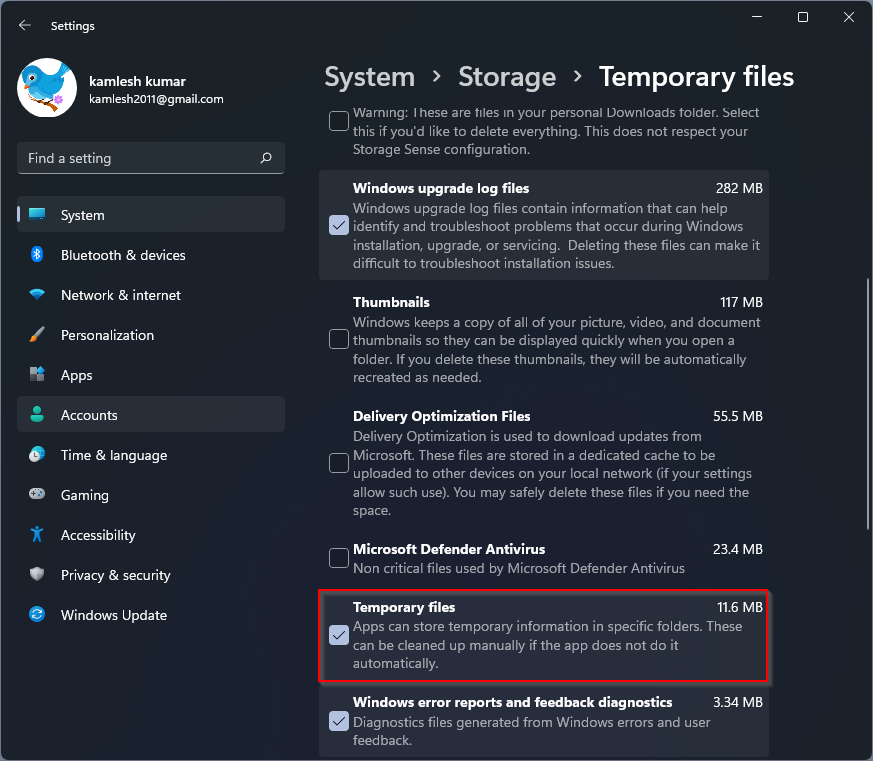
Step 5. Now you will see that there are several cache files listed. Scroll down and select the files you want to delete.
Step 6. Now scroll up and then click on that Remove files Button.
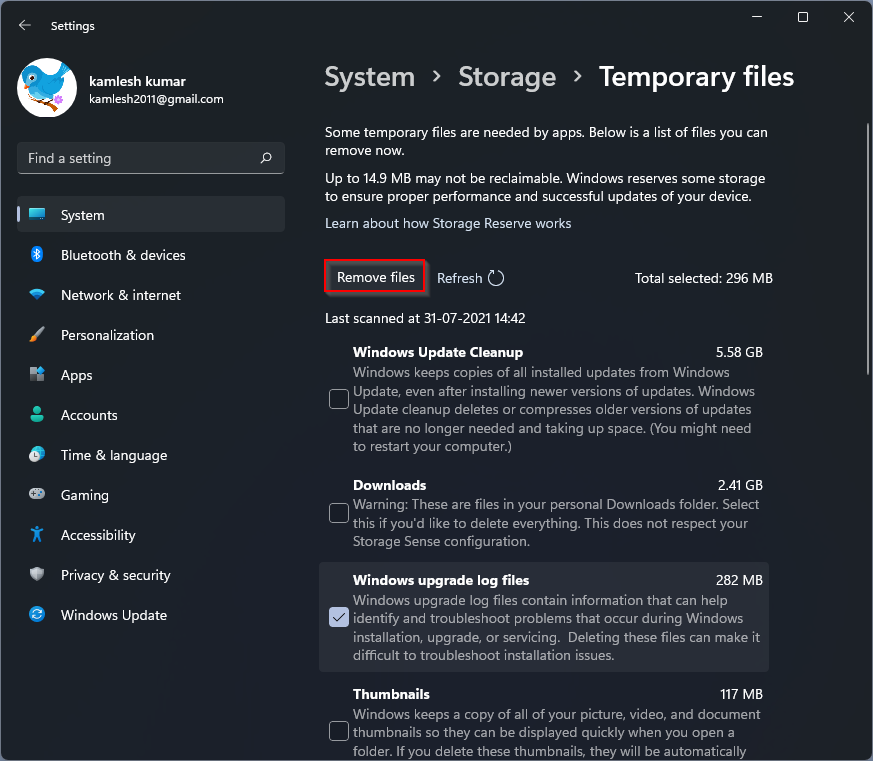
Step 7. Click Keep going in the pop-up window to permanently delete selected temporary files.
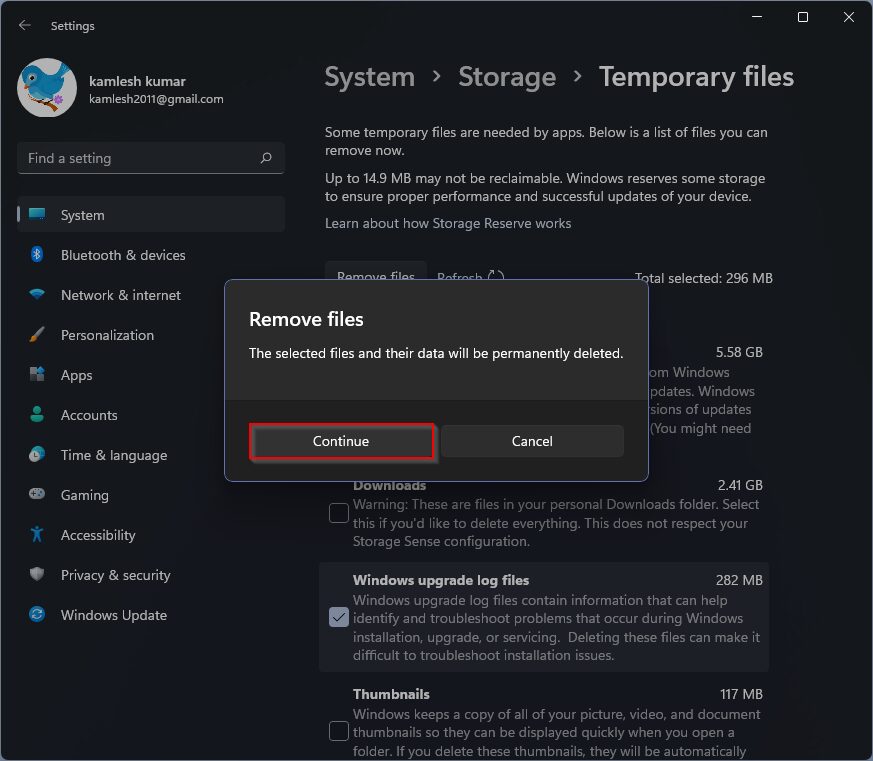
After following the steps above, selected temporary files will be permanently removed from your PC.
How do I clear system cache files using Disk Cleanup?
Disk cleanup has long been part of the Windows operating system. This built-in utility will scan cache files and other temporary system files and help you remove them from your Windows 11 PC.
Step 1. Click the begin Button from the system tray, and then enter Fat plate cleaning in the search field.
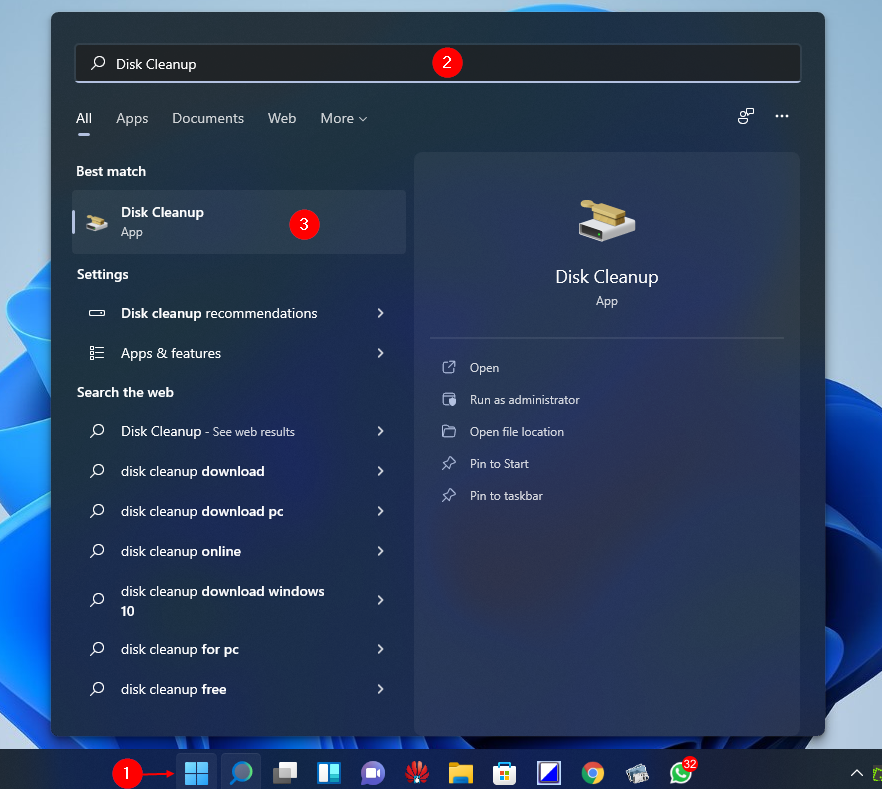
Step 2. Click the from the available search results Fat plate cleaning App to open it. You will be asked to select a drive. Select the drive (usually the “C” drive) on which Windows 11 is installed from the drop-down menu. No, click on that OK Button.
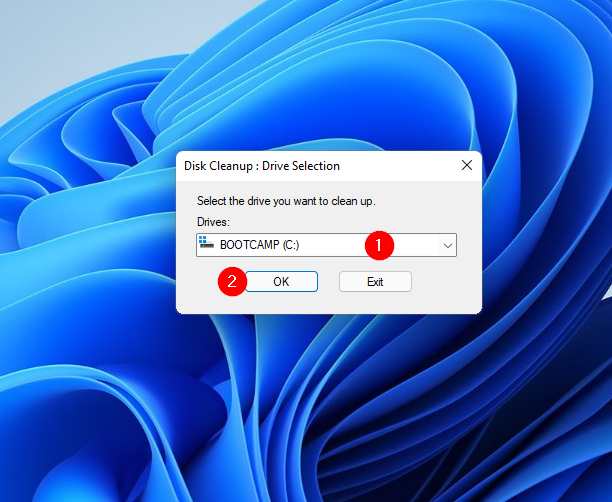
Once the above steps are done, Disk Cleanup will run a scan to identify the cache files stored on your computer. The Disk Cleanup window will also open.

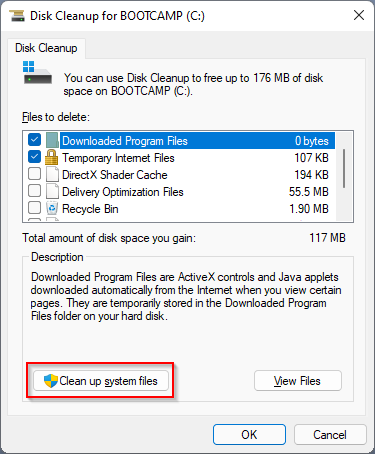
Step 3. Check the box you want to clean up, then click the OK Button.
Once you have followed the steps above, it will clean up the drive’s selected temporary files / folders.
If you’re not sure which drive your Windows 11 is installed on, there is also a separate option to delete system files. To do this, click on the Clean up system files Button. It will automatically select the system drive.
How do I clear the DNS cache on Windows 11?
In addition to the application cache, Windows also stores the Domain Name System (DNS) cache of the domain names of the websites you visit. Over time, the DNS cache builds up on your PC and can become corrupted, resulting in your inability to browse the webpage. Clearing the DNS cache on your PC can be a quick way to fix problems opening websites.
To clear the DNS cache on your Windows 11 PC, do the following:
Step 1. Open the elevated Command Prompt.
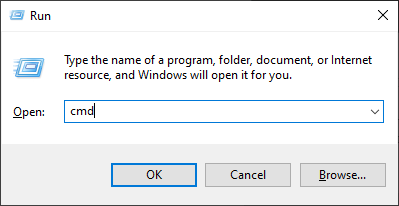
To do this, press window + R. Keys from the keyboard to start the Run Dialog box. in the Run Box, type cmd and then press Ctrl + shift + Enter from the keyboard.
Step 2. At the administrative prompt, type the following and press Enter from the keyboard to execute the command: –
ipconfig /flushdns
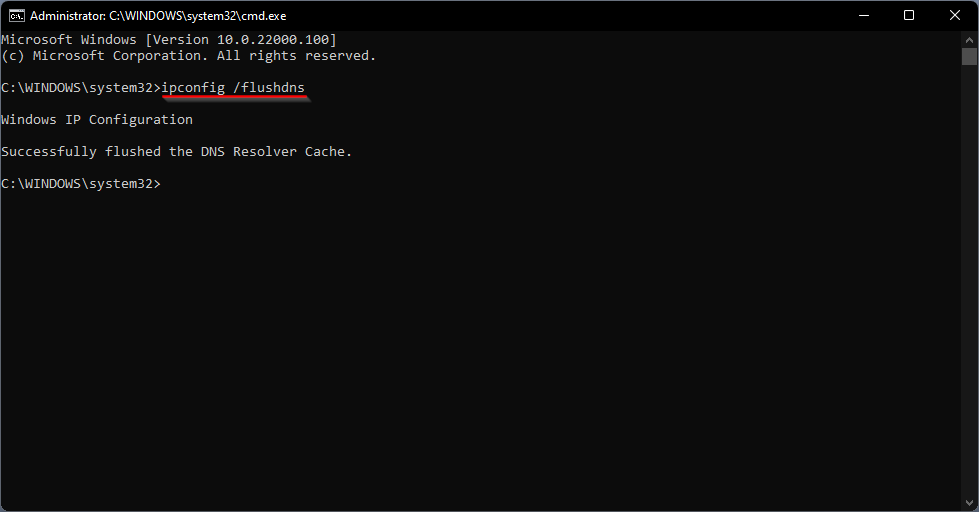
After executing the above command, you will get the message “The DNS resolver cache was flushed successfully”.
How do I remove the location cache on Windows 11?
To clean up the location cache on Windows 11, do the following:
Step 1. Access the Settings app.
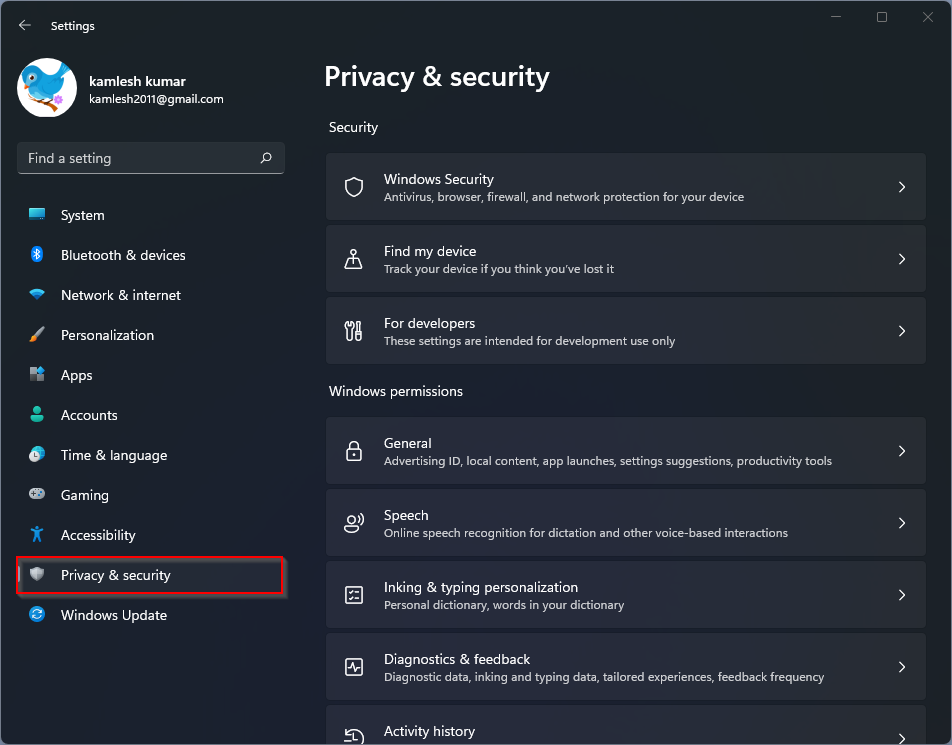
Step 2. Im settings, to choose Privacy and security Category from the left navigation area.
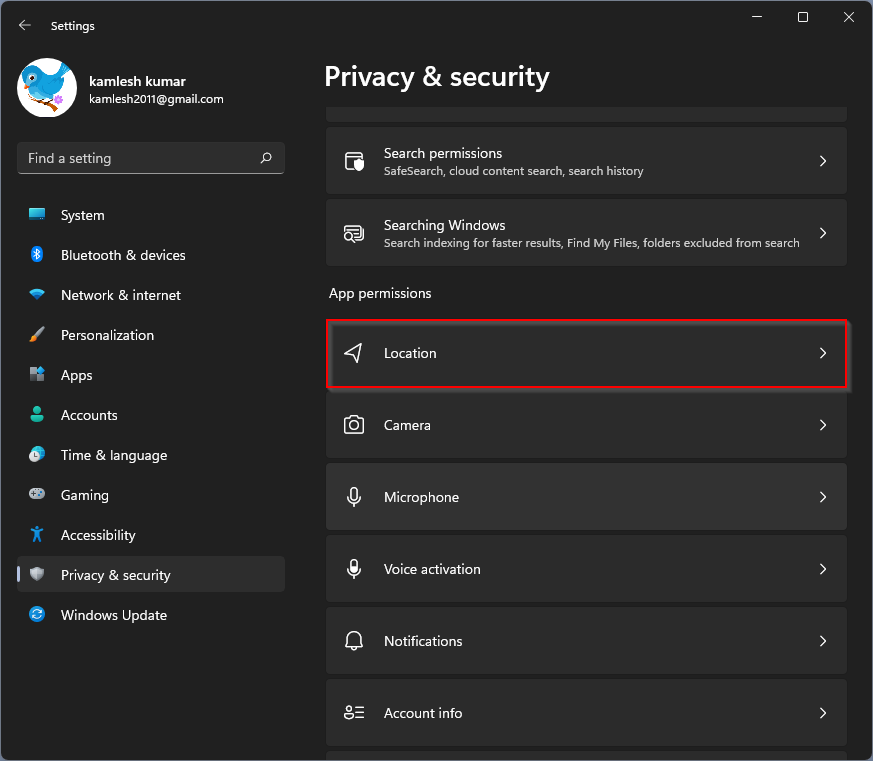
Step 3. In the right window of Privacy and security, please scroll down to see them location Option and then click on it to open it.
Step 4. Scroll down under the location Settings page and then click the Clear Button next to the Location history Opportunity.
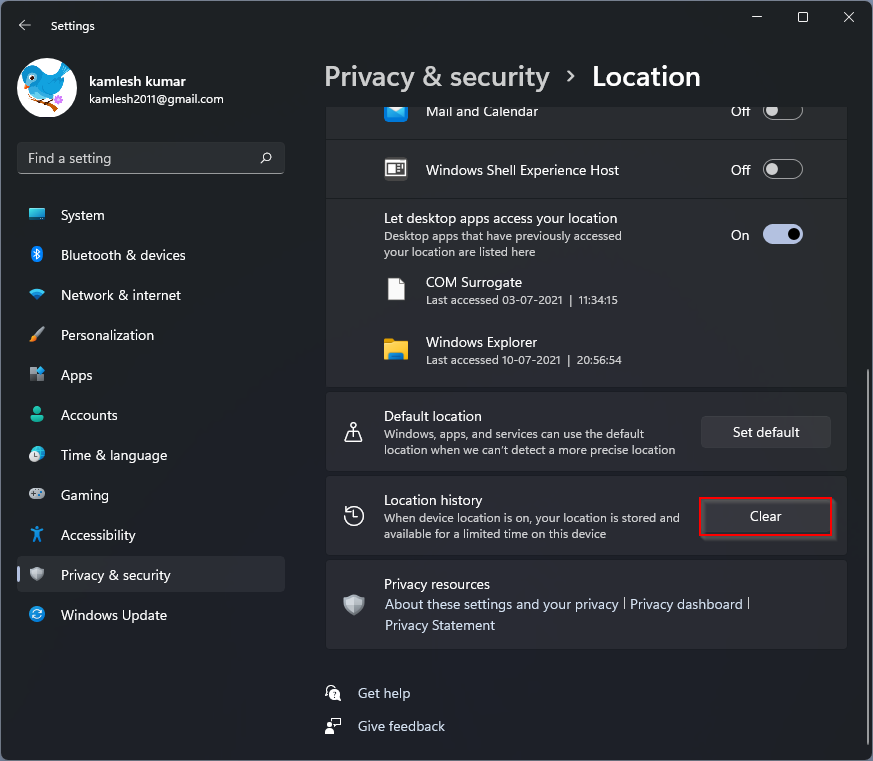
Once you complete the above steps, the location activity stored in the system will be deleted immediately.
How do I clear Microsoft Store cache on Windows 11?
When you access the Microsoft Store and download apps, this Store app also creates cache files. However, it is possible to clear these cache files on Windows 11 with a simple command.
To clear the Microsoft Store cache, go to the Run dialog box by pressing window + R. Keys at the same time from the keyboard. in the Run Box, type wsreset.exe and then hit Enter from the keyboard.
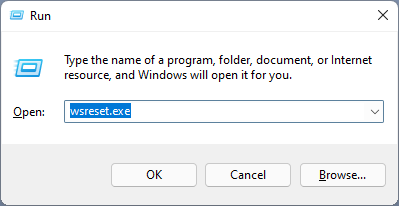
After following the steps above, the Microsoft Store app will clear its cache.