This article teaches you how to clean junk files in Windows 11 without clean software. Follow the steps below, you will see how to clean junk files in Windows 11 without any external cleaner.
How to access storage settings?
In my previous posts, there is a post on “How to put” This PC “(computer) on Windows 11 desktop”. The fastest way to access the storage settings requires that you put “This PC” on the desktop at the beginning.
Right click on “This PC” and choose Properties, there will be a Settings window there.
Click Storage on the left sidebar, you can see that there are some options to free up space by deleting files.
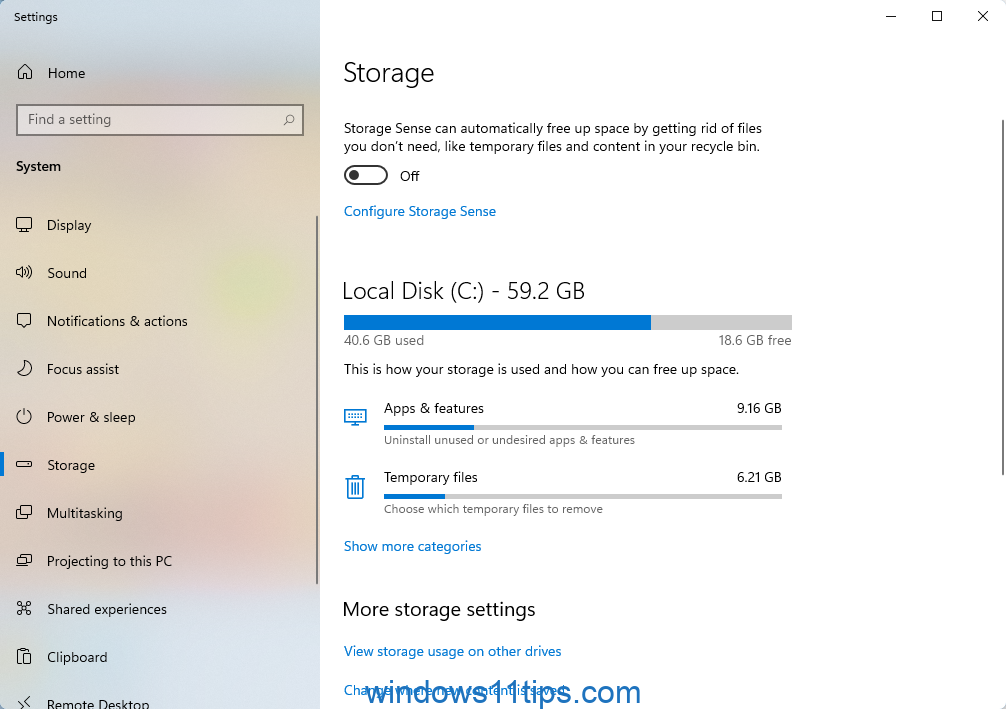
- If you want to automatically clean your Windows 11 computer, just turn on Storage Sense. Windows 11 will automatically clean junk files. And “Configure Storage Sense” lets you decide which files should be cleaned.
Of course, you’d better not uncheck “Keep Windows 11 running smoothly by automatically cleaning temporary system and application files.”
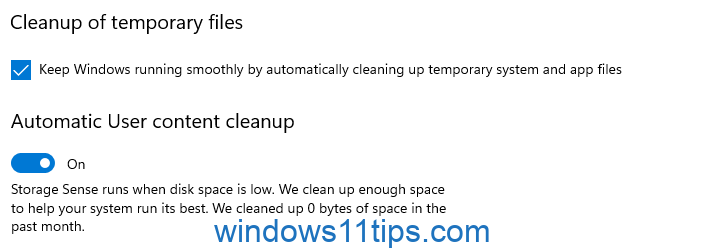
And set “Set cleaning schedules” as shown below:
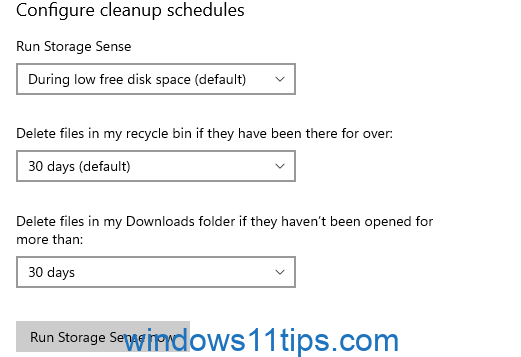
“Run Storage Sense” – “Low free disk space (default)”
“Delete files in my recycle bin if they have been there for more than” – “30 days (default)”
“Delete files from my Downloads folder if they haven’t been opened for more than” – “30 days”
2. If your Windows 11 system lags occasionally, it means you need to clean your system as soon as possible. Now you need to manually clean the temporary files by clicking on it. Or check “Show more categories”
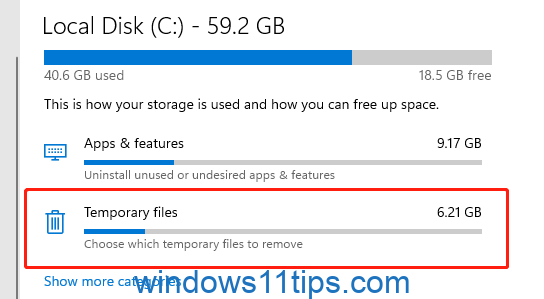
Click Temporary Files, select all options, and click the Delete Files button.
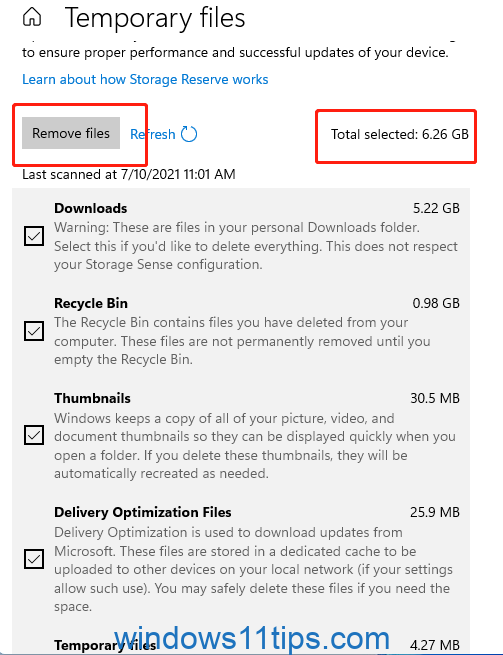
Your disk space will be freed up.
Remember, the less software or application installed, the less temporary files they will have. So I recommend that you don’t install Windows 11 cleaners, just use Windows 11’s built-in Storage Sense. That’s enough for Windows 11 users.