How do I change a user account to administrator on Windows 11/10? If you’re doing a clean install of Windows 11, Microsoft insists that you create a cloud account. Most Windows users register with an online Microsoft account or create a new Microsoft account during the Windows 11 installation. Once the Windows setup is complete, create a local account on your computer and delete the cloud account. It’s pretty easy to create a local user account on your computer, but Windows 11/10 creates a restricted user account by default.
The restricted account has insufficient privileges and cannot perform any administrative tasks. If you don’t have an administrator account on your PC, you cannot delete the cloud account from your PC either. This means that you have to give full access to a local user account on your computer so that you can delete another user account from your PC.
There can be several reasons for having a local user account on your PC. You should have at least two user accounts on your computer so that in case something goes wrong, you can use a different user account to troubleshoot your PC.
Topics covered
How do I assign administrator rights to a user account on Windows 11 using the Settings app?
The Settings app on Windows 11 is very powerful and allows you to perform multiple administrative tasks without command prompt and PowerShell knowledge. Using the Settings app is straightforward and allows you to change an existing user account to an administrator. You must log in to an administrator account on your computer in order to perform administrative tasks such as updating the user account.
Step 1. Launch the Settings app by pressing
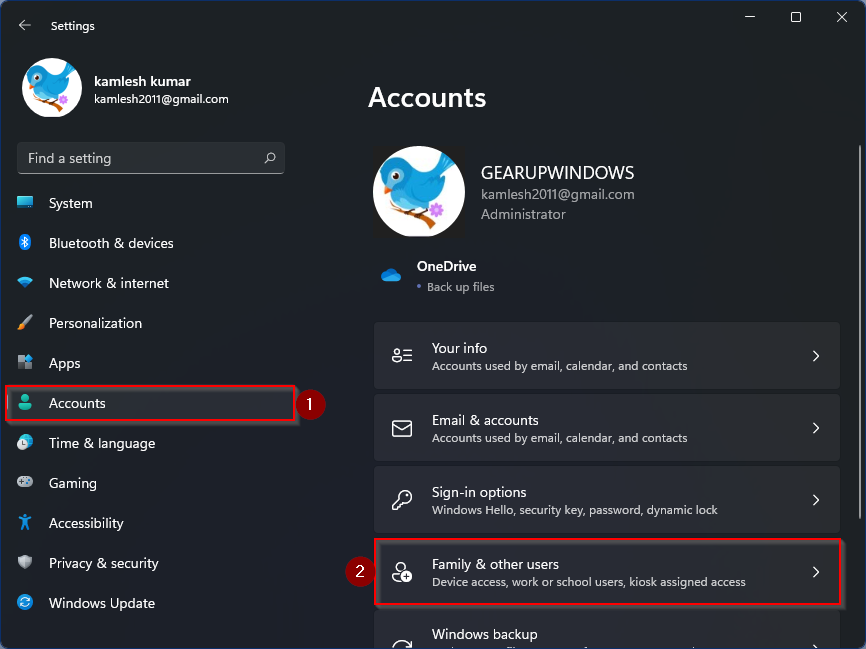
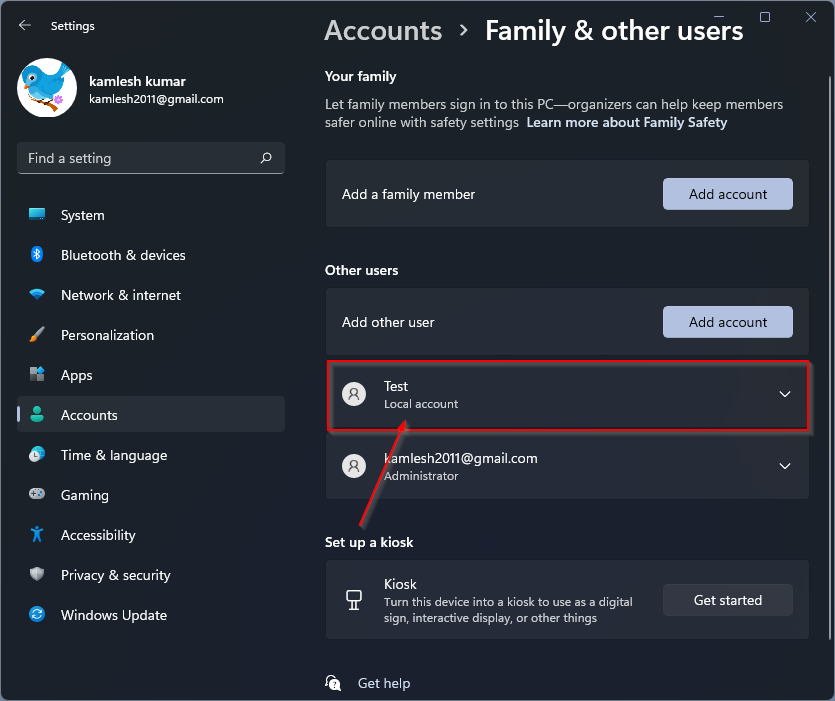
Step 2. Under the “Other users“You can find all local user accounts and cloud accounts that are available on your computer or laptop. Click the user account that you want to update or grant administrator rights.
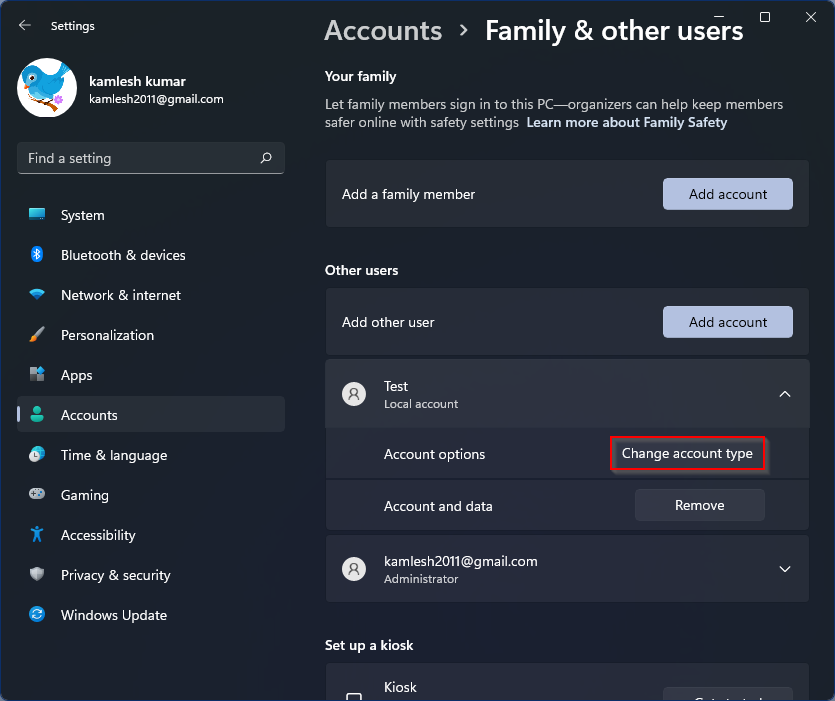
Step 3. Now click on that
Step 4. Now a new pop-up window opens “Change account type. “From the drop-down menu of”Account type,” choose
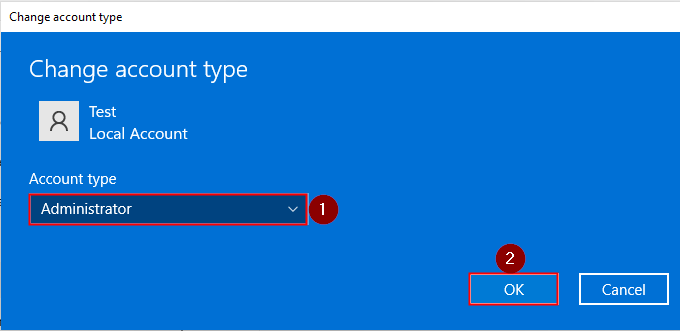
Step 5. Finally, click the
How do I assign administrator rights to a user account in Windows 10 using the Settings app?
Step 1. Open the Settings app by pressing
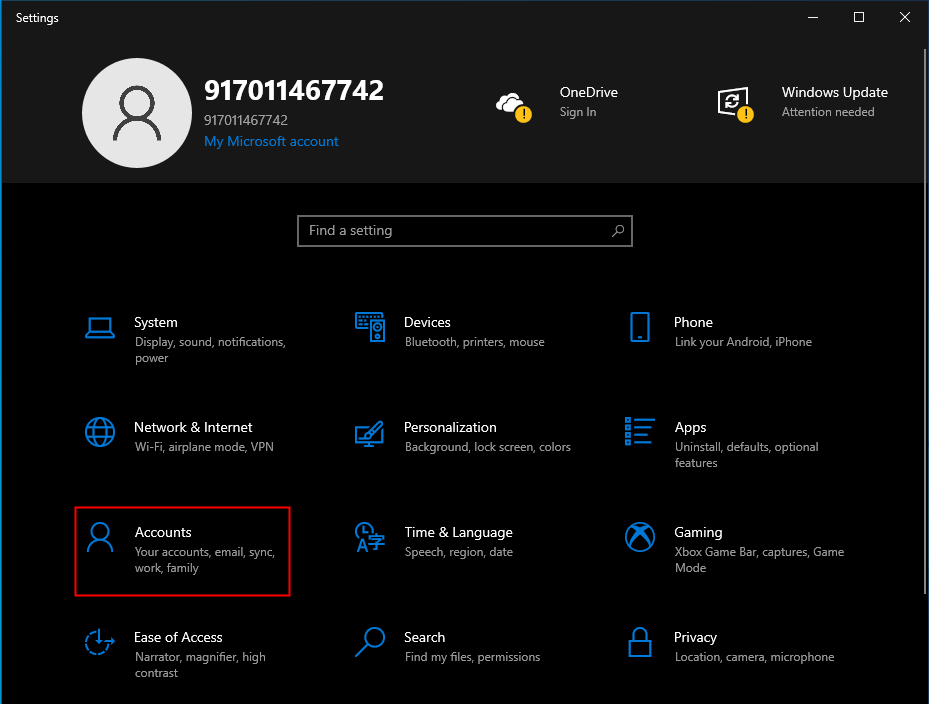
Step 2. Under Accounts, click on the
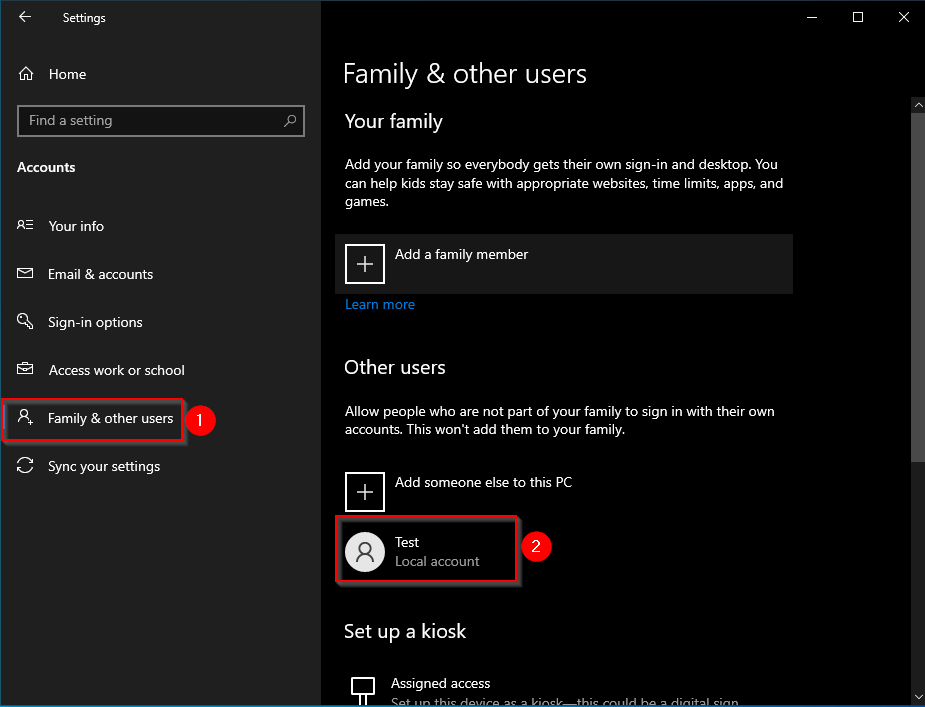
Step 3. Now click on that
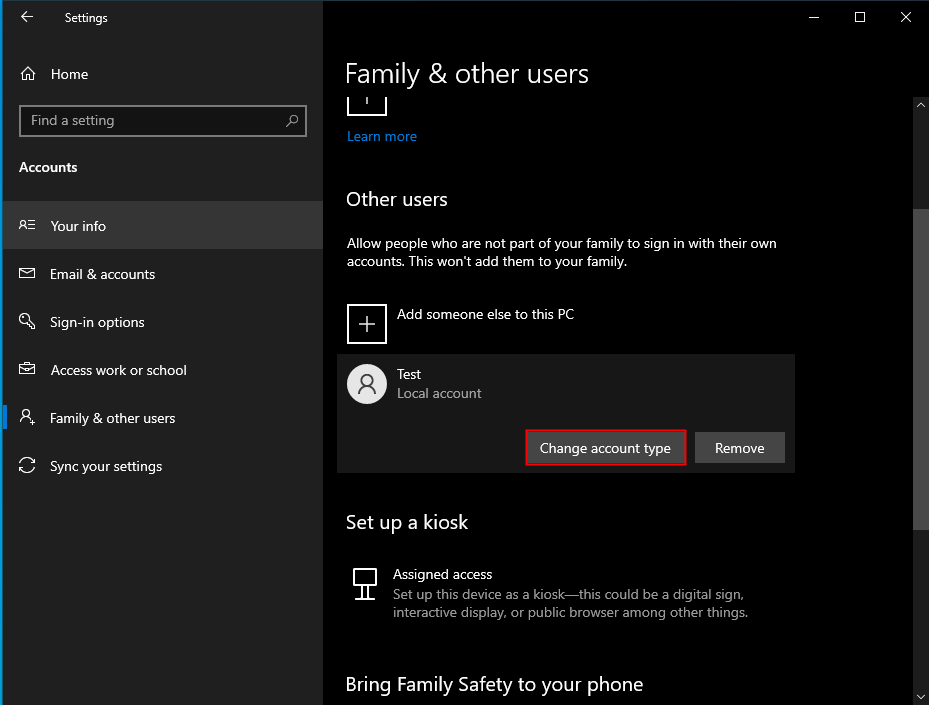
Step 4. In the pop-up window that appears, click the
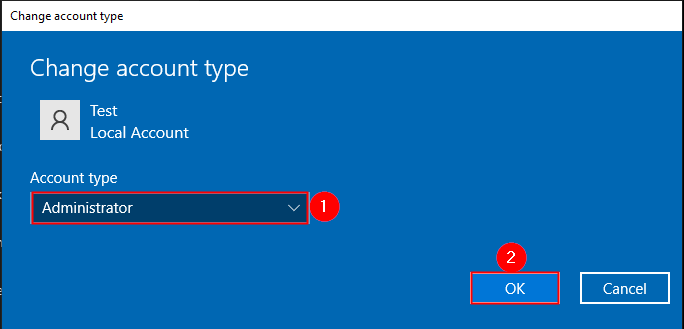
Step 5. Finally, click the
How do I change a user account to an administrator via the control panel in Windows 11/10?
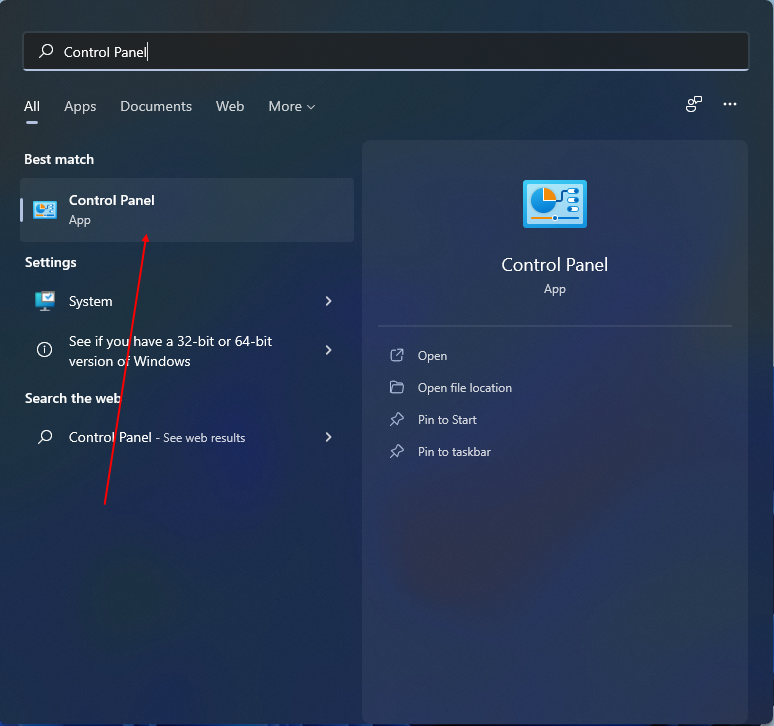
Step 1. Press the
See also: Several ways to open the Control Panel in Windows 11?
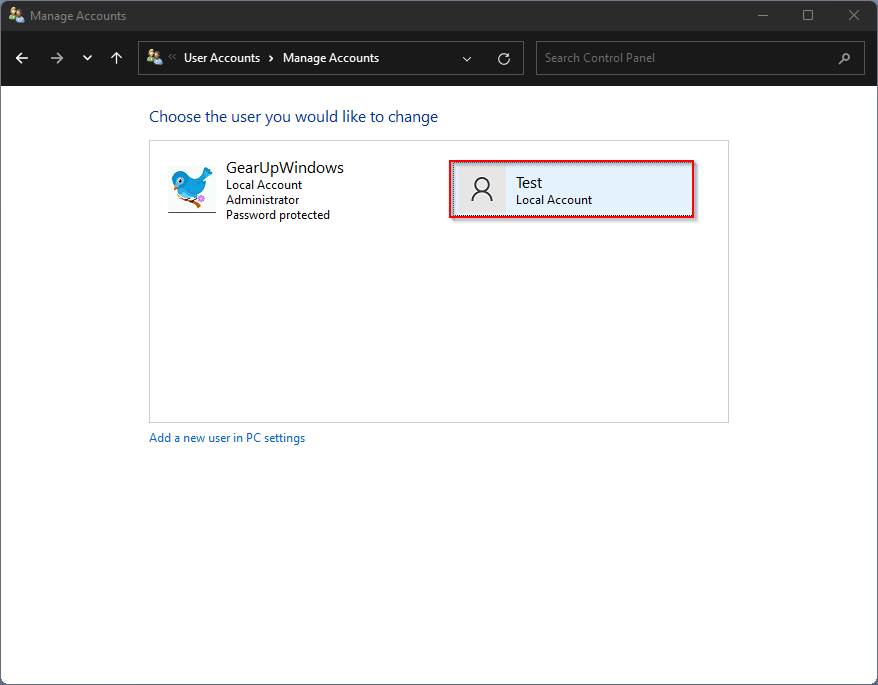
Step 2. Im Switchboard Window, make sure “Seen from“is set to category and then click on

Step 3. Click the Local account you want to update.
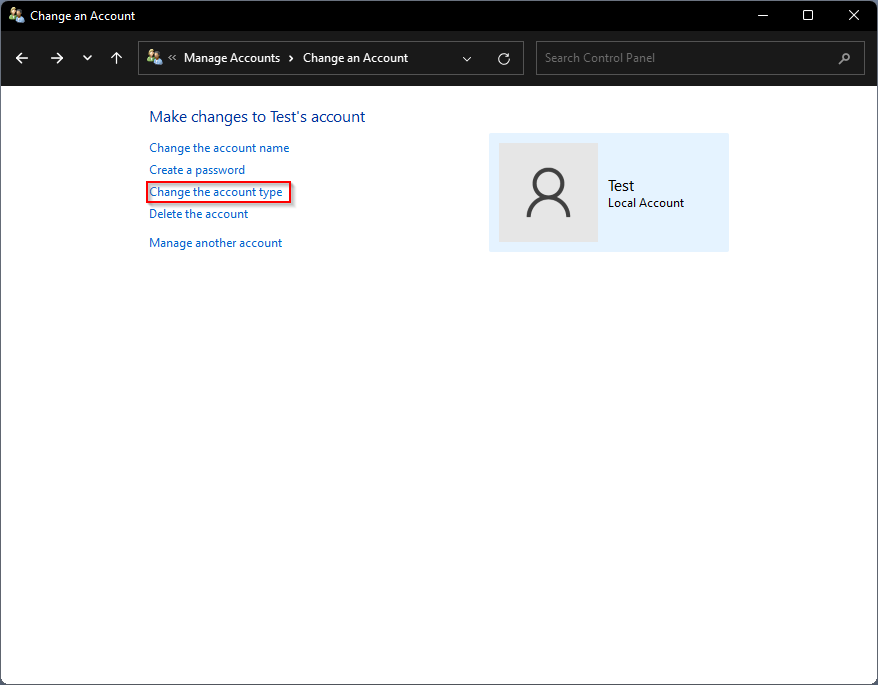
Step 4. Now click on the link marked with
Step 5. Select in the next window
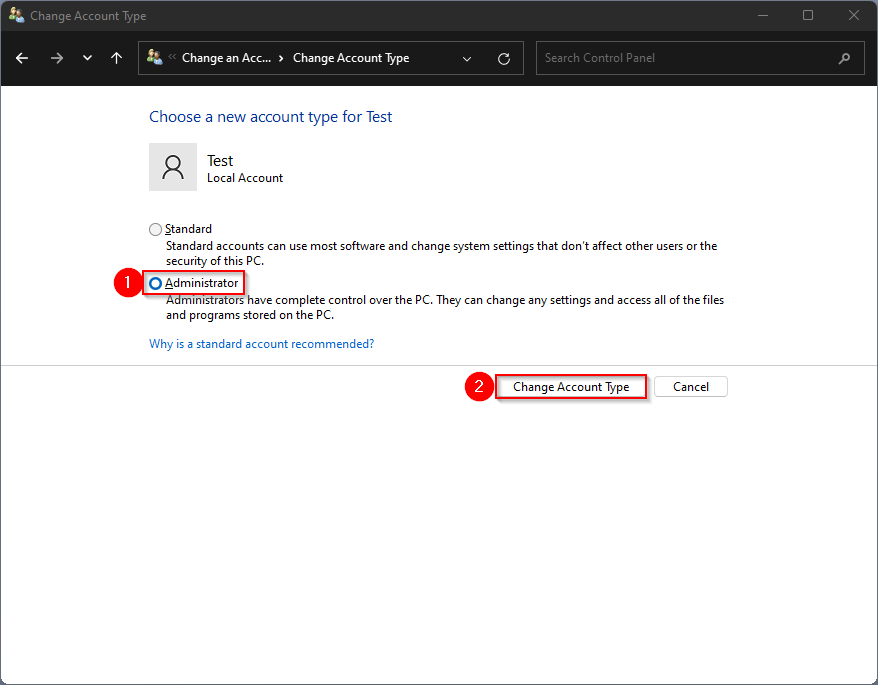
After following the steps above, the selected account will be promoted to administrator.
How to convert a user account to an administrator using Computer Management
This method applies to both Windows 11 and Windows 10 computers. You need to do the following: –
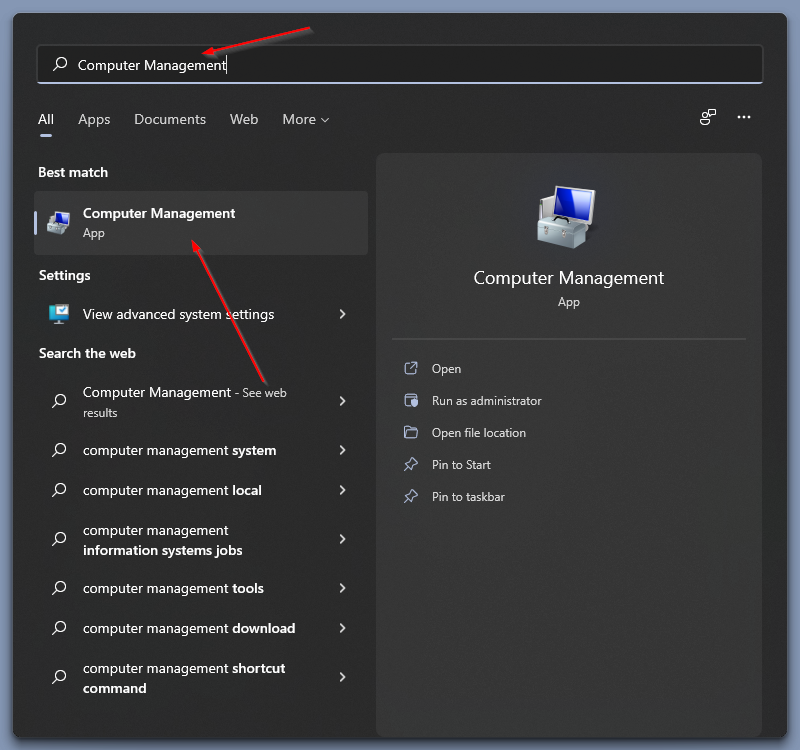
Step 1. Press the
Also read: Several ways to open Computer Management in Windows 10.
Step 2. On the Computer management double click on that

Step 3. Now click on that
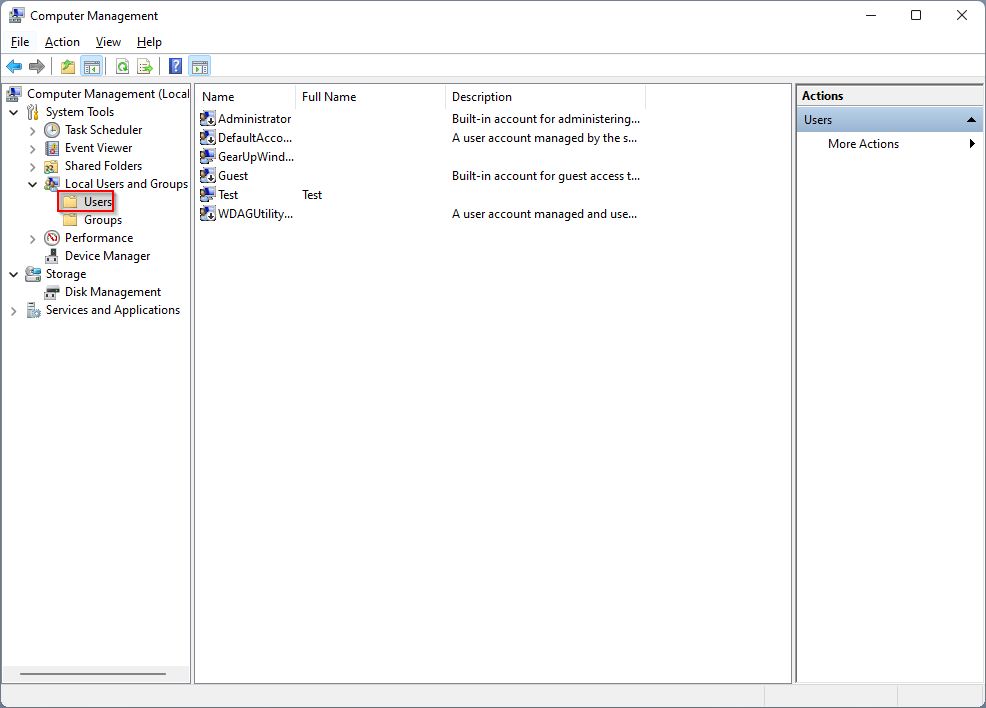
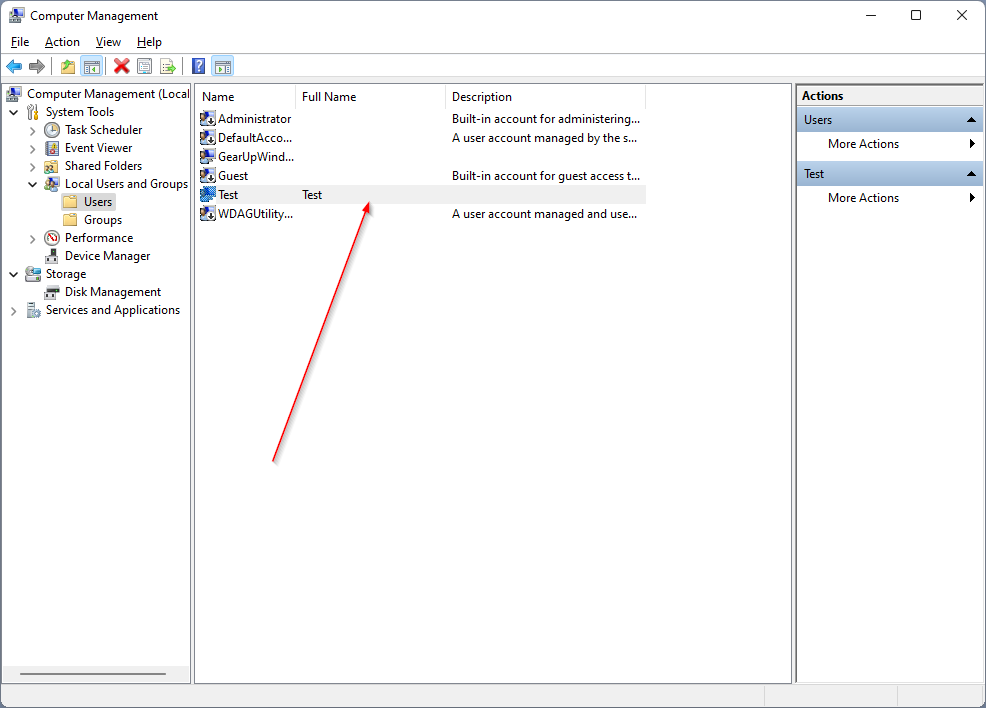
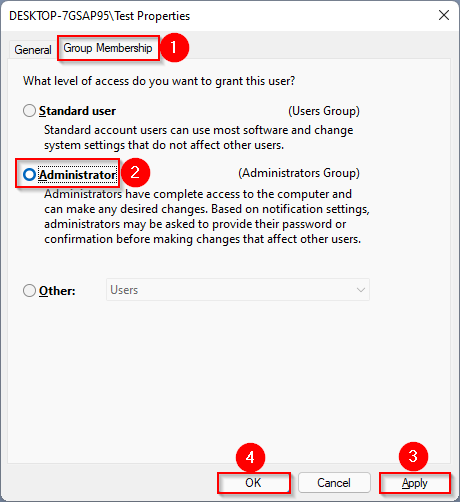
Step 4. After following the steps above, you will see all of the user accounts on your computer in the middle pane. In the middle column, double-click the user account that you want to change to Administrator.
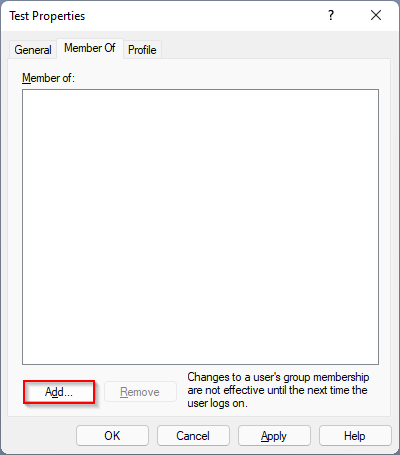
Step 5. In the properties dialog box that opens, click the
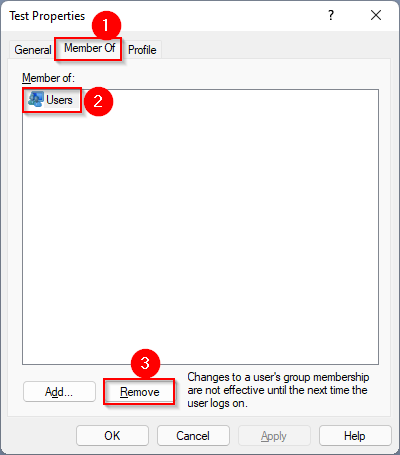 Step 6. Now click on that
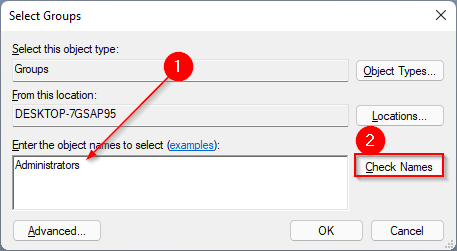
Step 7. Enter in the pop-up window
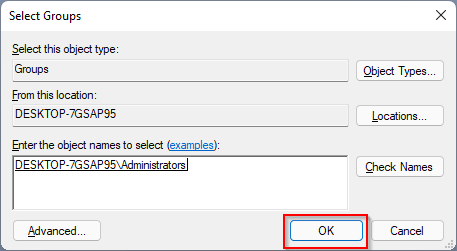
Step 8. Finally, click the
How do I change a user account to an administrator via the command prompt on Windows 11/10?
Step 1. Open the command prompt with the administrator.
To open the Command Prompt window, first press
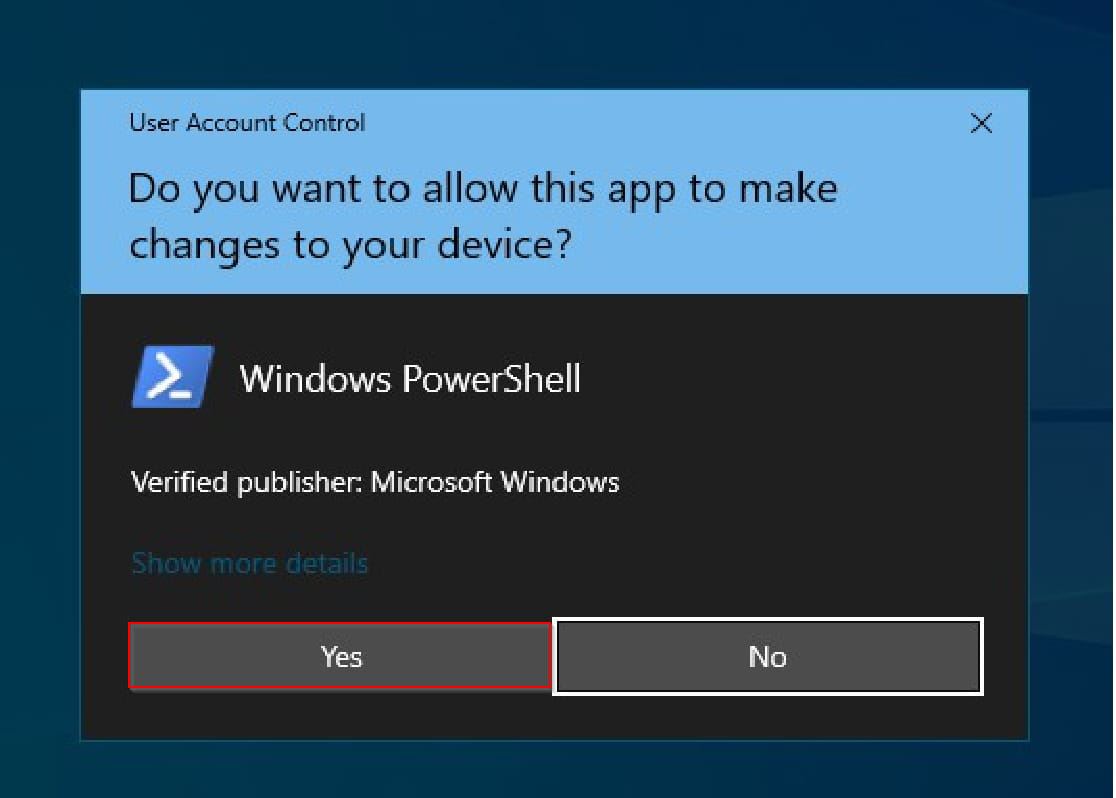
If the User account control Dialog prompts click on the

Step 2. Im command prompt, enter the following, and then press
net localgroup administrators "UserAccountName" /add
note: Replace UserAccountName with your user account; that’s right, you want to increase it.
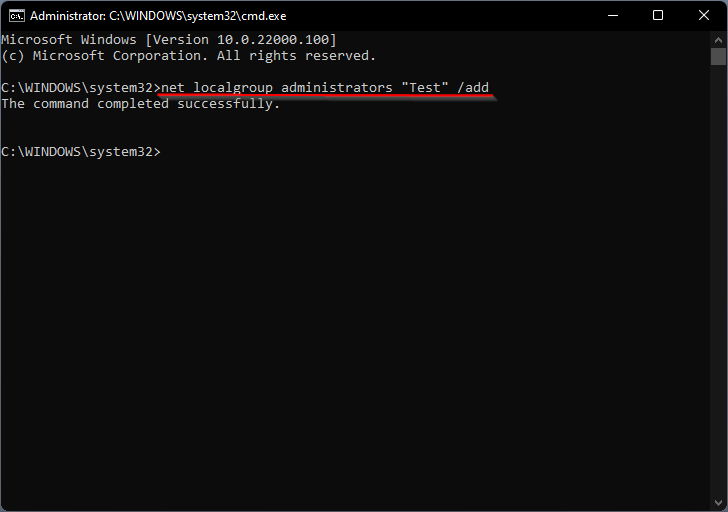
You will receive the message “The command was completed successfully”. Your local user account rights have now been transferred to the administrator.
How do I change a user account to an administrator with PowerShell?
PowerShell is another way to change a user account to Administrator. Follow these recommended steps:
Step 1. Open Windows PowerShell with administrator rights.
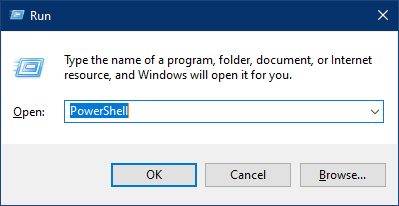
To start Windows PowerShell with elevated privileges, press
If the User account control Dialog box appears, click the
Step 2. In the elevated PowerShell window, type the following and press Enter on the keyboard:
Add-LocalGroupMember -Group "Administrators" -Member "UserAccountName"
note: Substitute User account name with your user account; That’s right, you want to increase it.
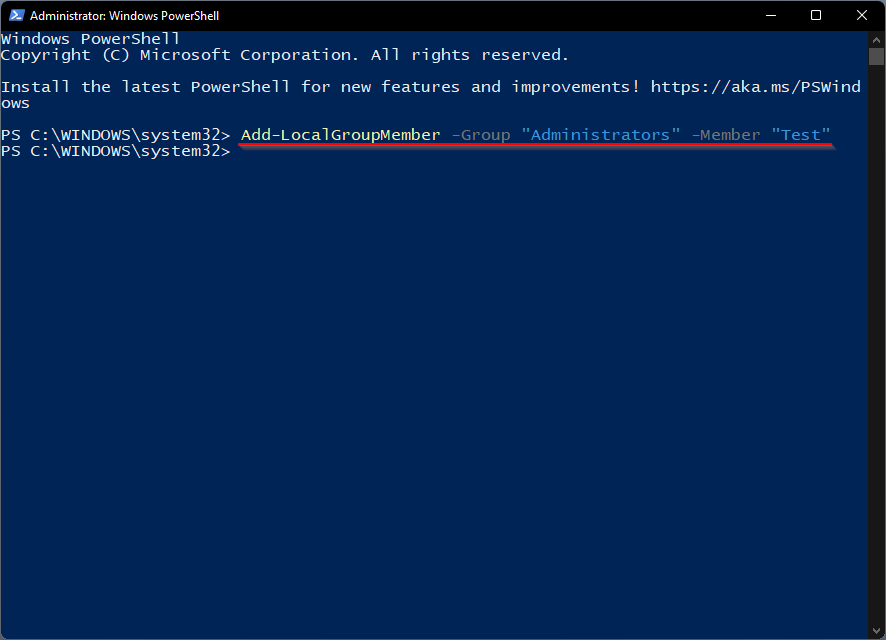
That’s it. Once you run the above command in PowerShell, a restricted user is an administrator on your computer.
How do I change a user account with the Netplwiz or Control Userpasswords2 command in Administrator?
Netplwiz and Control Userpasswords2 are two commands that you can use to change user account permission on all versions of Windows including Win 11 and 10.
Step 1. Press
Step 2. Im Run Dialog box, enter the following and press
Netplwiz
or
Control user passwords 2

Step 3. On the user account In the Users for This Computer window, select the user account, then click the
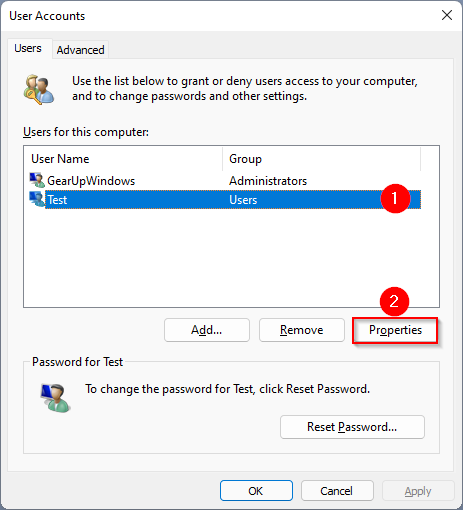
Step 4. In the User Properties window, select the option
That’s all.