Microsoft XPS Document Writer Printer is an integrated application on Windows 11; however, it remains disabled by default. To open the XPS / OXPS document, you need to have the XPS viewer Application first on your PC. After installing the XPS Viewer on your computer, you can view XPS documents on your PC. You will also need to add a Microsoft XPS Document Writer Printer to your PC to print a document as XPS / OXPS. It looks like a different printer when you press
You may find yourself using your physical printer instead of a Microsoft XPS Document Writer printer a lot and you may not need to do so. On the other hand, this printer is useful when dealing with XPS / OXPS files. Depending on your needs, you can add or remove this printer from your Windows 11 computer or laptop.
This Gearupwindows article will teach you how to add or remove Microsoft XPS Document Writer Printer and XPS Viewer on Windows 11. As mentioned above, it will remain disabled on your PC by default. So to use it you have to activate it first.
Topics covered
How do I add or remove a Microsoft XPS Document Writer printer in Windows 11?
Microsoft XPS Document Writer is an optional feature of Windows 11, which means you can add or remove it as needed. To add this printer or your PC, do the following:
Step 1. Click
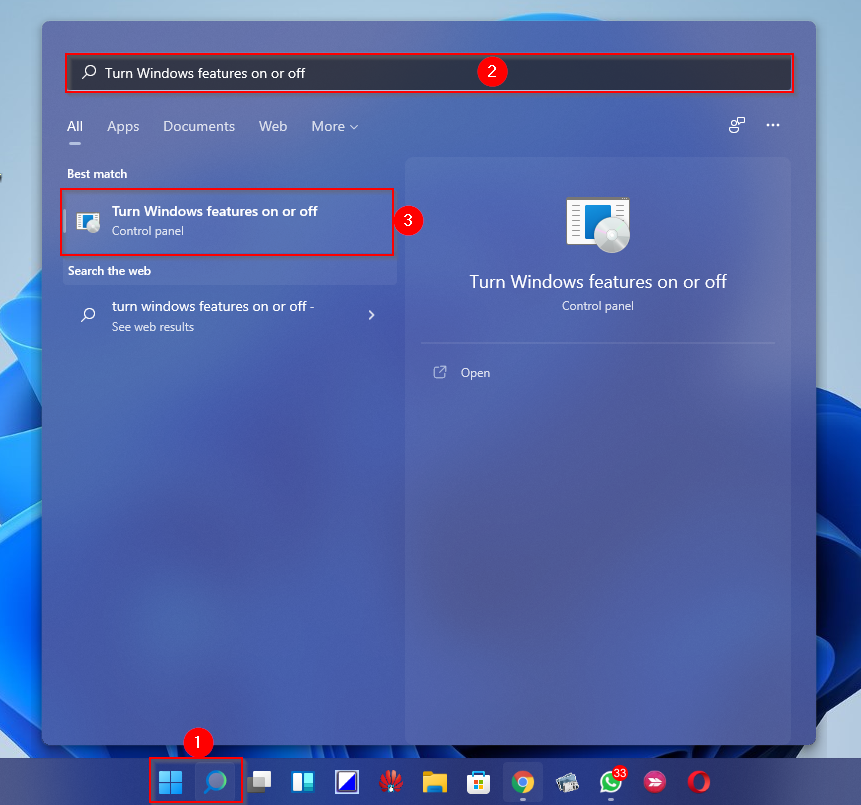
Step 2. On the Windows functions Window that opens, enable / disable the option
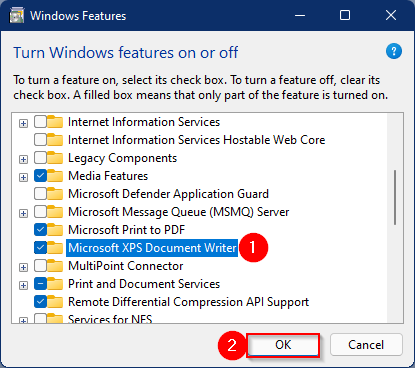
Once you complete the above steps, the Microsoft XPS Document Writer printer will be added or removed from your PC depending on your choices.
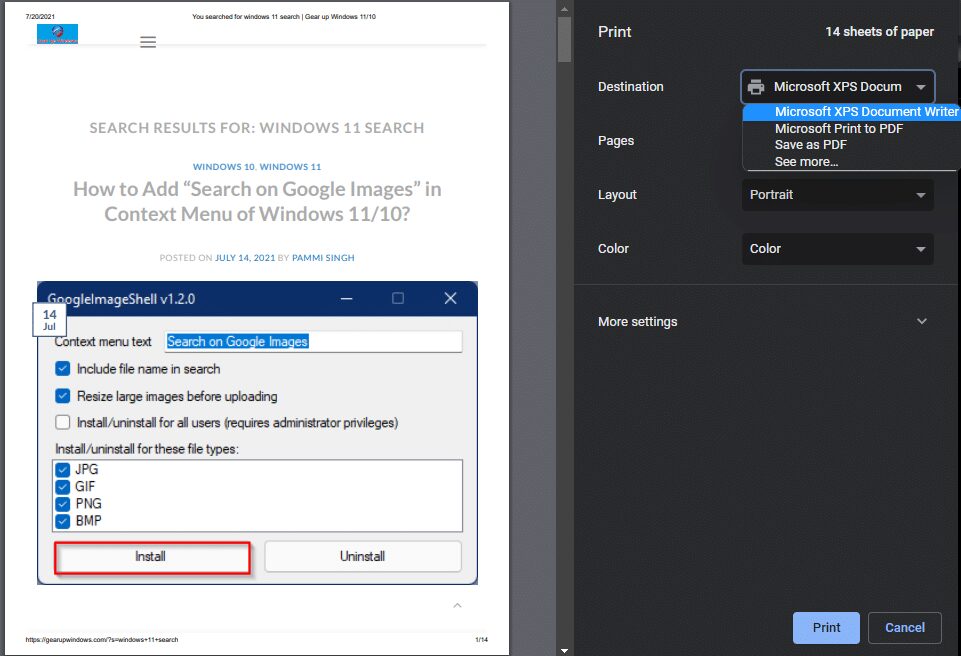
If you added a Microsoft XPS Document Writer printer to your PC while printing, you will see that printer in the list.
How do I install XPS Viewer in Windows 11?
Step 1. Press
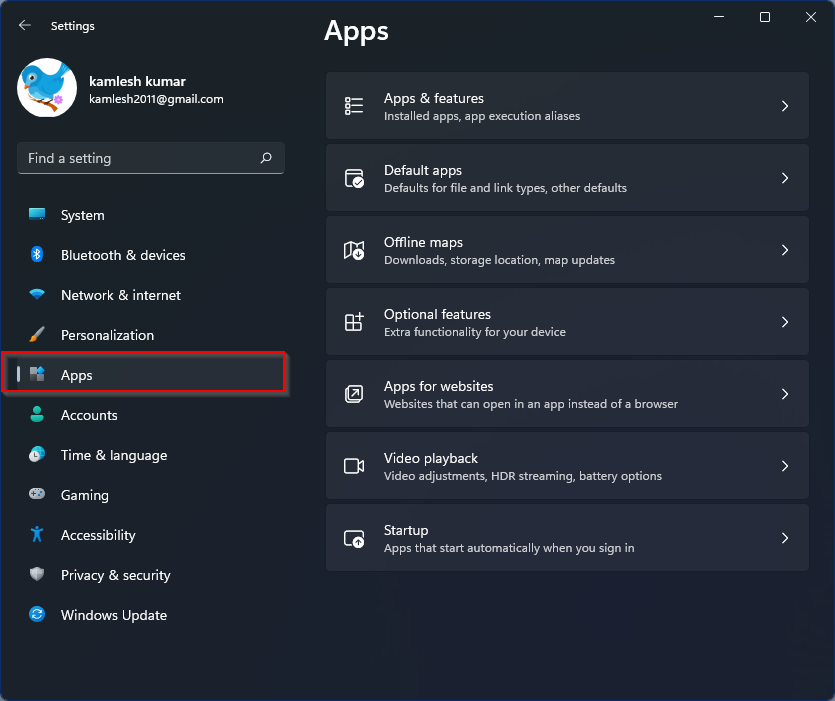
Step 2. On the right side window of Apps, Click on that
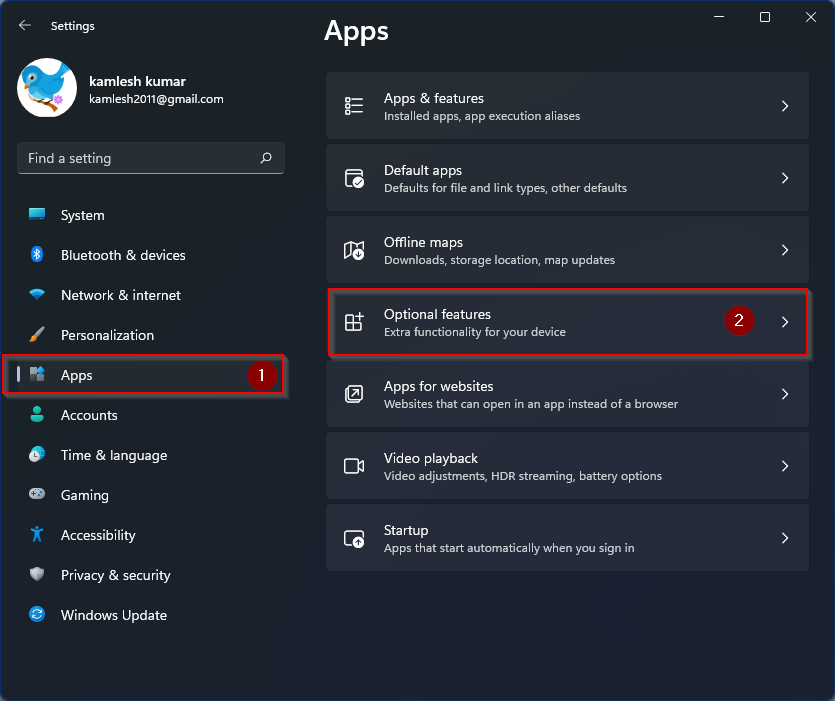
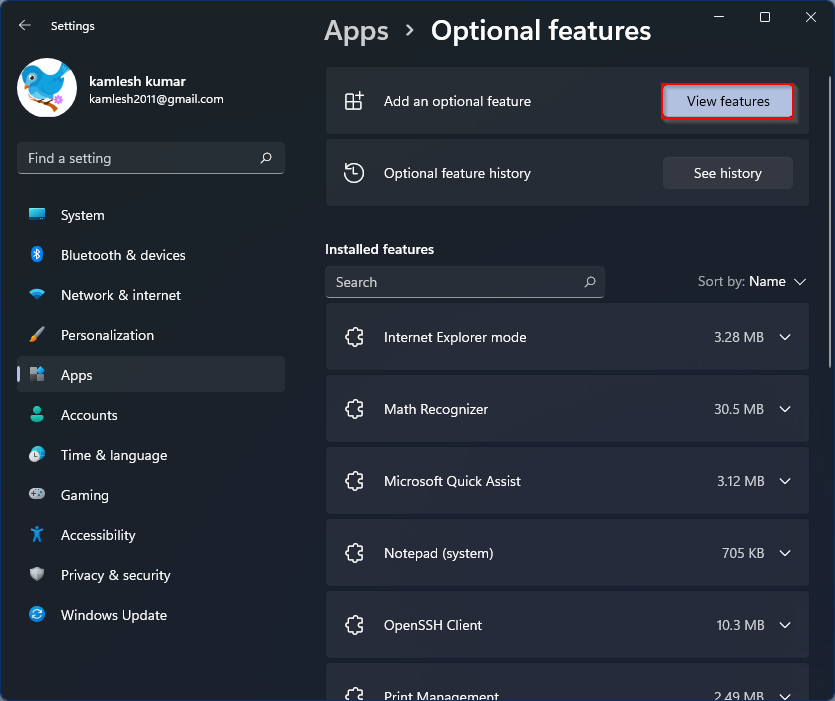
Step 3. Now click on that
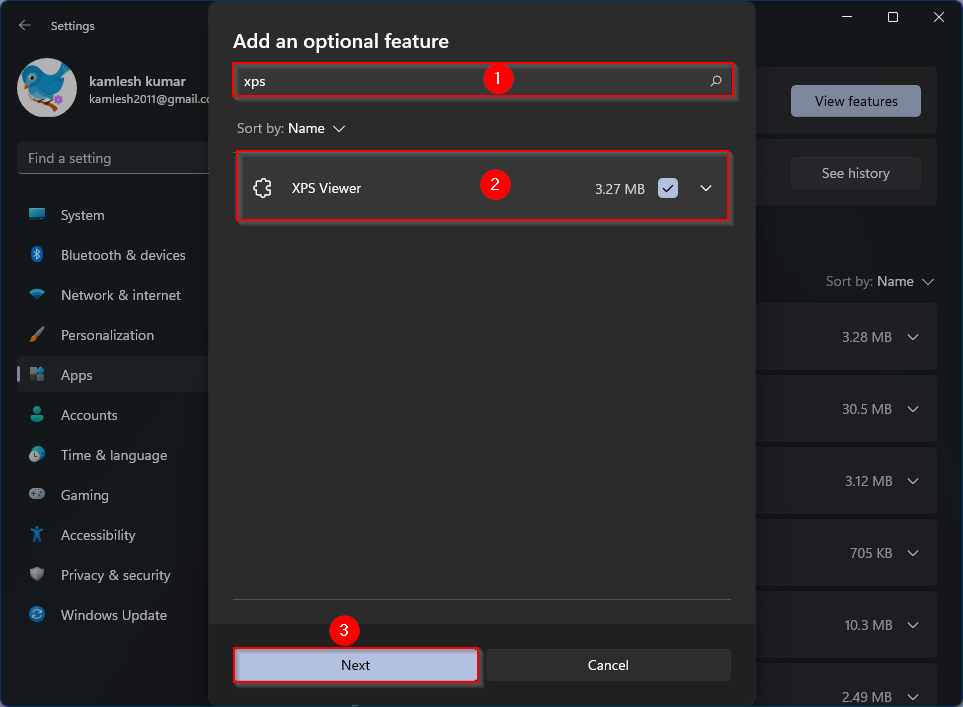
Step 4. In the pop-up window that appears, enter XPS in the search field. In the available search results, check the box “XPS viewer“And then click the Next button.
After following the steps above, the XPS Viewer application will be installed on your PC. You can now open XPS and OXPS documents on your computer.