With Windows 11, Microsoft has introduced a revamped Settings app. However, while the new Settings app makes it easy to find settings and options, it can confuse users upgrading from Windows 10.
In Windows 10, we could uninstall an application or program directly from the Settings application. We had to navigate to Settings> Applications> Applications and Features page, click on the application we wanted to uninstall, and then click the Uninstall button to get rid of the application. However, the procedure has changed slightly in Windows 11, thanks to the new redesigned Settings app.
Below are the four ways to uninstall apps in Windows 11.
Method 1 of 4
Uninstall apps through Settings in Windows 11
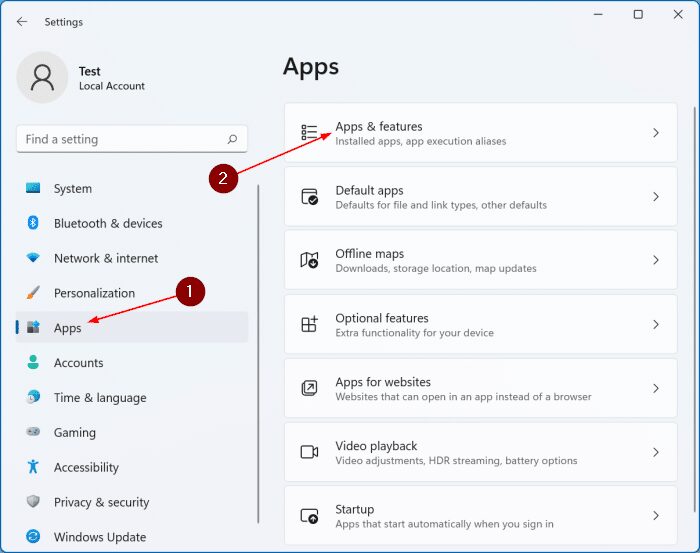
Step 1: Open the Settings app. On the left side, click Applicationsand then on the right side, click Apps and Features.
Step 2: Now, scroll down the list of apps. In Windows 10, clicking on the application entry would reveal the Uninstall option.
In Windows 11, to uninstall an app, you need to click on the little three dots icon (?) that appears next to the application entry (see image below) and then click the Uninstall option.
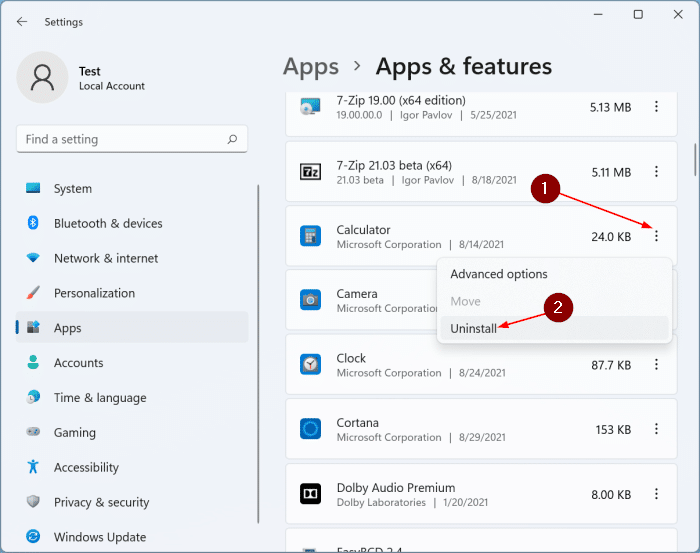
Step 3: When you receive the confirmation, click the Uninstall again to remove the selected application from Windows 11.
Method 2 of 4
Uninstall apps via Start / Search in Windows 11
Did you know that you don’t need to open the Settings app to uninstall an app? All you need to do is use search. Here is how.
NOTE: Although most applications can be removed using this method, Windows 11 does not support uninstalling some inbox applications such as Clock and Cortana in this way.
Step 1: Open the Start menu or click the search icon on the taskbar to open the search panel and type the name of the application you want to uninstall.
Step 2: As you type the application name, you will see the application entry and related options. On the right side, as you can see in the image below, there is an option to uninstall the application.
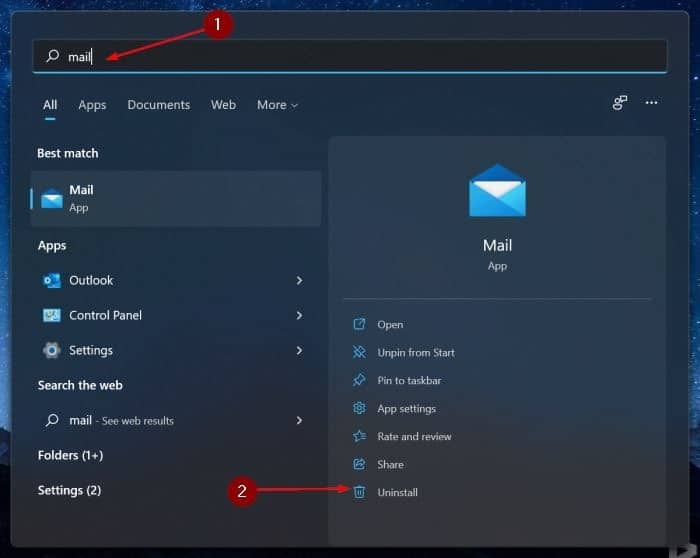
Click on the Uninstall option.
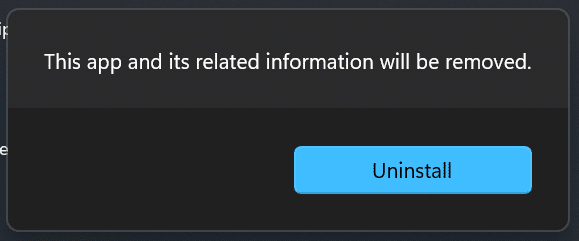
Step 3: Clicking on the Uninstall option opens the following message.
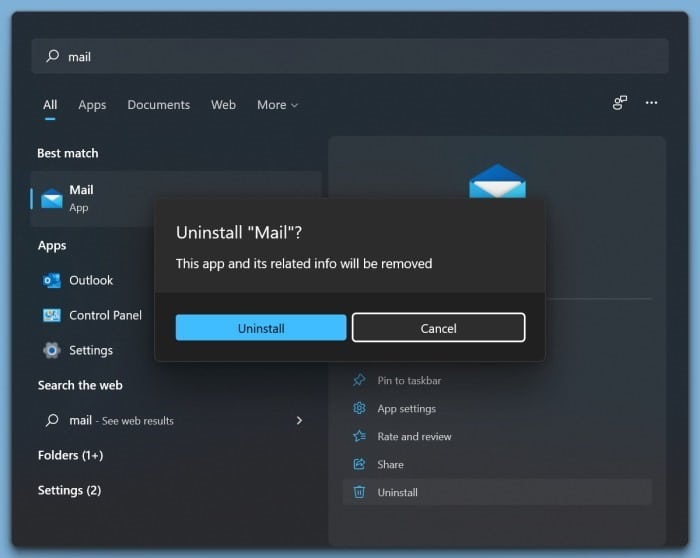
Step 4: Click on the Uninstall to start uninstalling the application from your Windows 11 installation.
Method 3 of 4
Uninstall applications through the Start menu in Windows 11
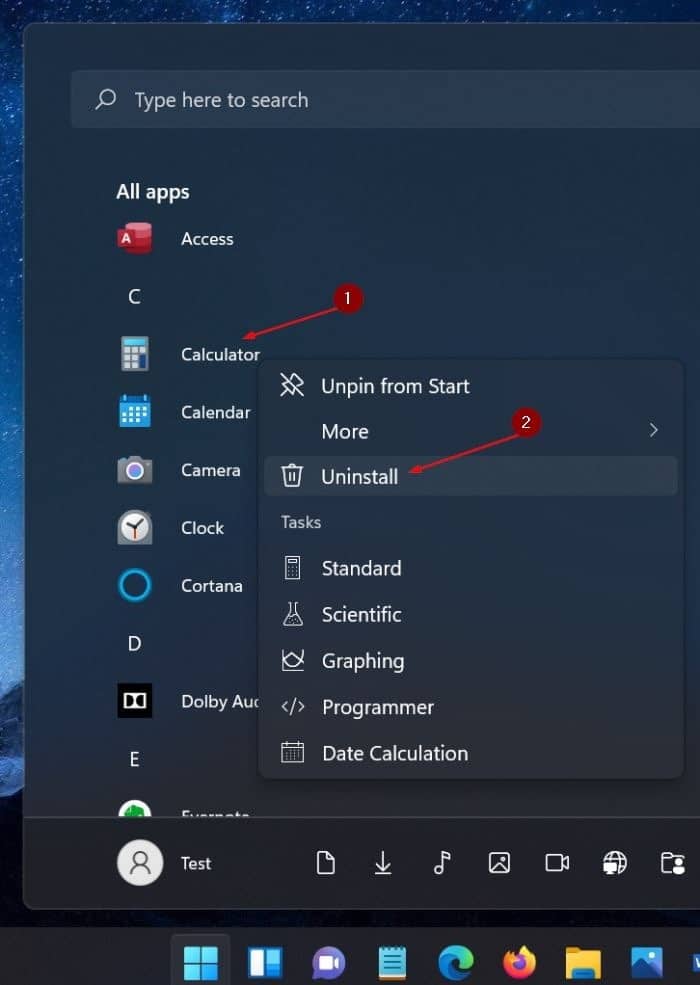
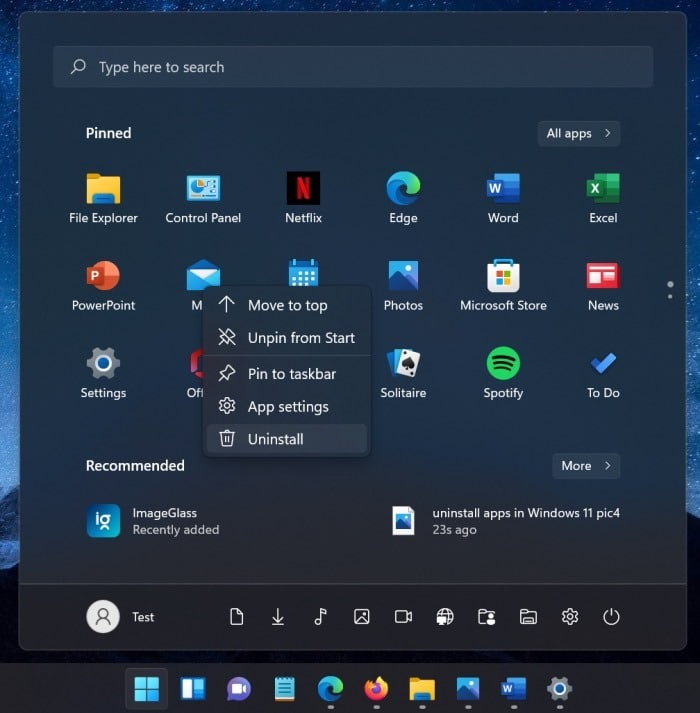
Step 1: Open the Start menu. Check if the application you want to uninstall is pinned to the Start menu. If so, the right button of the mouse on it and then click on the Uninstall option. Otherwise, follow the instructions in Method 4 (scroll down to see).
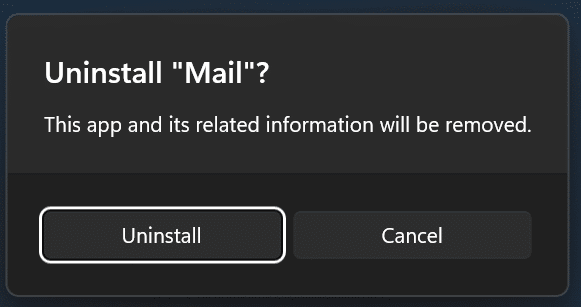
Step 2: When you get the following confirmation dialog, click the Uninstall to remove the application from the Windows 11 installation.
Method 4 of 4
Another way to uninstall Windows 11 apps via the Start menu
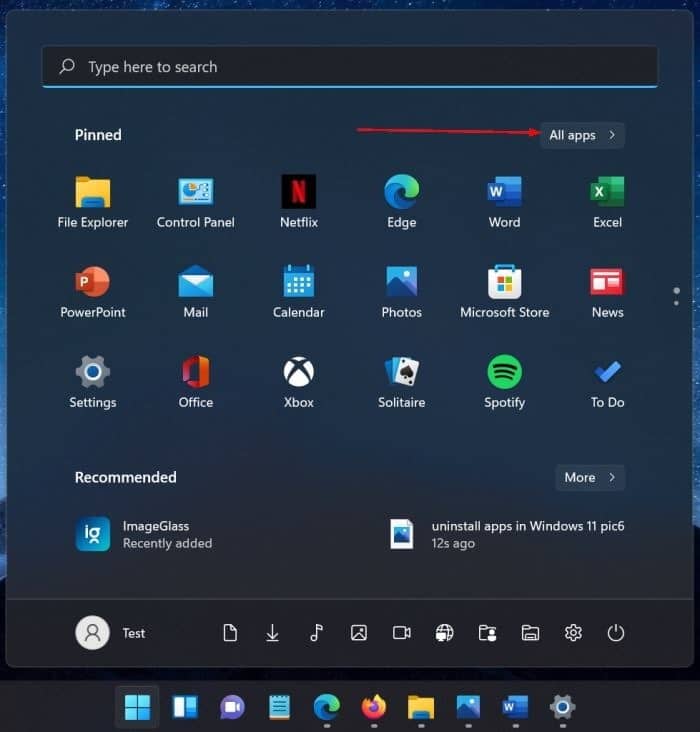
Step 1: Open the Start menu. Click on the All applications to see all installed applications.
Step 2: Scroll down the list to see the application you want to uninstall.
Step 3: Make a the right button of the mouse in the app and then click the Uninstall option. Click on the Uninstall when you get the message.