See if you can install Windows 11 when it is deployed.
Microsoft has finally announced Windows 11, and although it won’t launch until later this year, the software giant has released compatibility requirements for the new version of Windows.
Windows 11 will be a free upgrade, and the minimum requirements for your system to install it aren’t that far off Windows 10. But there is one big issue that can deter many older Windows PCs from Windows 11 compatible devices. list – Trusted Module Platform requirement.
Minimum System Requirements
The basic requirements for installing Windows 11 are as follows:
- Processor: 1 gigahertz (GHz) or faster with 2 or more cores on a compatible 64-bit processor or system on a chip (SoC)
- RAM: 4 gigabytes (GB)
- Storage: 64 GB or more storage device
- System Firmware: UEFI, secure boot compatible
- RPM: Trusted Platform Module (TPM) version 2.0
- Graphic card: Compatible with DirectX 12 or later with WDDM 2.0 driver
- Display: > 9 “with HD resolution (720p)
- Internet connection and Microsoft accounts: Microsoft account and Internet connectivity required for Windows 11 Home setup
What is TPM 2.0
Among these requirements for Windows 11 is a very curious requirement for TPM 2.0. What exactly is TPM 2.0? TPM, or Trusted Platform Module, is a chip in your computer that provides security-related hardware functions on your system.
It is a secure crypto-processor that performs cryptographic operations on your computer. And most people are undoubtedly wondering if their system has this TPM 2.0 chip.
To note: Although Microsoft recommends TPM 2.0, this is not the actual minimum requirement. As long as a system has at least TPM 1.2, TPM will not be a problem when installing Windows 11.
You can easily check if your system is compatible without going into TPM details on your computer.
System compatibility check
The fastest way to find out if your system is compatible is to use Microsoft’s PC Health Check app. Click here to download the application.
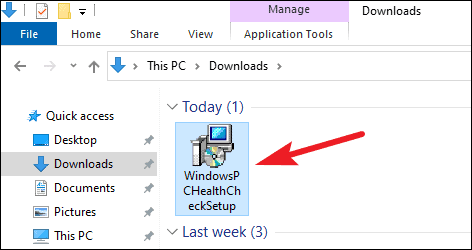
Go to your downloads and double click on the app to run the setup wizard. Follow the steps of the wizard to install the application.
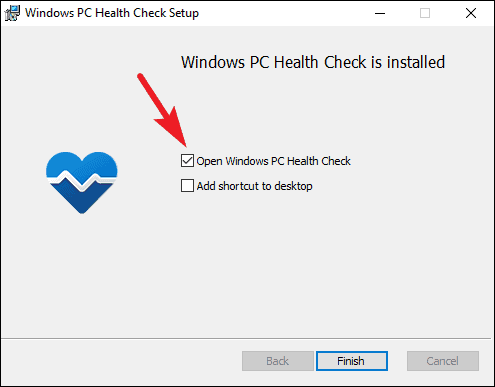
Once the installation is complete, make sure the “Open Windows PC health check” box is checked, and then click the “Finish” button.
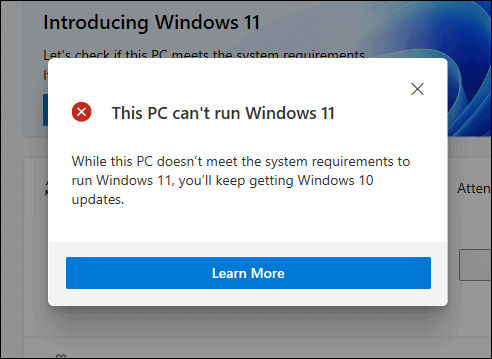
The application will run. Click the “Check Now” button to see if you can install Windows 11 when it is deployed.
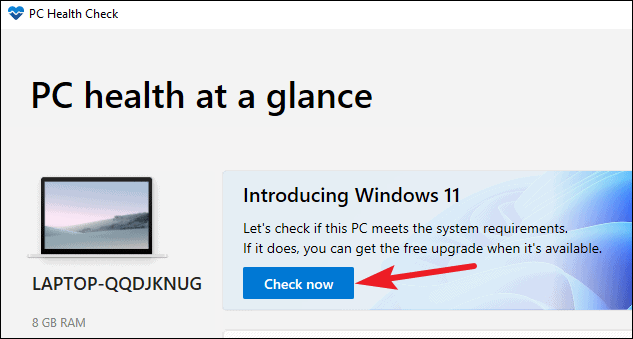
You will get one of two messages of “This PC can run Windows 11” or “This PC cannot run Windows 11”. If it is the first, there is nothing more to do. But if it’s the latter, the culprit in most cases is the TPM chip.
Unfortunately, the Windows Health Check app doesn’t provide any information on this. But you can see if your system has TPM chip and whether it is enabled or not.
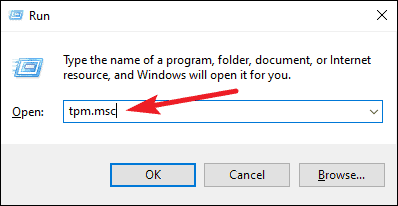
Press the ‘Windows + R’ keys on your keyboard. Then type tpm.msc in the Run windows and press the Enter key.
The Manage TPM on your local computer window will open. Go to Status and see if TPM is enabled. Also access the TPM manufacturer information and check the TPM version.
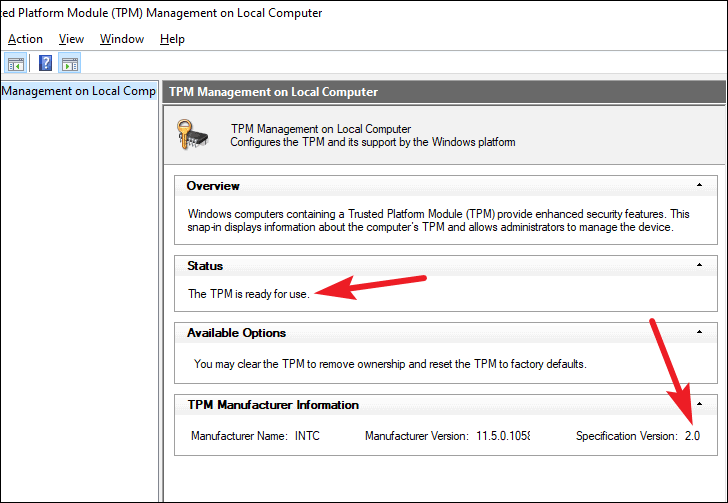
If the TPM version is compatible but is disabled, you will need to enable it in BIOS. Contact your system manufacturer to find out how to do this, as the process is different for each system.
Your system may be TPM 2.0 compliant but still cannot run Windows 11. One reason could be the minimum system requirements for Intel, AMD, and Qualcomm processors.
For Intel Core chips, support for Windows 11 begins at 8th generation. Thus, PCs running 7th generation and older Intel Core chips will not be compatible with Windows 11. You may find the complete list of Windows Client Edition processors released by Microsoft for Windows 11 here.