Increase your productivity by dividing the screen into multiple sections so that you can open up to four or six windows simultaneously in Windows 11.
Do you often work in multiple applications simultaneously? Switching between them can be confusing, time consuming, and even a nightmare when an app isn’t performing well. Fortunately, Windows 11 has a generous solution to boost your multitasking routines with all the new Snap layouts that make split screen easier than ever on your Windows PC.
Windows 11 Snap Windows feature allows you to view and access multiple windows at once by dividing your screen into multiple sections. You can display a maximum of four application windows at a time (six, if you have a high-resolution display), each occupying a defined section of the screen.
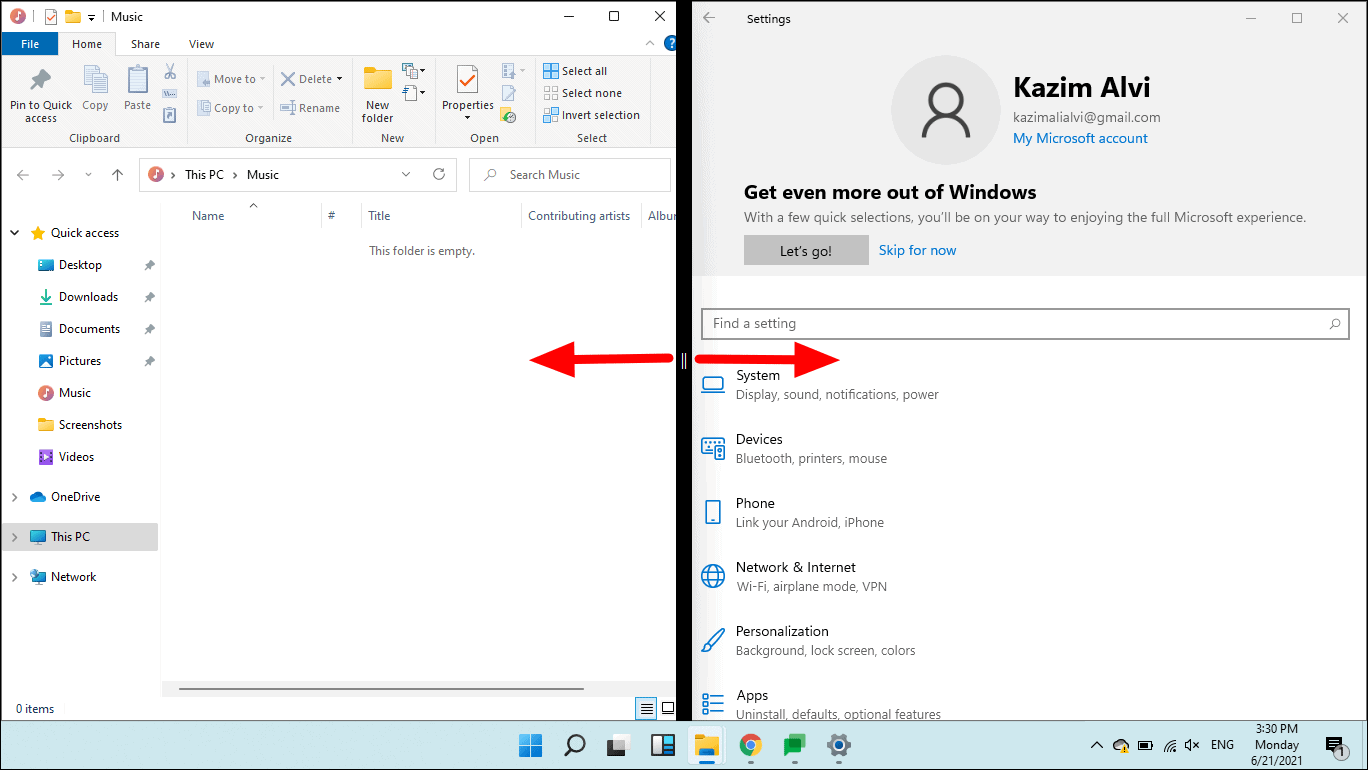
Before going ahead, you need to check if the ‘Snap windows’ setting which allows split screen is enabled.
Activate “Pop-up windows” in the settings
The “Windows Snap” feature is enabled by default on Windows 11, but it’s good to check the same before continuing.
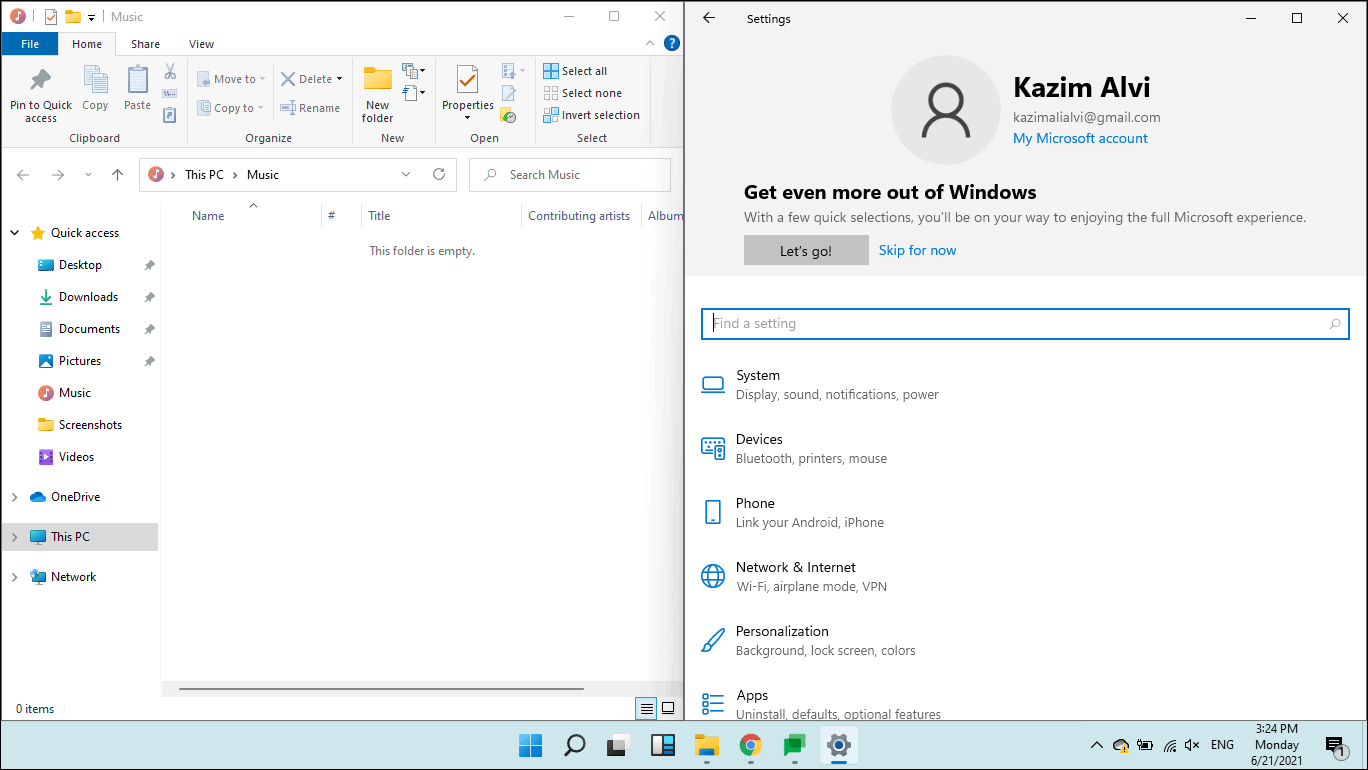
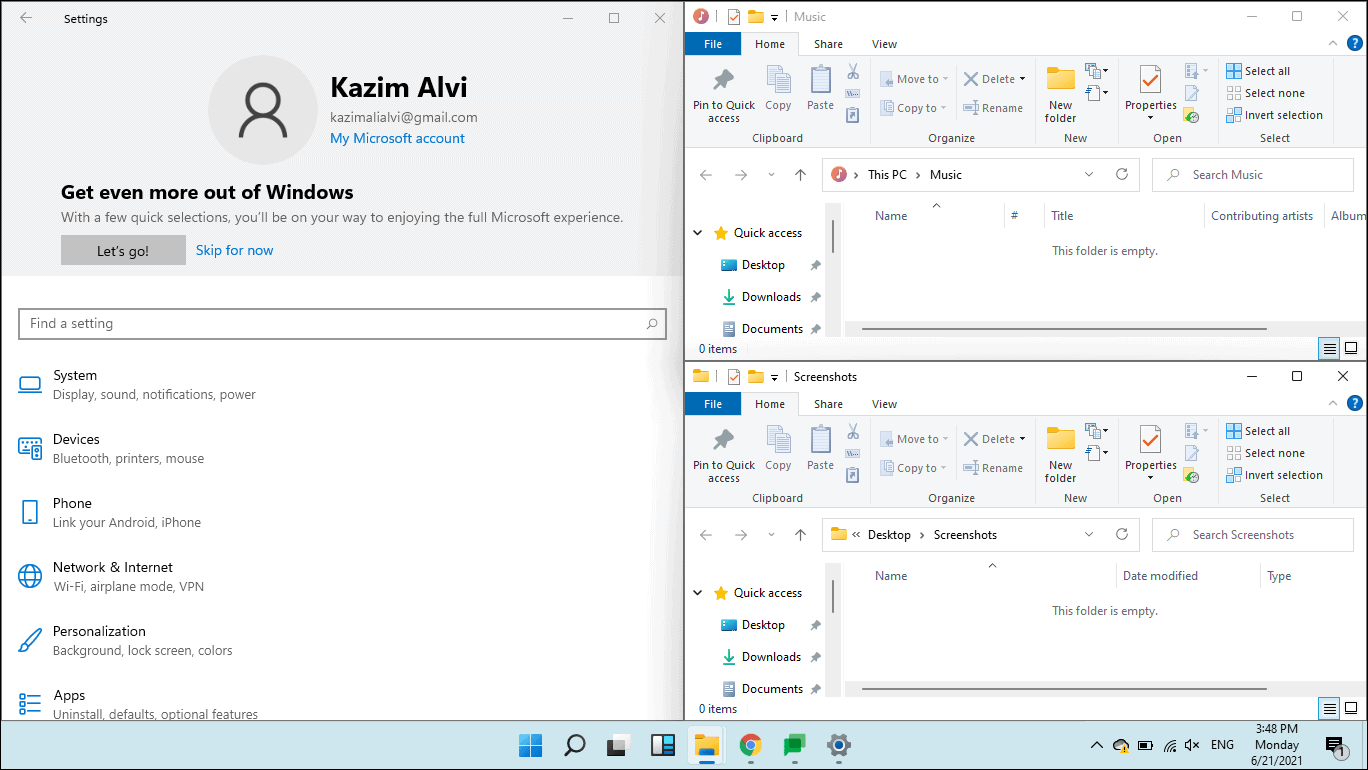
To check if the Snap windows function is activated, press WINDOWS + I to launch the “Settings” application on your PC, it must open with the Default System Settings view.
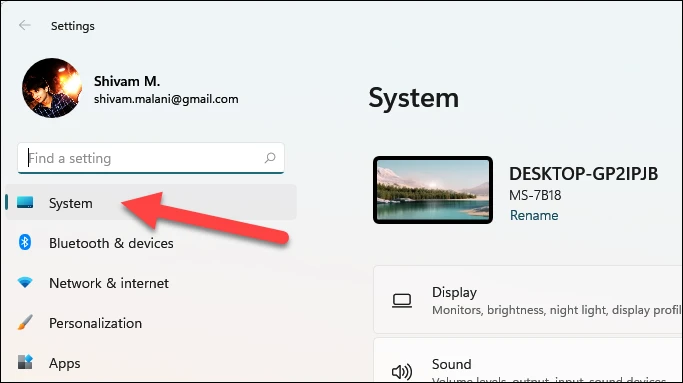
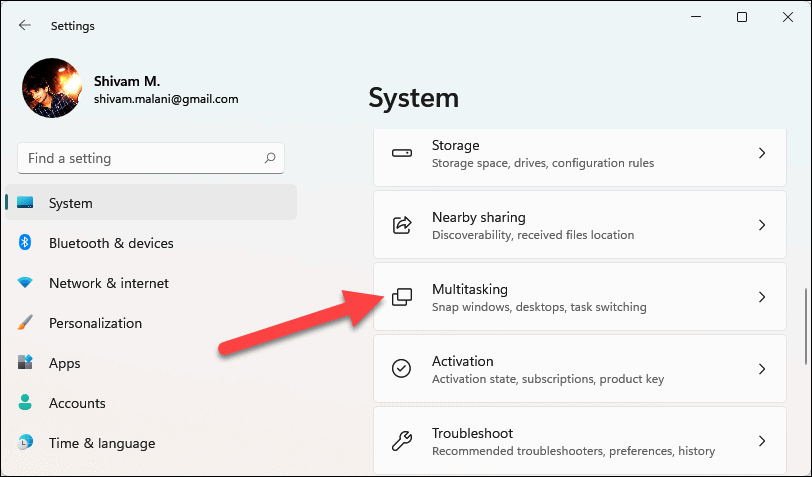
In System Settings, scroll down a bit and click on the ‘Multitasking’ option in the right panel of the settings window.
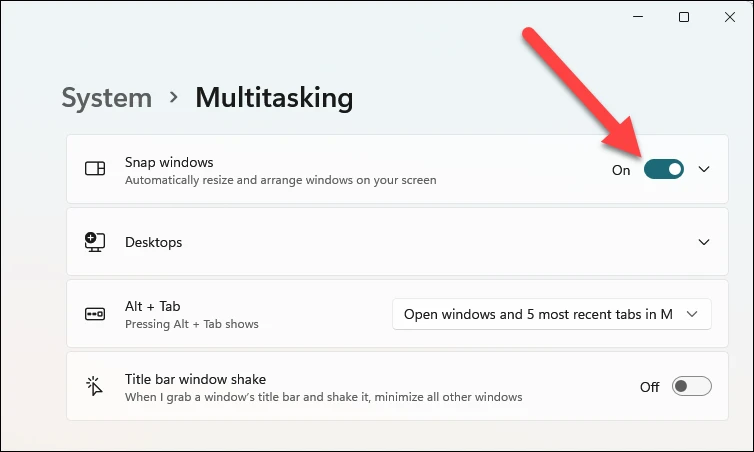
Now check if the toggle under “Pop-up windows” is enabled. If not, click the toggle to activate the setting.
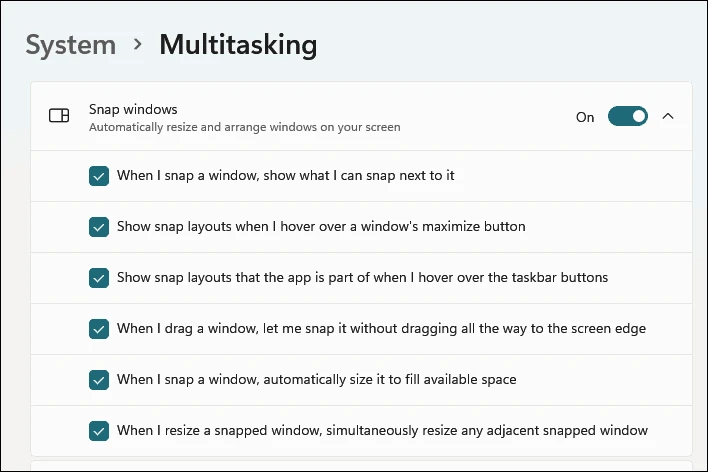
Also explore the different options listed below and check / uncheck as needed. However, it is recommended that you do not change the default settings until you have a good idea of the concept.
Using Windows 11 Snap Layouts
Windows 11 has made screen splitting much easier and faster with Snap Layouts built right into each window’s maximize button. You don’t need to hold and drag a window to the side, or work with keyboard shortcuts to trigger Snap windows.
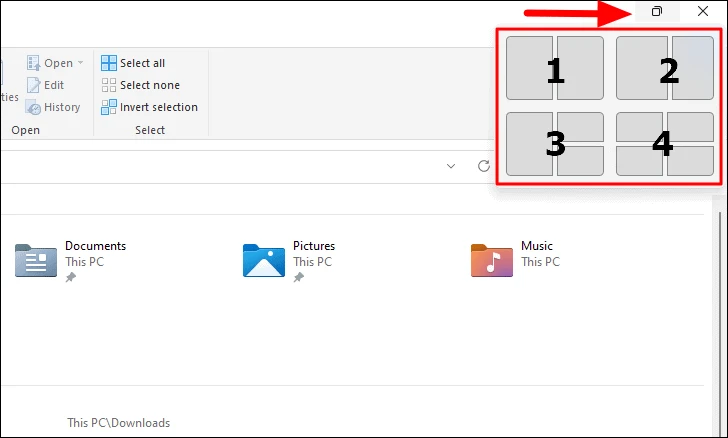
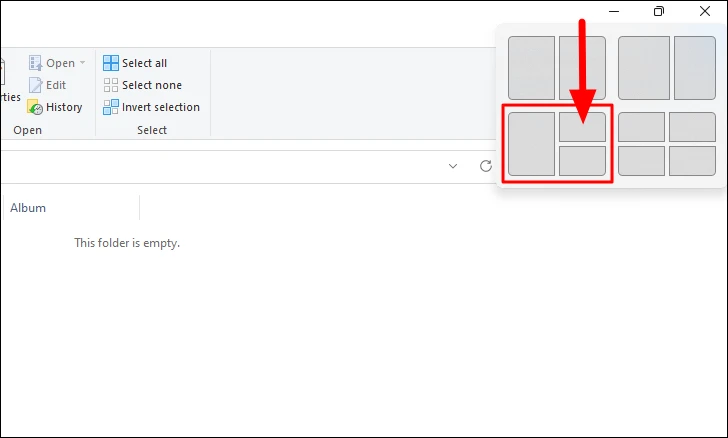
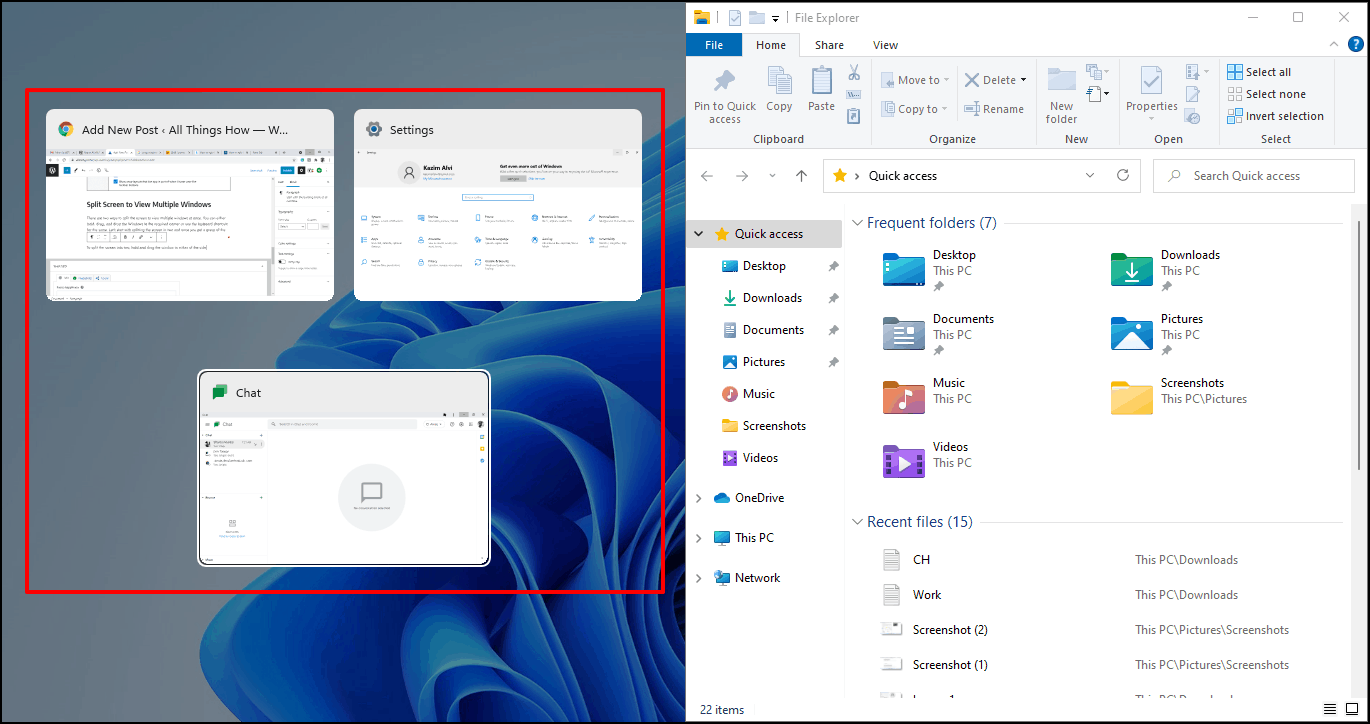
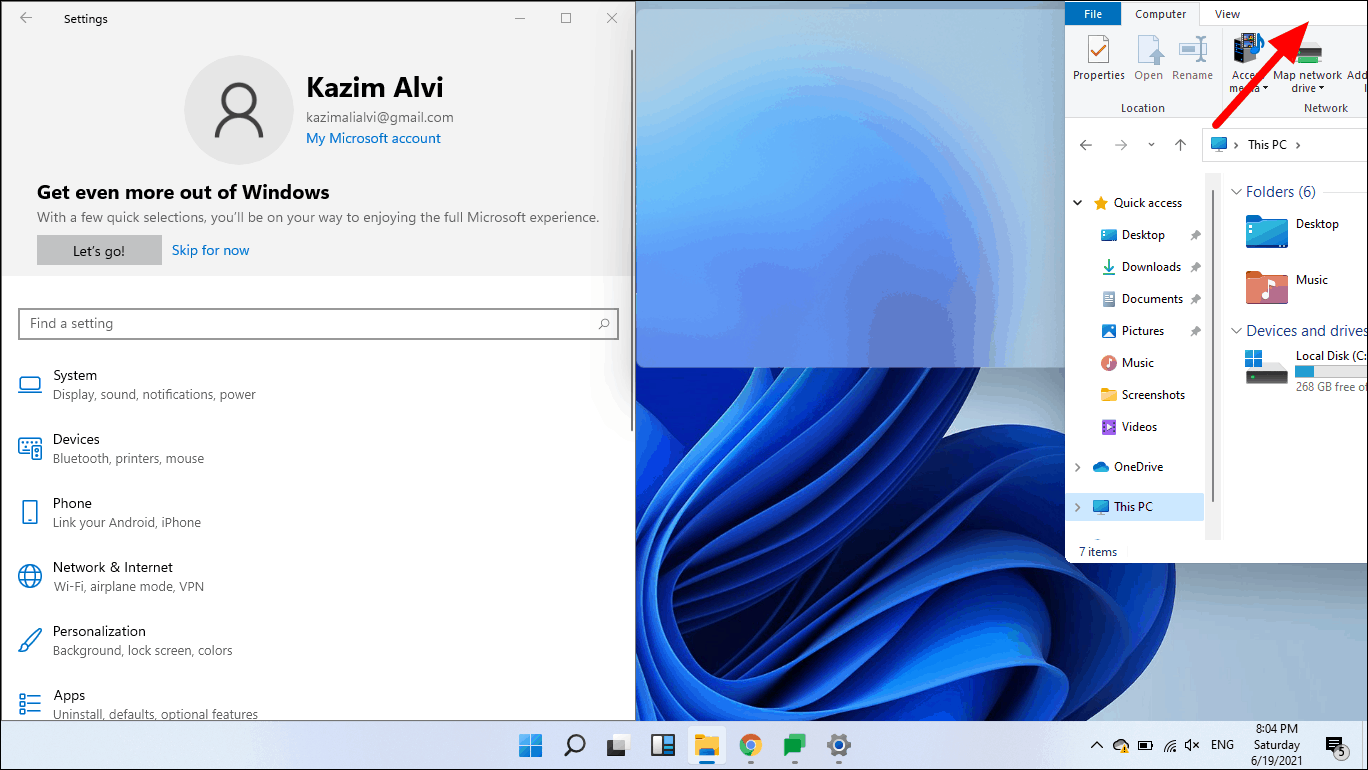
To use Snap Layouts in Windows 11, hover your cursor over the Maximize button near the top right corner of a window. A small box will appear with four or six different options for dividing the screen.
- The first option divides the screen into two equal parts, so the two windows will occupy equal space on the screen.
- The second also divides the screen in half, but there is an uneven distribution in terms of screen space occupied by windows. In this case, the one on the left takes up more space than the one on the right.
- The third option divides the screen into three, the left half occupied by a window and the right half into two quarters.
- The fourth option divides the screen into four parts, with each window occupying a quarter of the screen.
Now let’s see how it works.
Divide the screen into two sections
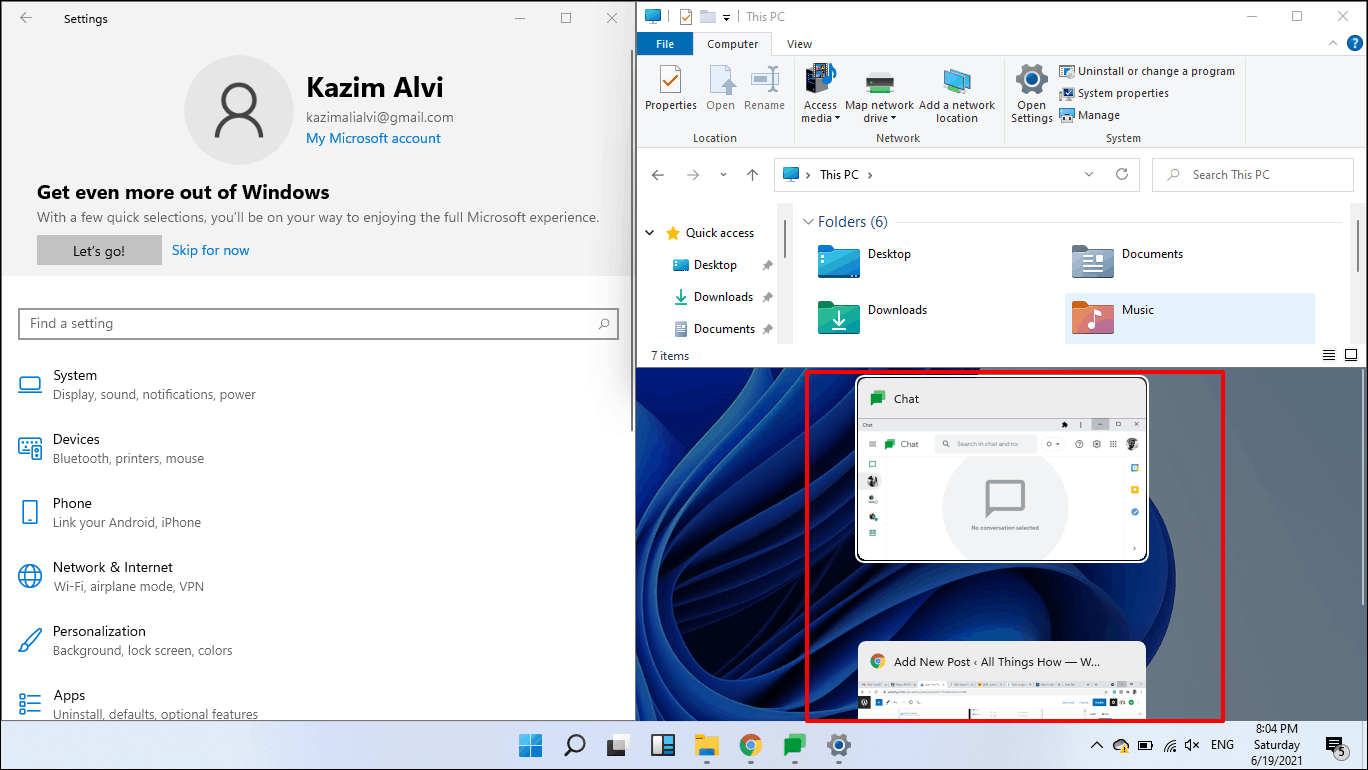
Launch the application windows you want to split, hover over the Maximize button and select one of the parts of the first option.
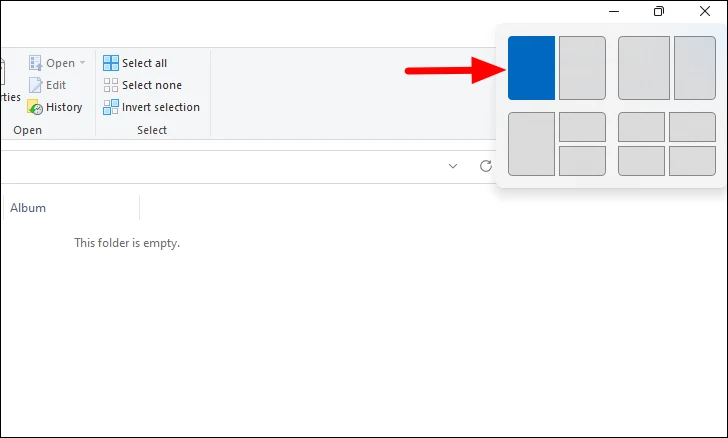
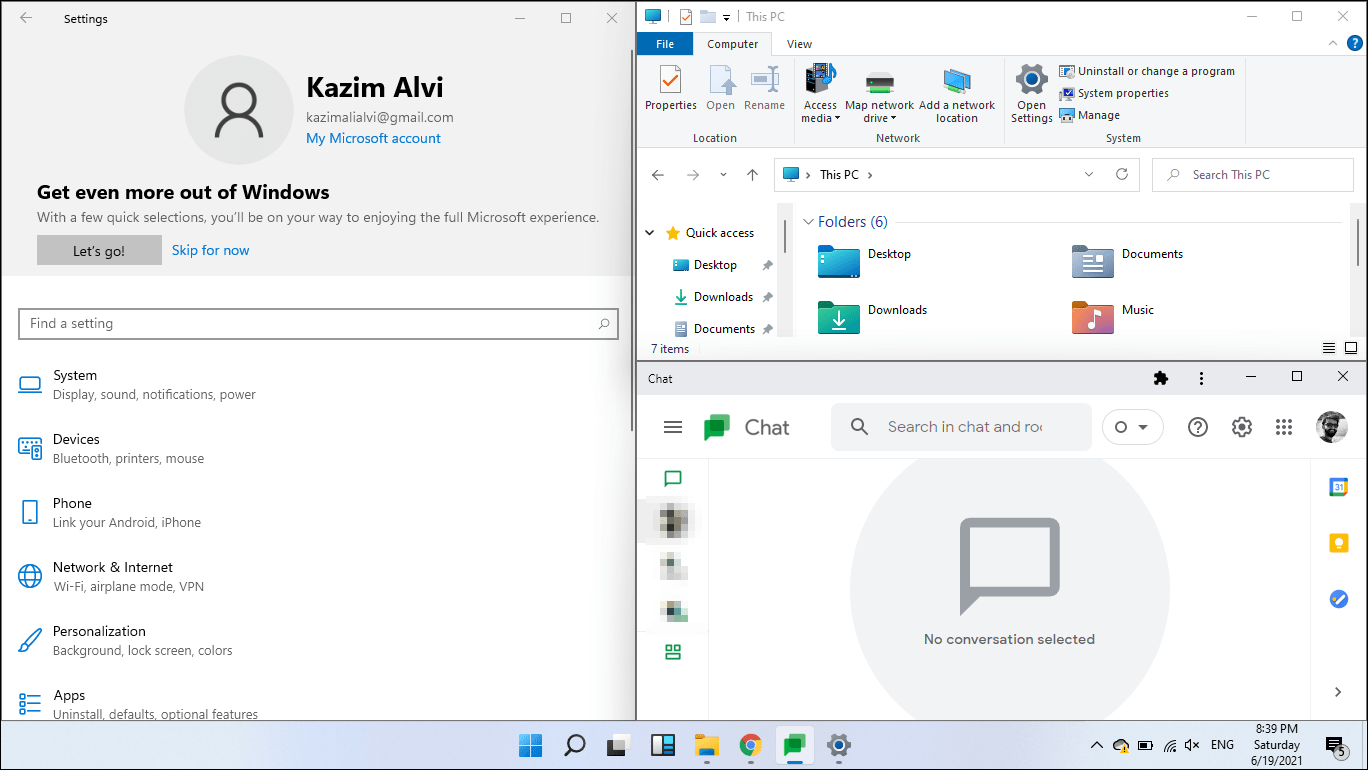
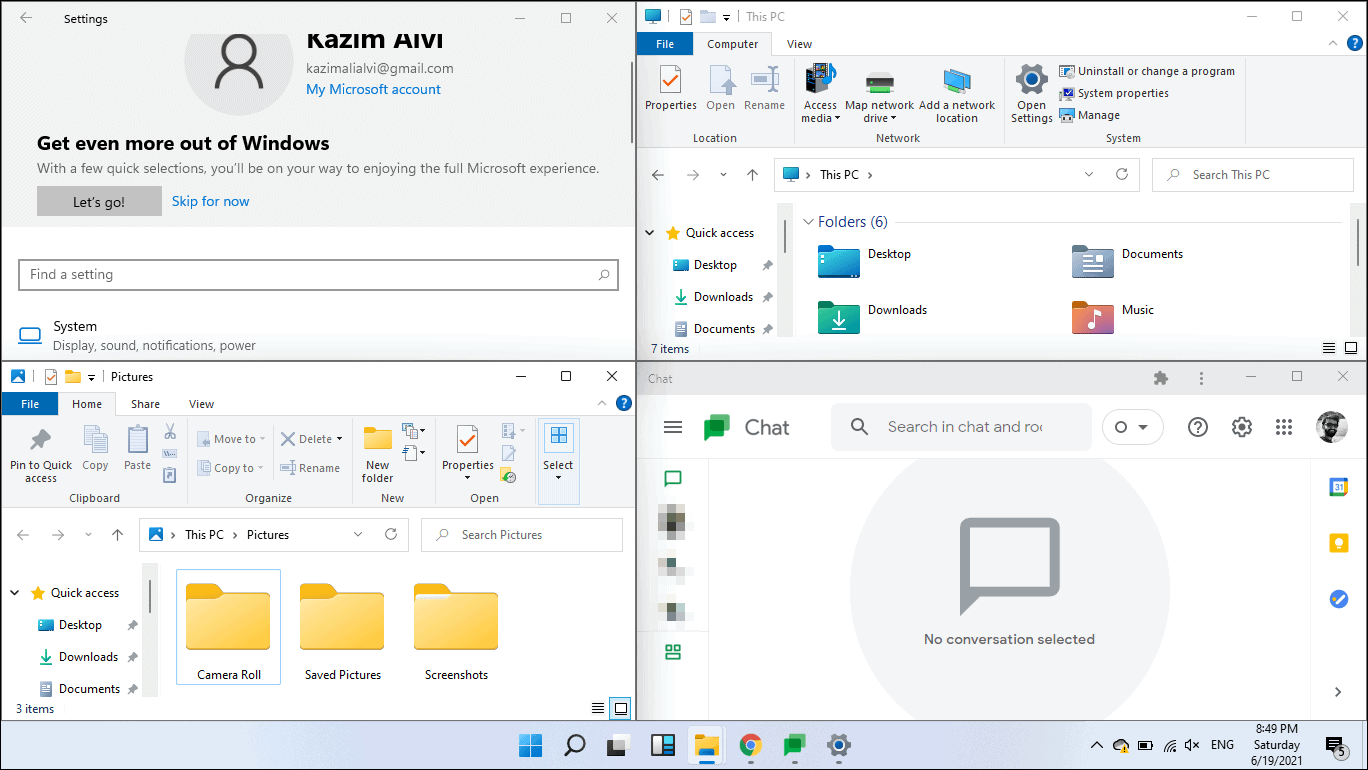
The current app window will now snap into the selected half of the screen, and you will find other open apps as thumbnails in the other half. Select the one you want to add to the other half of the screen.
You now have two application windows on the screen and can access and work on them simultaneously.
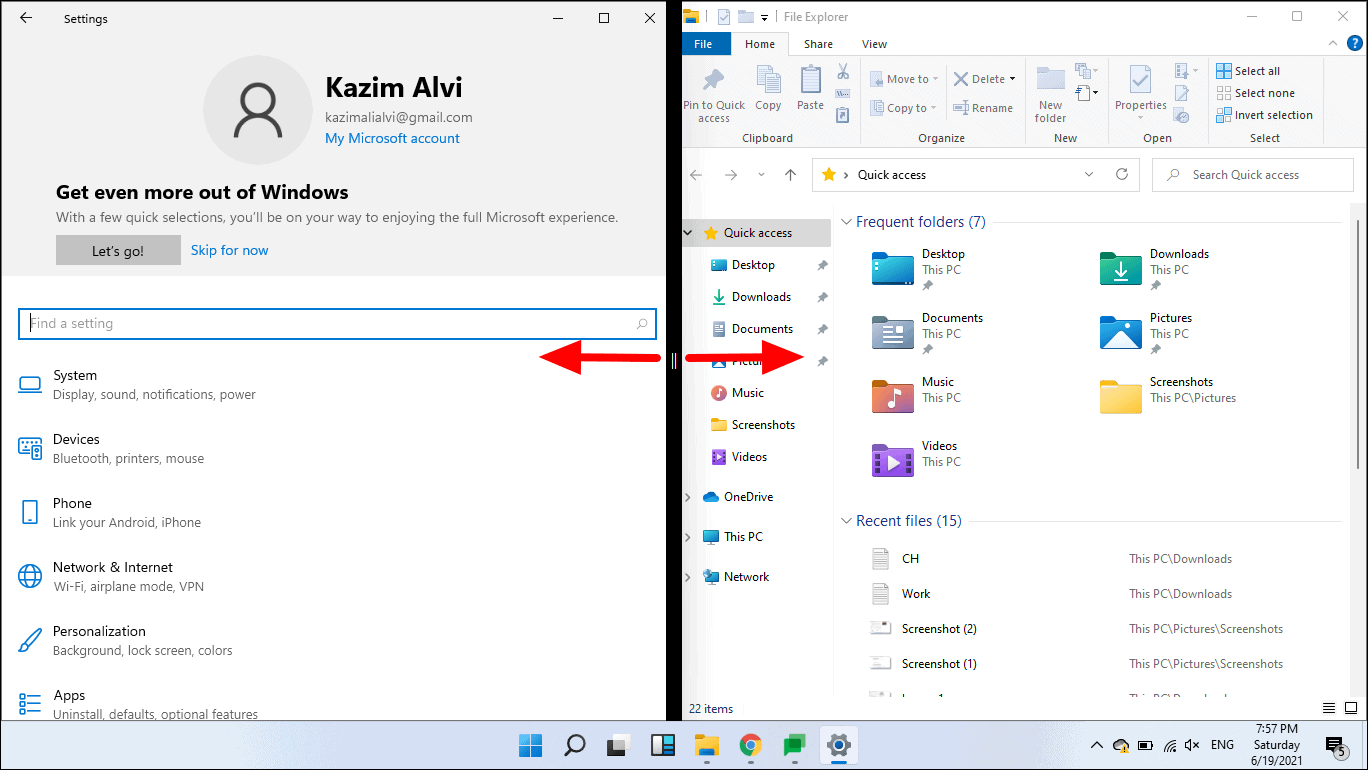
You also have the option to resize windows. Simply move the cursor over the line that separates the two windows and a thick dark line will appear. Now hold and drag the line back and forth to resize.
You can also split the screen in half with the second option and resize the windows if needed.
Divide the screen into three sections
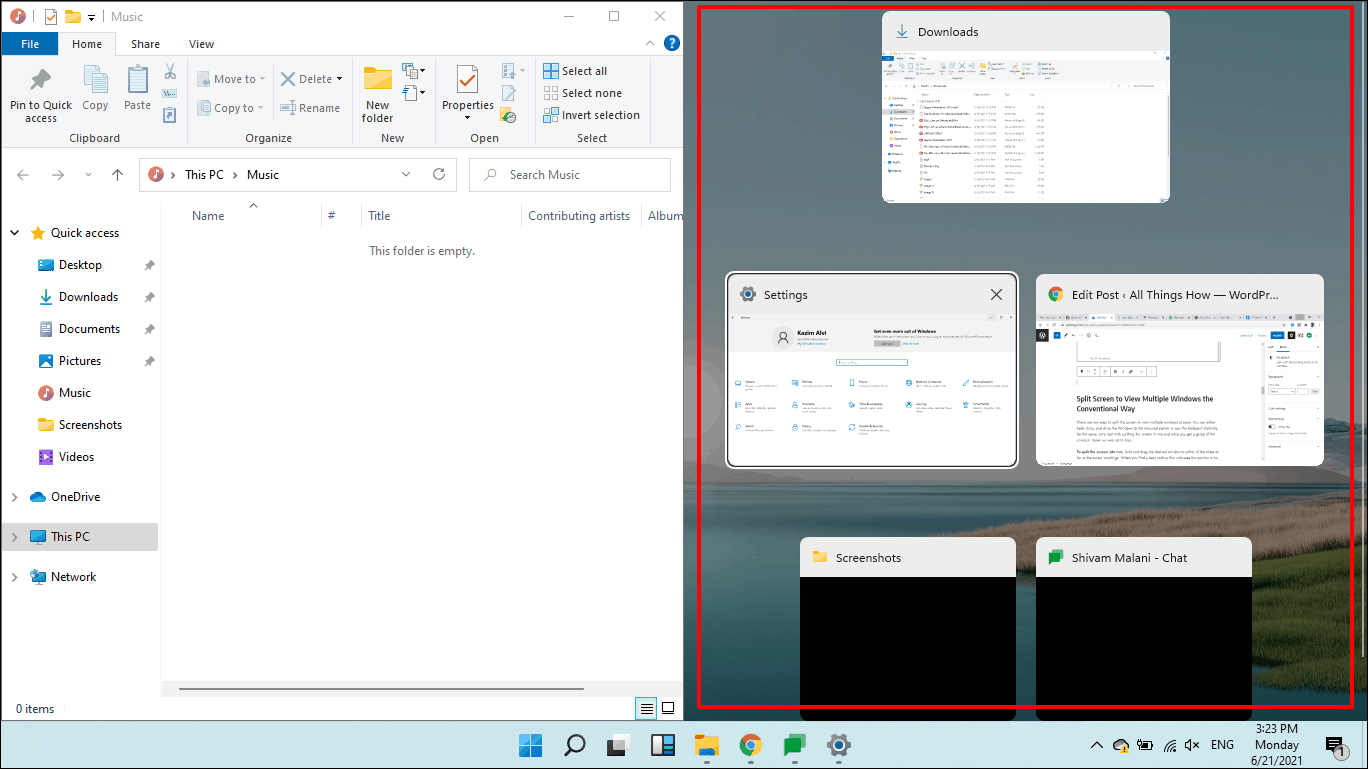
If you plan to work on three apps simultaneously, there is an option to split the screen into three. Hover over the Maximize button and select one of the three parts of the third option. For your better understanding, we have selected a quarter of them, although the concept remains the same.
The current window will fit to the part you selected earlier (upper right quarter) and other open windows will be displayed as thumbnails in the left half. Select the second window you want to work on. Also, keep in mind that since it would take up double the space of the other two, choose the one that requires a higher degree of attention and clarity.
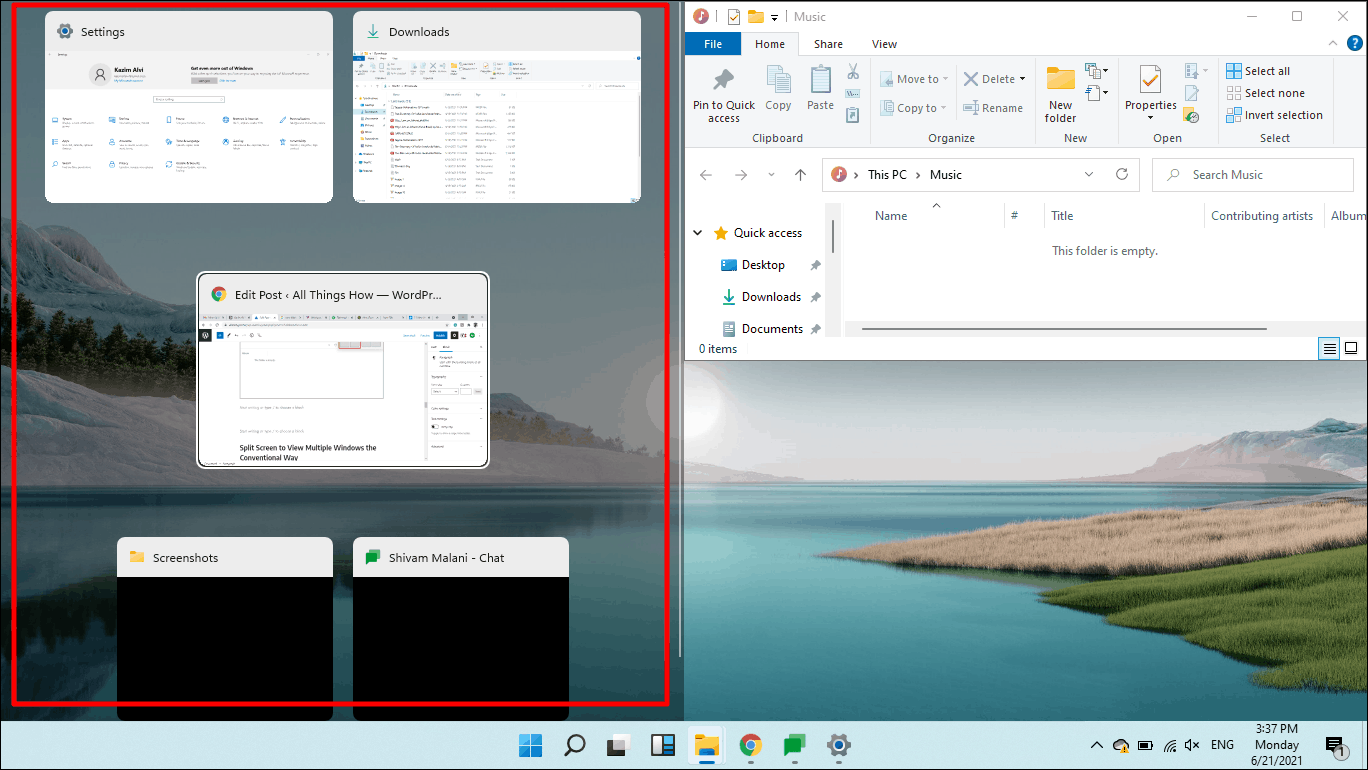
After selecting the second window, it will occupy the left half and the other open windows will be displayed as thumbnails in the remaining quarter. Select the desired application and it will take the last quarter.
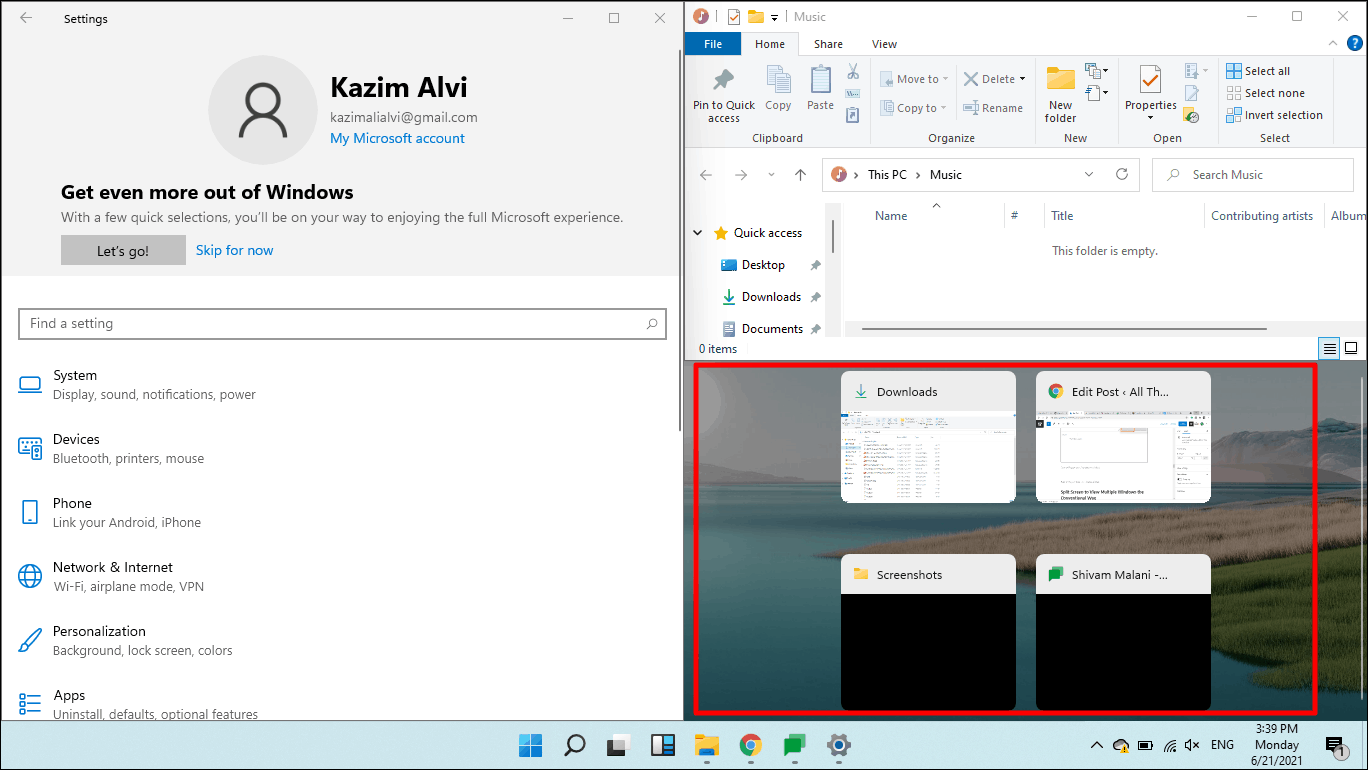
You now have three windows open on the screen, distributed as desired. The concept of resizing remains the same, just hold and drag the line that separates two windows.
Divide the screen into four sections
The concept of dividing the screen into quarters is pretty much the same as what we discussed in the last section. Hover the cursor over the Maximize button of the current window, select the desired neighborhood in the last option, and select other apps to show on the split screen accordingly.
To note: Dividing the screen into three or four windows affects visibility and clarity, negating the entire lens. Therefore, it is recommended to do this only on a larger screen.
Split screen by manually hanging windows on the sides
If you had used the split screen feature on Windows 10, the process was quite different. Windows 11 has simplified things a lot but hasn’t done away with the conventional approach, which we’ll talk about in the following sections.
There are two ways to split the screen to show multiple windows at the same time. You can either hold down, drag and drop Windows to the required corner or use keyboard shortcuts for the same. Let’s start by dividing the screen in half and once you understand the concept, let’s move on to four.
To divide the screen in half, hold and drag the desired window to one of the sides as far as the cursor will go. When you find a blurred outline that indicates the part to be taken by the application in the background, release the cursor. Besides, you can also just open the desired window and press the button WINDOWS + LEFT/RIGHT ARROW KEY to split the screen in half.
With the default settings in place, once one of the windows occupies half of the screen, the other open windows will be displayed in the other half. Select the one you want to add on the other side of the screen.
Once you have two windows on the screen, drag the line between them back and forth to resize the windows. The process of resizing windows remains the same in both methods.
To split the screen into three windows, hold and drag one of the open windows to the corner and once you see a blurry outline in the background that covers a quarter of the screen, release the cursor. Also, you can just press the WINDOWS + UP/DOWN CURSOR KEYS (when it occupies half of the screen) so that a window occupies a quarter of the display.
Once you have a free area on the screen, other open apps will be displayed as thumbnails. Select the ones you want to add.
You now have three windows on the screen. Additionally, you can resize the windows by dragging the line that separates the windows, just like you did earlier.
You can also divide the screen into quarters and display and access the same number of application windows at a time. It makes multitasking really easy.
That’s all there is to ‘Split Screen’ in Windows 11. You can either use the new method introduced in Windows 11 or the conventional approach, whichever works best for you, and multitask like never before. before.