Want to install Windows 11 on a legacy BIOS without Secure Boot and TPM? Well here is a workaround that works 100%.
The level of excitement of installing a new Windows operating system remains the same and most of us have had the pleasure of experiencing it multiple times. However, the excitement is drained when you encounter an error for an issue that simply cannot be dismissed out of hand.
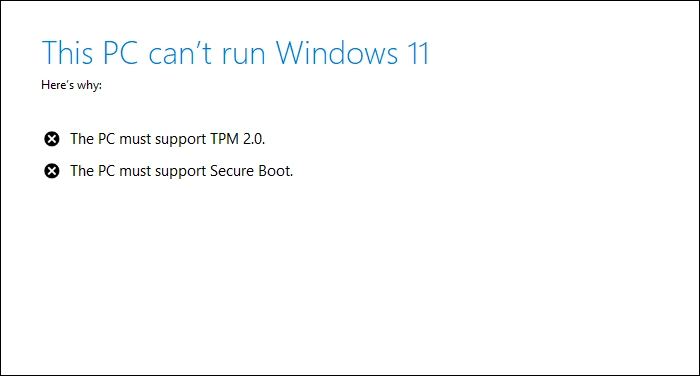
One of those issues with installing Windows 11 is that it requires “secure boot” as well as “TPM 2.0” enabled on a machine, and it’s a fairly straightforward process to enable both of these options if you are. in “UEFI” BIOS mode. However, on a “Legacy BIOS Mode” it is a completely different ball game.
Since switching to “UEFI” from BIOS “Legacy” mode might wipe the drive completely, some might not be very comfortable with trading. And even switching to UEFI does not guarantee that Windows 11 will be installed, as many older computers do not have the option to enable TPM 2.0 in the BIOS. However, it is still questionable whether TPM 2.0 is really required for Windows 11.
READ → How to fix “This PC cannot run Windows 11” error
Thanks to the massive community of Windows users, there are already workarounds to bypass Windows 11 and TPM 2.0 secure boot requirements with harmless registry hack or by modifying Windows 11 ISO files.
Let’s explore the two methods one by one below.
1. Registry hack to bypass Secure Boot and TPM 2.0 Check in Windows 11 setup
You can bypass Secure Boot and TPM 2.0 verification while installing Windows 11 by changing some registry key values on your Windows PC. It is a fairly simple and harmless hack that you can easily apply to any PC.
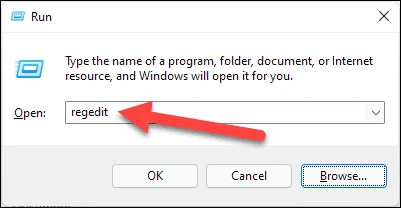
To get started, first press the Windows + R keys together on your keyboard to launch the Run box on your computer. Then type regedit and press Enter to launch Registry Editor on your PC.
In the Registry Editor window, change to the following directory:
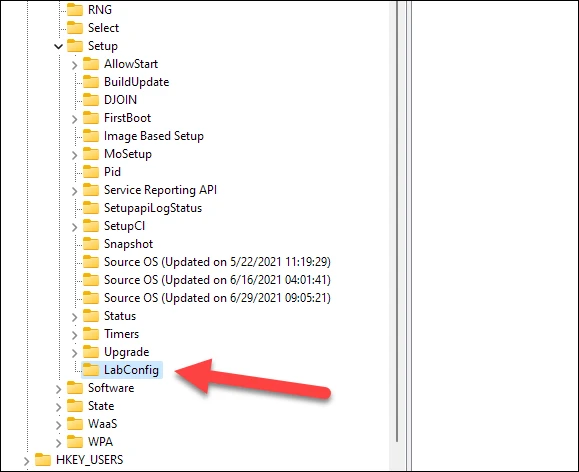
ComputerHKEY_LOCAL_MACHINESYSTEMSetup 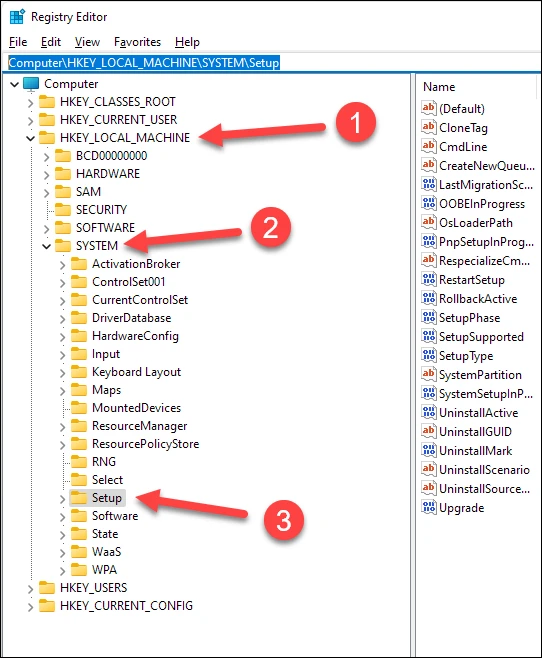
Then right click on any blank area of the right panel, select “New” followed by the “Key” option.
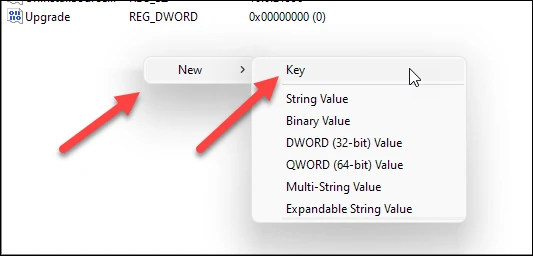
A new registry key will be added on the left side in the registry editor. Make sure to name the new key LabConfig.
Now under the ‘LabConfig’ key create a new DWORD value by right clicking on the empty space selecting ‘New’ followed by the option ‘DWORD (32 bit) value’.
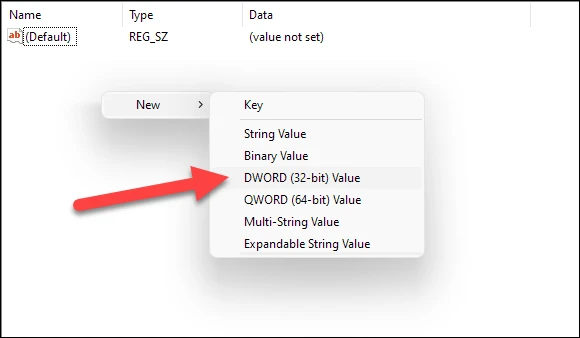
Give this value the name BypassTPMCheck. And after that in the same way create another DWORD value with the name BypassSecureBootCheck.
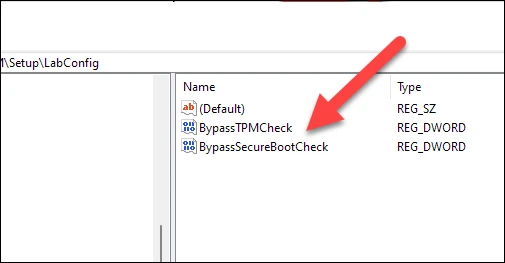
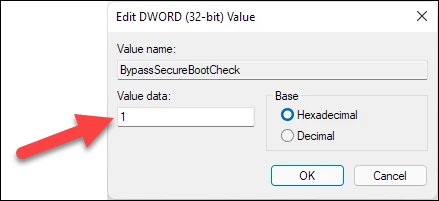
Then double-click on the BypassTPMCheck to open the edit box, and type 1 value in the “Value data” field, and then click the OK button.
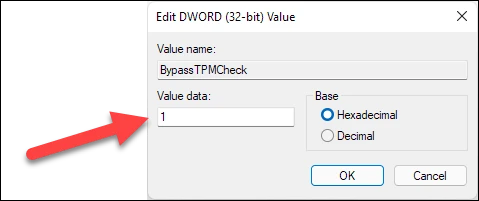
Likewise, modify the BypassSecureBootCheck value and input 1 in the Value data field and press the OK button.
Once done, close the Registry Editor window and restart your computer for the new registry key to take effect.
Then try to run Windows 11 setup by mounting the Windows 11 ISO Preview on your Windows PC. It will bypass TPM 2.0 and Secure Boot checks and allow you to install Windows 11 on any old PC.
2. Modify the Windows 11 ISO files to start the installation from the legacy BIOS
The workaround to install Windows 11 on a “legacy BIOS” is really simple, provided you have all the prerequisites mentioned below.
Preconditions:
- Windows 11 ISO Image
- Windows 10 bootable USB stick (→ instructions)
- A Windows 10 computer (preferred)
- 8 GB USB stick
What is the workaround? Basically you need to create a bootable Windows 10 USB drive and then replace the install.wim or .esd file in the “sources” folder of Windows 10 USB with the install.wim .esd file from a Windows 11 ISO image.
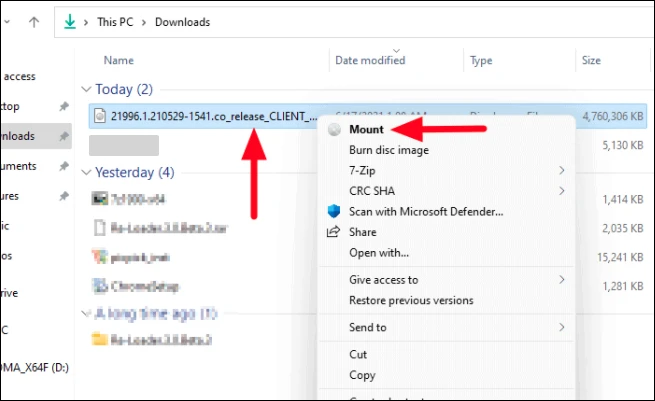
First, mount the Windows 11 ISO file by right-clicking on it and selecting the “Mount” option from the context menu.
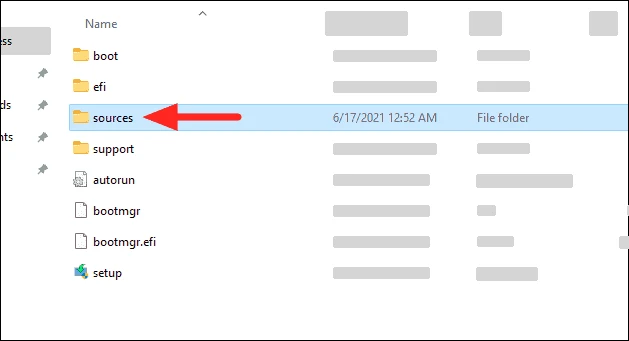
Next, open the mounted Windows 11 ISO image and navigate to the “sources” folder it contains.

Then locate the install.wim in the ‘sources’ folder of the Windows 11 ISO image and copy the file using the Ctrl + C shortcut. Alternatively, you can also right click on the file and select the “Copy” option from the context menu.

Now plug the Windows 10 bootable USB drive into your computer, and open it in file explorer. Then open the “sources” folder inside the Windows 10 USB drive.
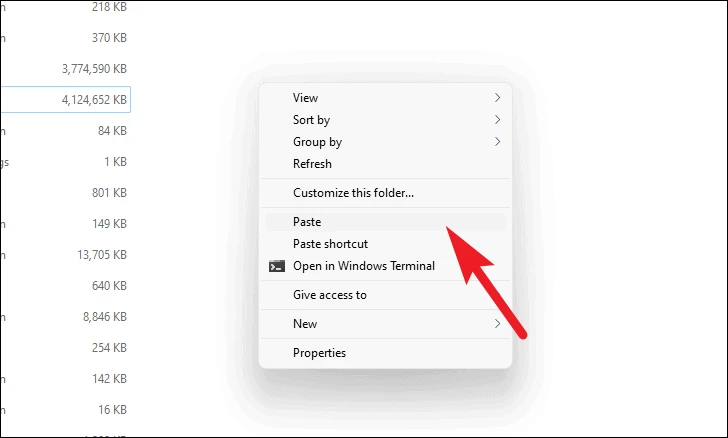
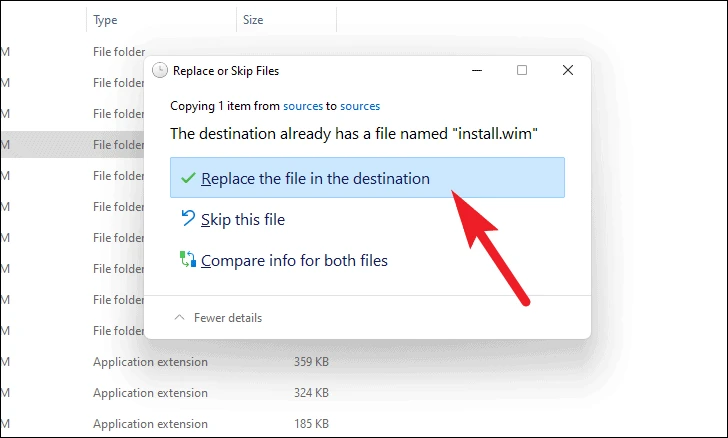
Finally, paste the install.wim file that you copied from the Windows 11 ISO image to the “sources” folder of the bootable Windows 10 ISO USB drive using the Ctrl + V shortcut. You can also right click on any empty space in the folder and select the “Paste” option from the available options.
Since the file will also be present in the “sources” folder of the Windows 10 USB drive, you will get a Replace or Skip Files dialog box. Make sure to choose the “Replace file in destination” option in the dialog box.
After the file is copied to the Windows 10 bootable USB drive, restart your computer. And then from “Boot device options” on your motherboard, boot your system with Windows 10 bootable USB drive.
To note: Don’t worry about booting the Windows 10 USB drive. The installer you are running is Windows 11, because we copied the install.wim file from the Windows 11 ISO image to the USB drive of Windows 10.
Once your USB drive has booted, you will see the option to select and install a version of Windows 11. It will also pass security checks without enabling “secure boot” or “UEFI” in BIOS.
Workarounds that do not work for Legacy BIOS
Since there are a lot of people trying to install Windows 11 on a “Legacy BIOS” system, there are a lot of workarounds floating around the internet that are hit and miss. So, we have compiled a list of common things that do not work for installing Windows 11 on a “Legacy BIOS” system.
- Copy the “sources” folder from the Windows 10 ISO image file and paste it into the Windows 11 ISO image file.
- Copy the
appraiserres.dllfrom the “sources” folder of the Windows 10 ISO image file and paste it into the “sources” folder of the Windows 11 ISO image file. - For some users, the solution provided in the guide may work for a clean install and you may not get the upgrade option which allows you to keep all your files and folders. This will cause the data on the Windows drive to be erased.
Well folks, now you can go and brag to your friends about how easy it is to fix errors you encountered while installing Windows 11 on a “Legacy” BIOS system.