Easily manage your microphone preferences in Windows 11 with the plethora of options available to you
Microsoft has reworked a lot of interfaces in Windows 11, and it’s for good. Not only is it better aesthetic, but it’s also more user-friendly and simplified. But when you get used to a certain way of doing things, it takes time to adjust to something new.
The same is true with Windows 11. Updated interfaces can make it difficult to find settings. Whether you’re upgrading from Windows 10 to 11 or just getting started with computers, it doesn’t matter. Managing your microphone settings is a cinch in Windows 11. In fact, it’s easier than ever to turn your microphone on / off because it’s not too buried in the settings.
Mute or unmute microphone for all apps with one click
Turning your microphone on or off completely is just a matter of a few clicks in Windows 11.
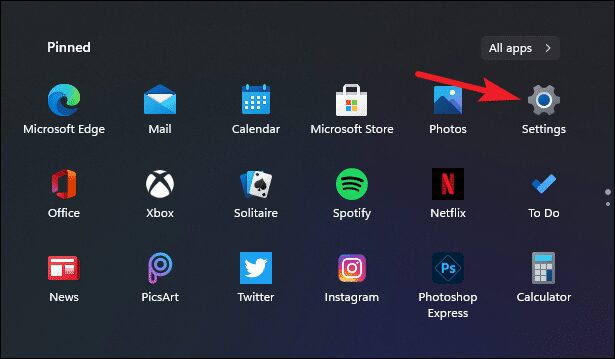
Open the Settings app on your system. Click the “Windows” icon on the taskbar and click the “Settings” icon on the Start menu. Or use the “Windows + i” keyboard shortcut.
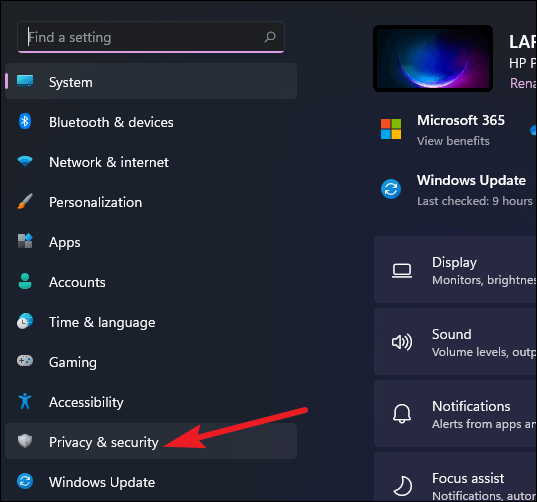
Then navigate to “Privacy and Security” from the navigation menu on the left.
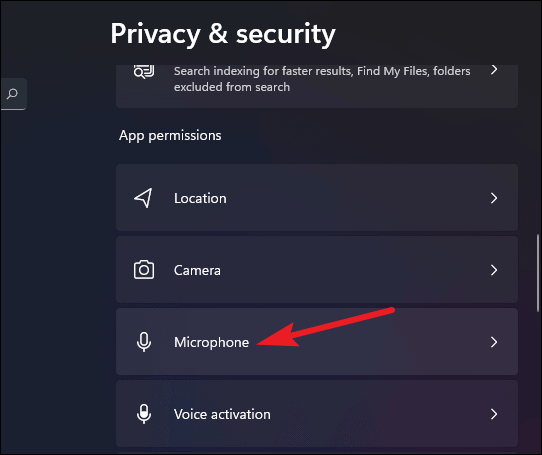
Scroll down to App Permissions and click “Microphone.”
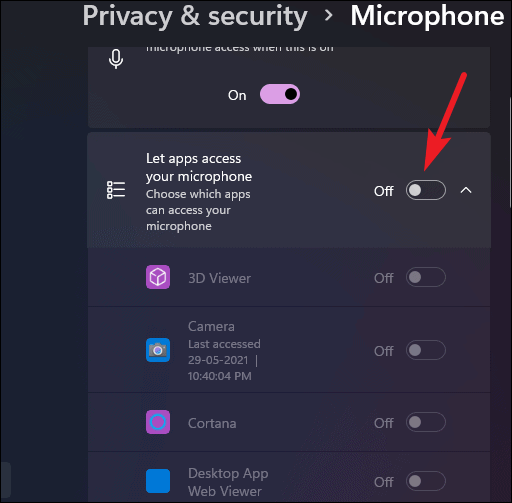
To turn off the microphone completely, turn off the toggle for “Microphone access”.
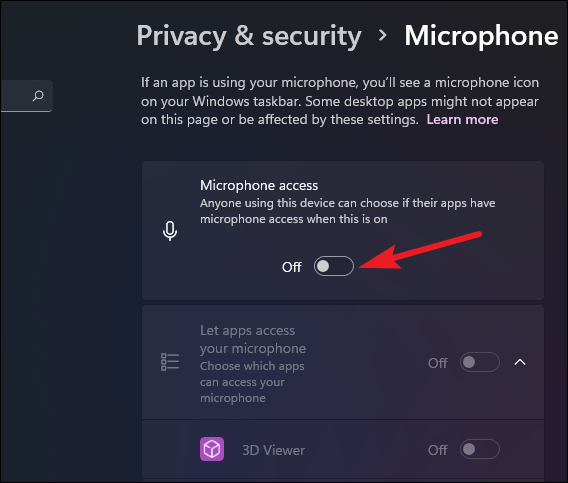
To activate it, simply reactivate the toggle.
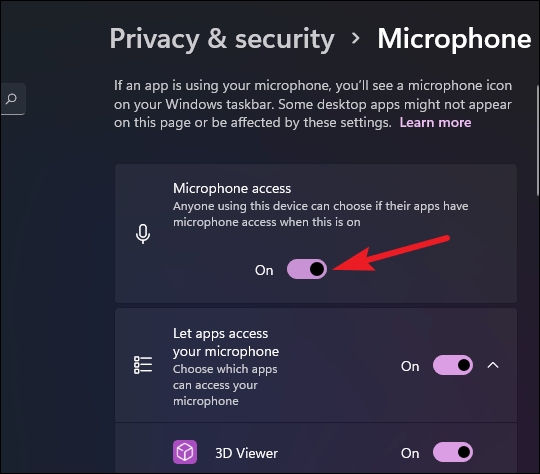
It will enable or disable full microphone access for all apps no matter which microphone device you are using. You can also turn off some microphones completely if you want.
How to disable or enable a certain microphone-only device
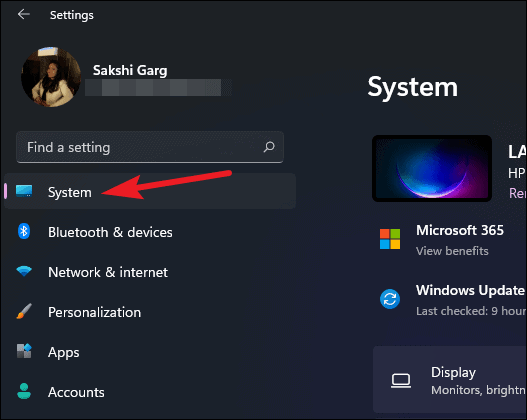
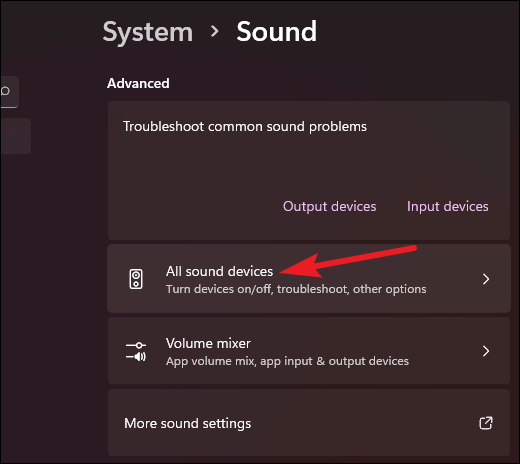
In the Settings app, go to the “System” settings.
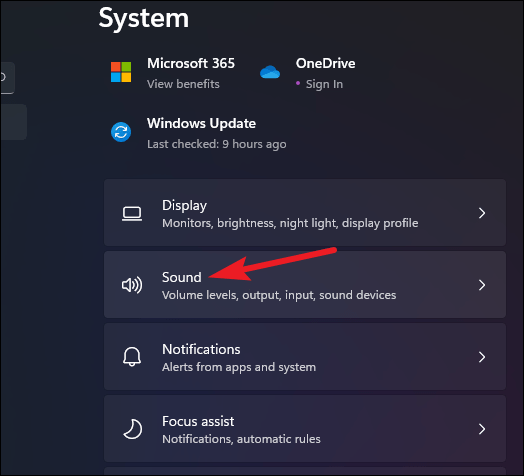
Then click on the “Sound” option.
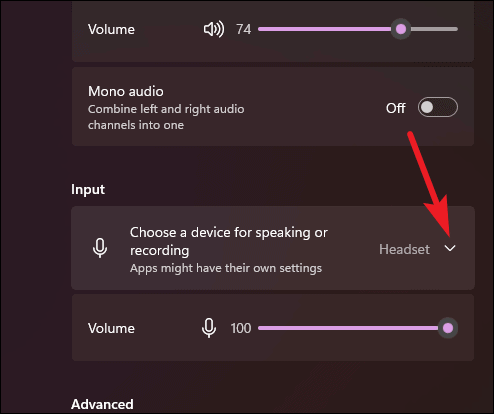
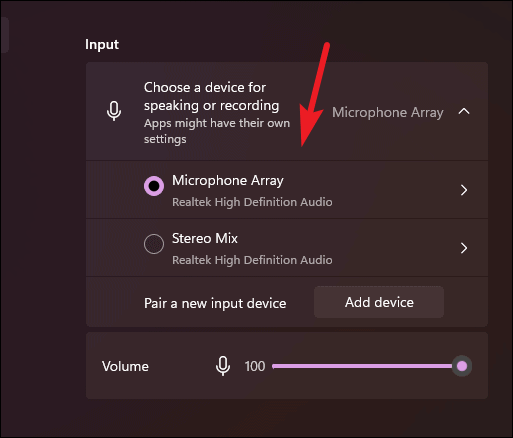
Scroll down to “Enter”. The list of microphones available for use will appear there. Click on the microphone you want to turn off.
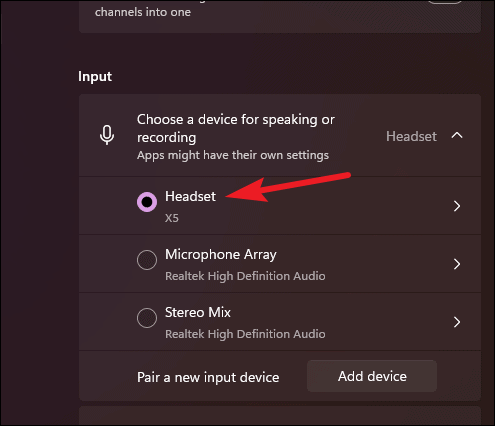
If you can’t find it, click the down arrow next to “Choose a device to talk or record” to expand the options.
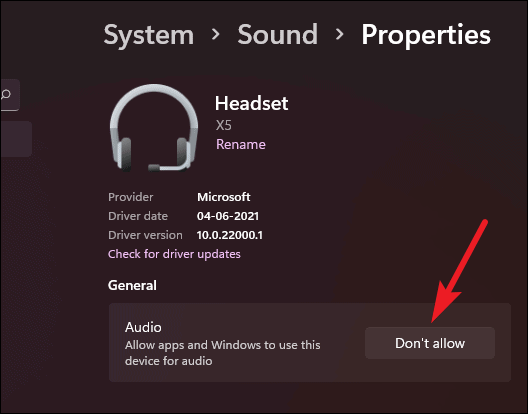
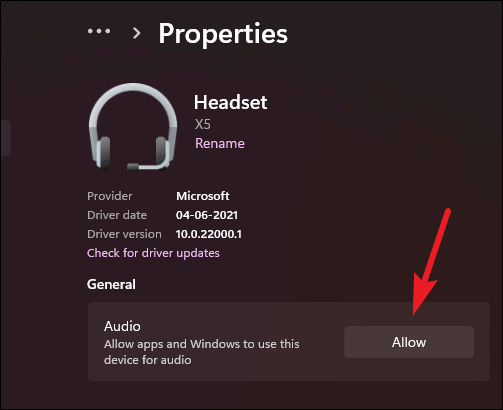
Now from the microphone specific options click on “Do not allow” to disable access to the particular microphone device.
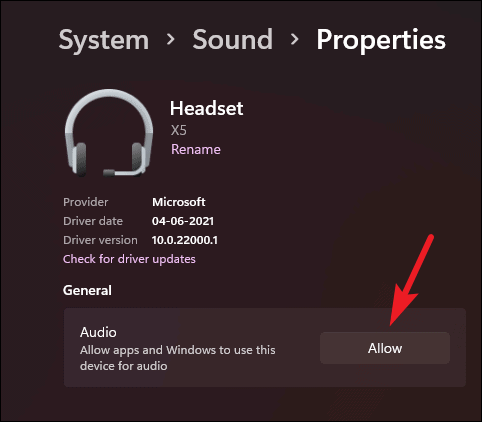
To reactivate it immediately, click on “Authorize”.
But if you go back from the microphone settings to the previous menu or want to access the device later at some point, you will find that you cannot access the device options under Input.
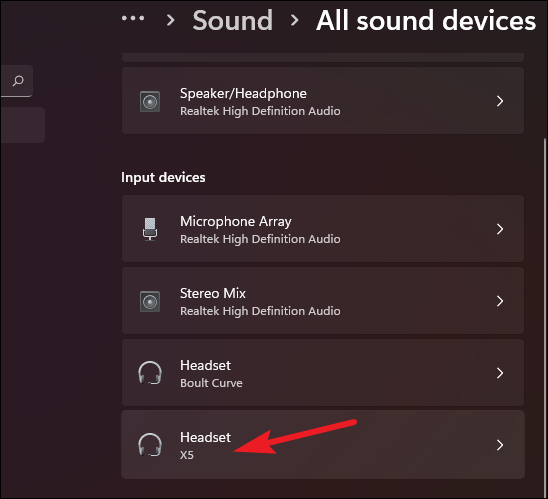
Instead, scroll down and click on “All audio devices.”
Then find and click on the device you want to reactivate under “Input devices”.
The device options will open. Click on “Authorize” to reactivate it.
How to turn off the microphone for apps only
Instead of disabling your microphone entirely, you can prevent certain apps from accessing it. In the microphone privacy settings, you can choose which apps can access your microphone. In the Settings app, go to Privacy & Security and select “Microphone” again under App permissions.
You can either completely disable the toggle for all apps in the Microsoft store.
You can also mute the microphone for individual apps to prevent them from accessing the microphone by turning off the toggle switch next to the app name on the Microphone Settings page.
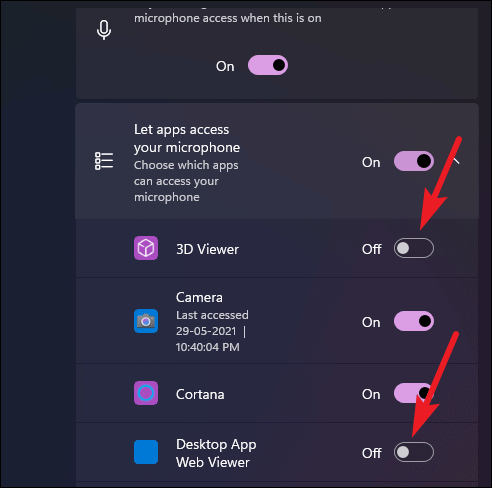
You will notice that the list does not include all the applications on your system. It only includes applications from Microsoft.
To turn off microphone access for third-party desktop apps, scroll down and turn off the “Let desktop apps access your microphone” button. As for desktop apps in Windows 11, you cannot turn the microphone on / off for them individually.
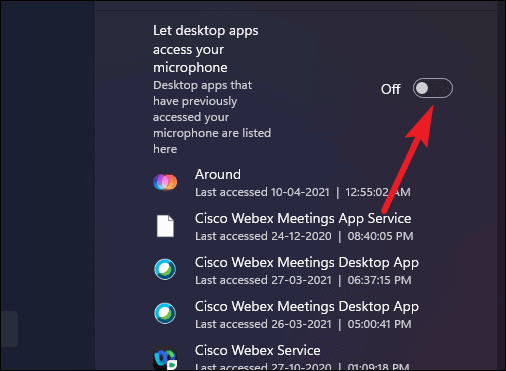
Enable the toggle again from this screen to allow microphone access for desktop apps.

Sometimes we don’t want any app to be able to access our microphone at all. Other times we don’t want our system to be able to access certain microphones. There are also times when we don’t want certain apps or types of apps to have access to our microphone. Whatever situation you find yourself in, Windows 11 makes it easy to manage our microphone based on our preferences.