Worried about major operating system issues? Want to create a USB flash drive for Windows 11, but don’t know how? Well, worry no more!
Creating a bootable USB drive is always a good idea if you ever have issues with your operating system and want to start from scratch. Bootable USB drives are also useful due to their extreme portability and compatibility, almost every computer on the planet has USB slots.
Usually, whenever people hear about making a bootable USB drive, they immediately think of getting help from a tech-savvy friend they know. However, with so much software widely available, you can make a bootable USB drive yourself without any hassle.
Now if you are looking to create a Windows 11 USB drive then you have landed on the right page. So let’s get past the gossip and get down to business.
Preconditions
- Windows 11 ISO File
- USB stick of at least 8 GB
- Windows computer
Create a Windows 11 USB key
There are many bootable disc creation tools available on the Internet, including the Windows USB / DVD download tool from Microsoft. However, for this guide, we will be using free software called “Rufus” to create a bootable USB drive.
There are two reasons to use Rufus against Windows USB / DVD download tool, first, Rufus is much faster and is much more updated than its competition. Secondly, due to regular updates, Rufus provides many advanced features to better control the creation of your bootable USB drive.
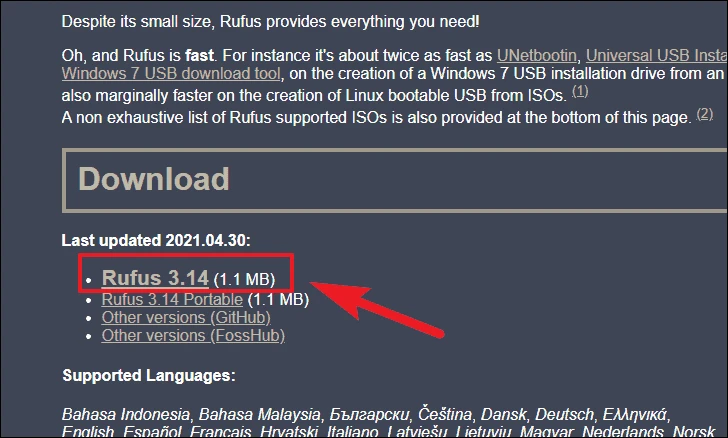
First, go to the rufus.ie website and download the latest version of Rufus from the downloads section of the website.
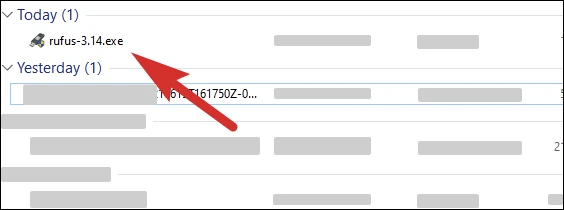
Then double click on the downloaded file to run Rufus.
To note: Rufus is an executable file and does not require installation on your computer.
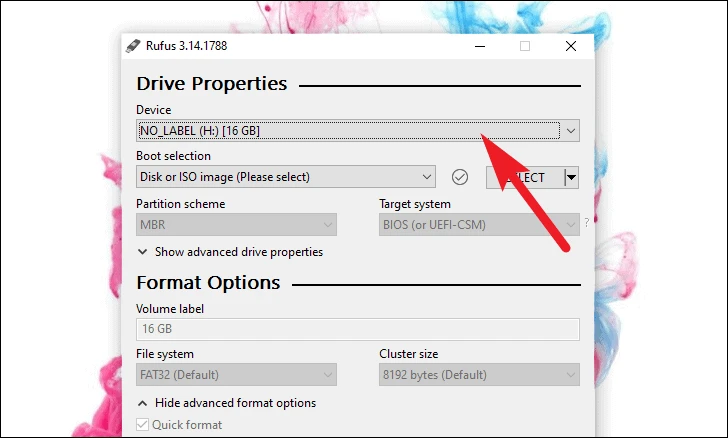
Now plug in your USB device. If you only have one external drive connected, Rufus will automatically select it. Otherwise, you can choose the desired drive by clicking on the drop-down menu under the “Device” section.
To note: It is always good practice to have a USB device with a capacity considerably larger than the size of an ISO image file you have.
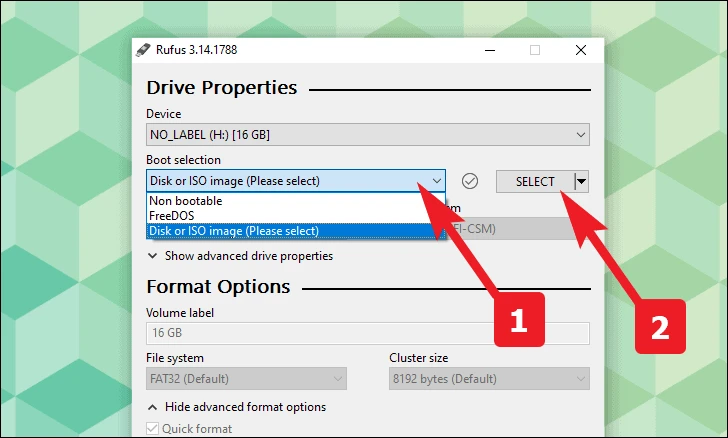
Likewise, click the drop-down menu under “Boot Selection” to select your boot selection method for your drive. Then click on the ‘SELECT’ button to locate and choose the Windows 11 ISO file on your hard drive.
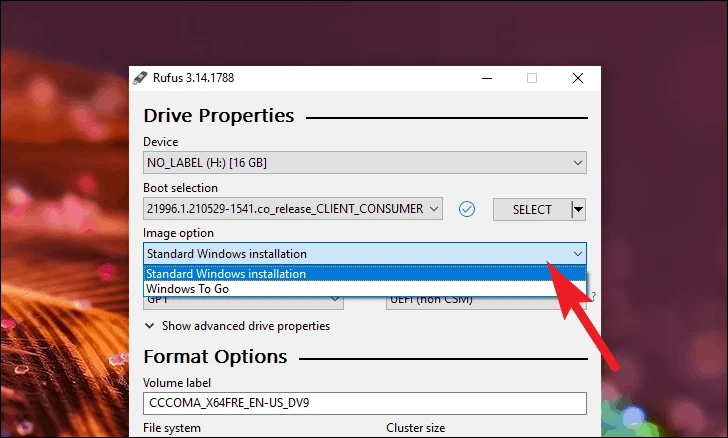
Rufus offers you the option of either using the “Standard Windows Installation” option which will allow your device to install Windows on other disks, or the “Windows To Go” option which allows you to run Windows directly from your device. from the device. .
Select the Image option of your preference in the drop-down menu under the “Image option” field. Here we select the option “Standard Windows installation”.
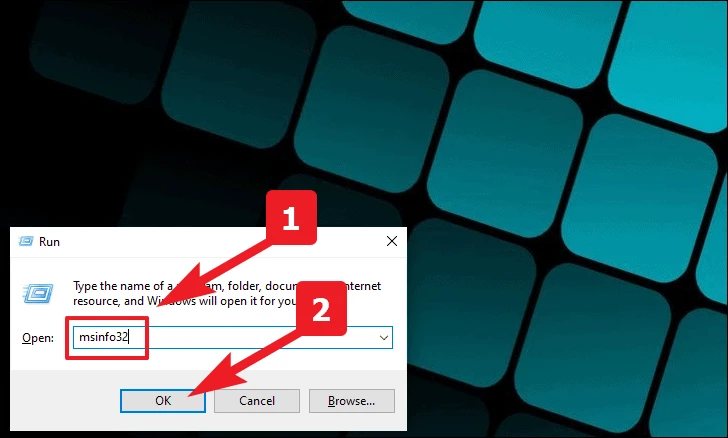
For further configuration, you need to know the BIOS mode of your target machine. To do this, press Windows+R and type ‘msinfo32’, then click ‘OK’ on the machine where you want to install Windows 11.
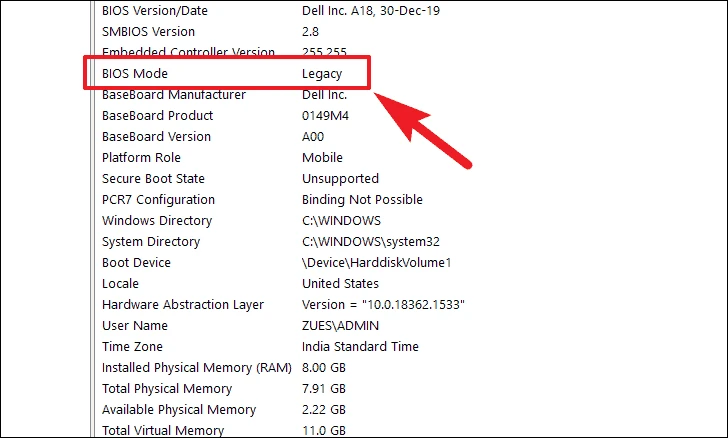
Now locate and check the BIOS Mode field, it would be either “Legacy” or “UEFI”.
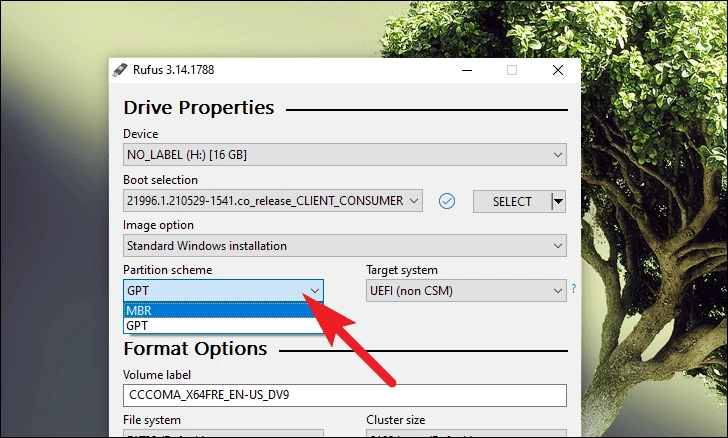
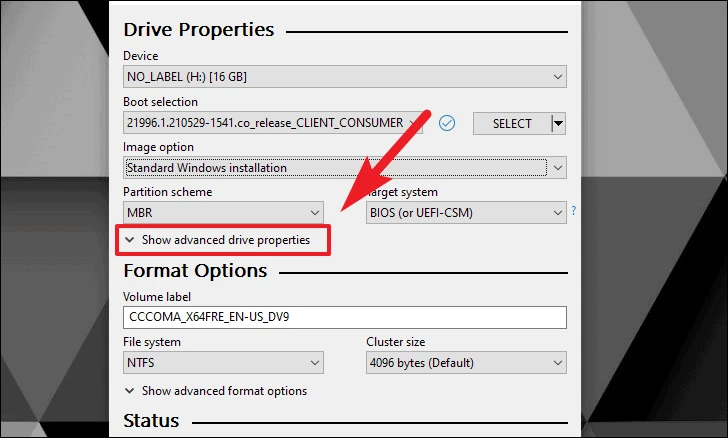
Now back to Rufus, select “MBR” if your BIOS mode is “Legacy”. If your BIOS mode is ‘UEFI’, select the ‘GPT’ option in the ‘Partition Scheme’ field.
There are also advanced options to configure player properties in Rufus, you can access them by clicking on “Show advanced player properties”. However, if you don’t know them, it would be best to leave them as they are.
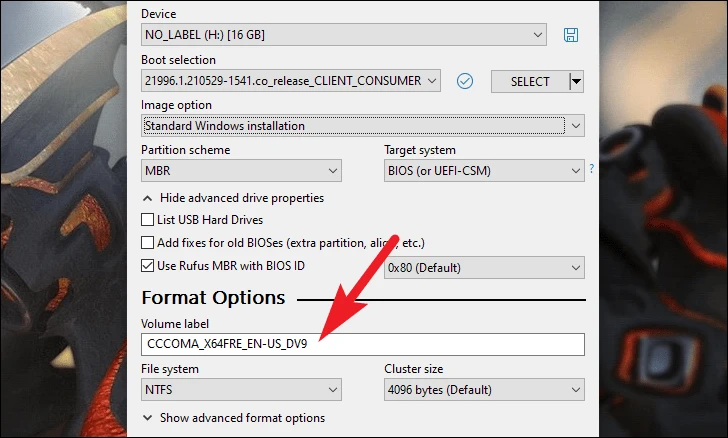
Then Rufus will automatically fill in the volume name, you can either keep it or enter an appropriate name for your bootable USB drive using the text field under the “Volume Label” field.
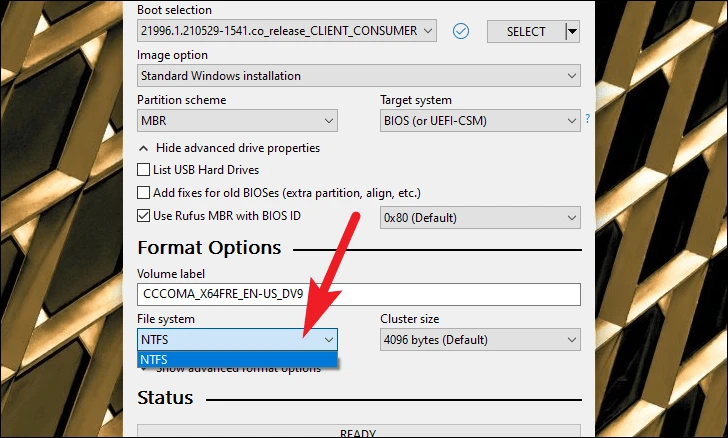
After that, choose the file system for your drive using the drop down menu under the “File System” option. Only with GPT partition scheme you will be able to choose FAT32 file system, otherwise NTFS would be your only option.
Then click on “Show advanced format options”.
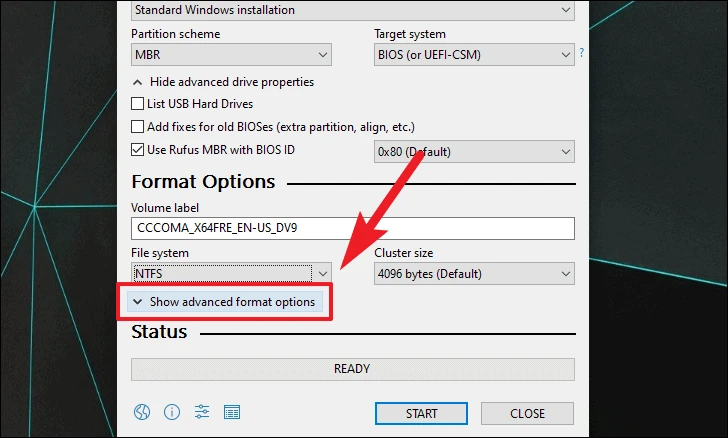
Now check “Quick Format” option to use faster formatting method for your drive. Also check the “Create extended label and icon files” checkbox to set a device icon. Likewise, check the “Check for bad blocks on device” box to make sure that there are no bad memory blocks on your USB drive.
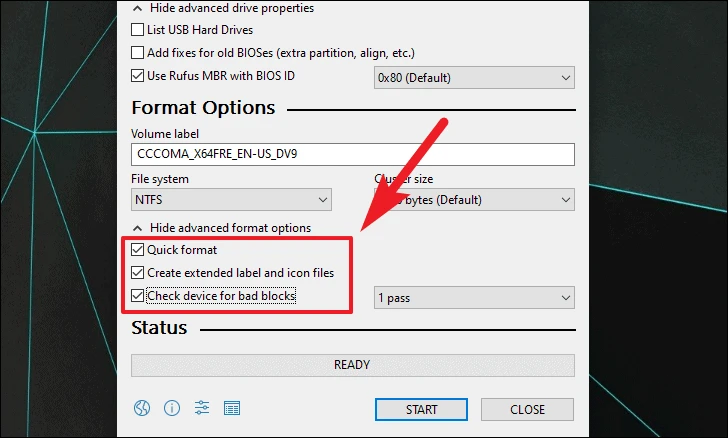
Then, in the drop-down list next to the “advanced formatting options” field, you can select the test patterns to check for bad blocks on your USB drive. The default is set to 1, if you are unfamiliar with test patterns feel free to leave it at the default.

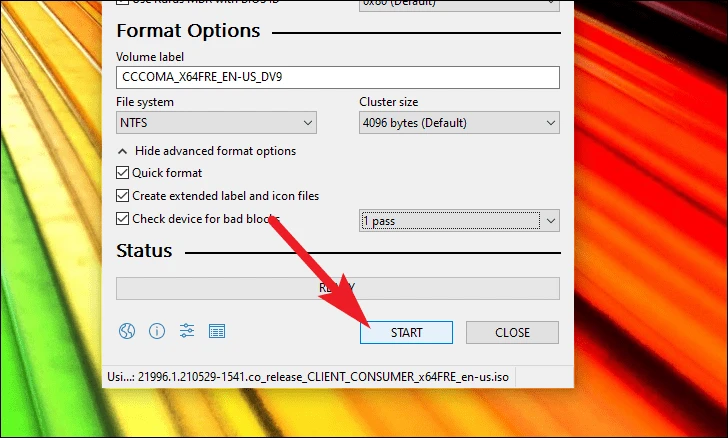
Now click on the “Start” button at the bottom of the Rufus pane to start and create a bootable Windows 11 USB drive.
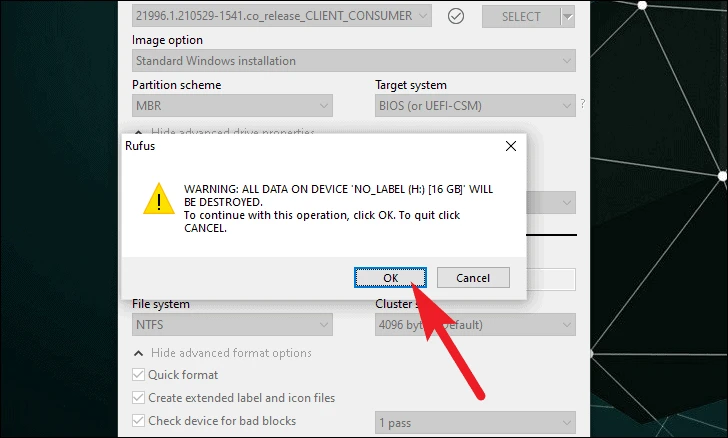
Then read the alert and click “OK” to start the process.
Now sit back and let Rufus take care of creating your Windows 11 USB drive for you.
Well, you won’t have to depend on your tech-savvy friends to make a bootable USB drive anymore!