Can’t copy ‘install.wim’ to FAT32 USB stick due to its large size? Create a bootable Windows 11 USB drive from your Mac without ever worrying about the file size!
Windows has always been one of the operating systems that can be installed via a bootable USB drive, and it’s pretty straightforward to build from a Windows machine with Windows USB / DVD Tool or other third-party software.
However, it gets a little tricky when your daily driver is a macOS device and you don’t have access to a Windows machine. That being said, your Mac can handle this task quite easily and create a bootable USB drive for you in no time.
Read also → How to create a Windows 11 USB drive from Windows 10
In this guide, we are going to create a bootable Windows 11 USB flash drive using the Mac terminal. So let’s get started.
Preconditions
- Windows 11 ISO File
- USB stick of at least 8 GB
- A macOS device
- Target Windows machine
Create Windows 11 USB Flash Drive from Mac
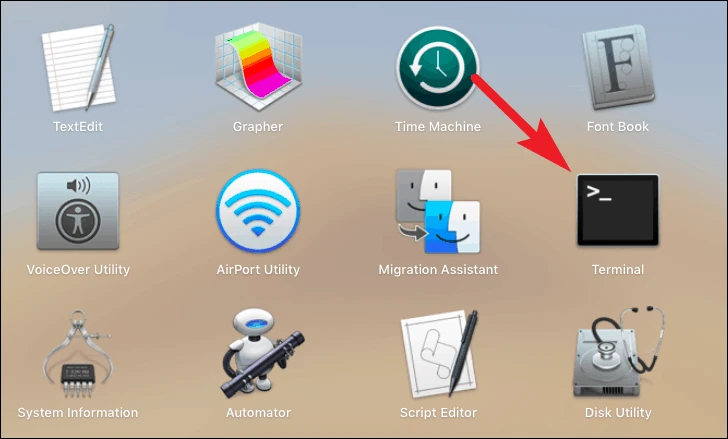
First launch the Terminal from your Mac’s dashboard, it may be in the “Other” folder of the Launchpad.
In the Terminal window, run the following command to get a list of all connected storage drives (internal and external).
diskutil list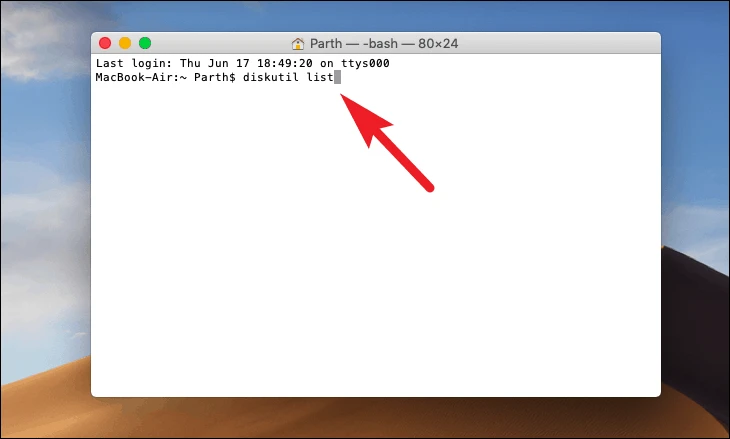
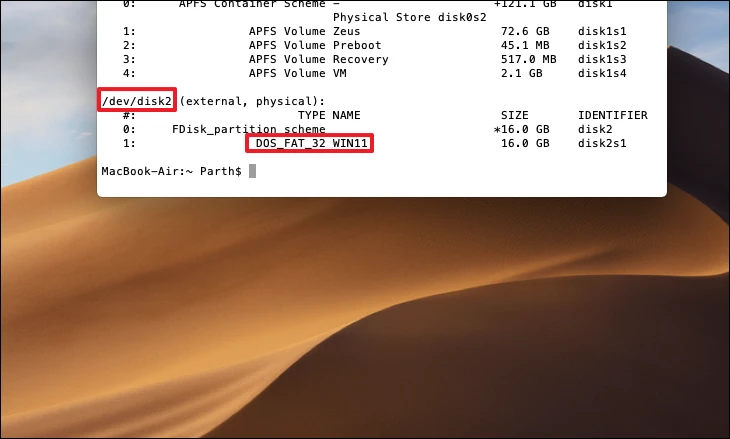
From the results, note the path to your USB key (which in this case is /dev/disk2, but you might have a different name depending on the drives connected to your system). Also identify the partition scheme of the disk (which will be present under the FDisk_partition_scheme label in the terminal) as this information would be needed in later steps.
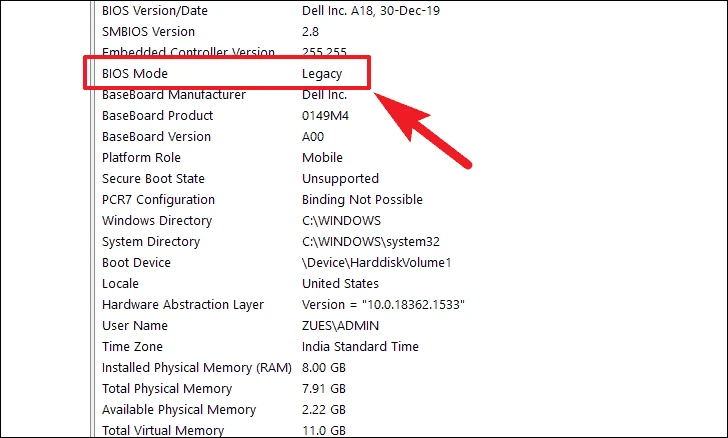
Perform this step on your Windows computer. You need to know the BIOS mode of your target machine. To do this, on your Windows computer, press Windows + R, then type msinfo32 in the text box, then click “OK.”
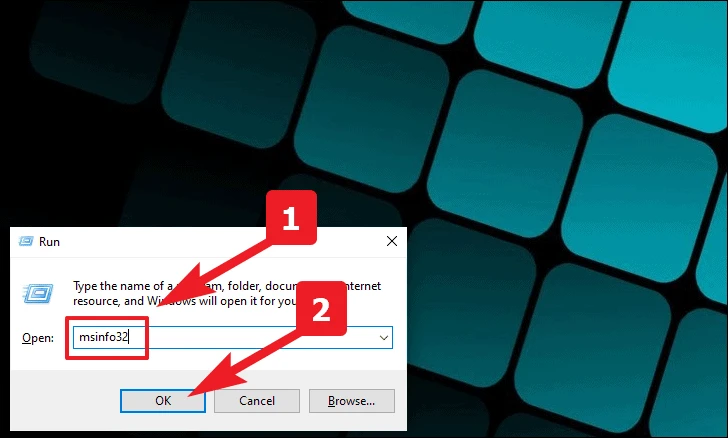
After that locate and check the BIOS Mode field in the opened window. It will be either “Legacy” or “UEFI”.
To return to Terminal on Mac, Once you have the BIOS mode information of your target machine, you will need to prepare your USB drive by formatting it.
To do this, type the following command according to the BIOS mode of your target machine and press Enter to run it.
To note: Please be sure to replace disk2 in the path in case your USB stick has a different path than the one here.
If your BIOS mode is ‘UEFI’, run the following command:
diskutil eraseDisk MS-DOS "WIN11" GPT /dev/disk2If your BIOS mode is “Legacy”, run the following command:
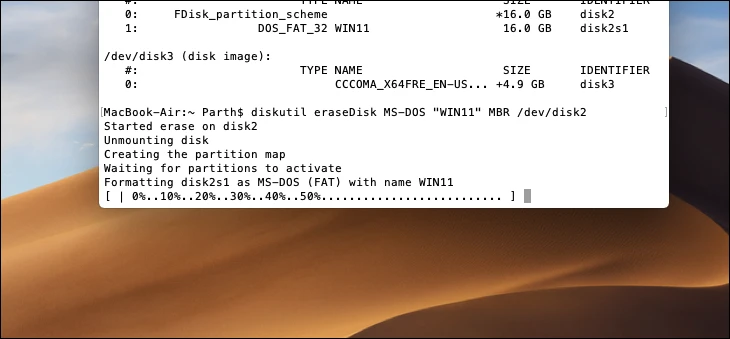
diskutil eraseDisk MS-DOS "WIN11" MBR /dev/disk2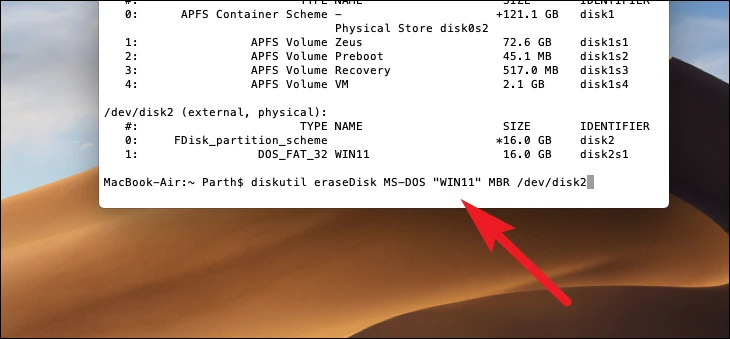
It may take a few seconds to a few minutes to complete this command, depending on your macOS machine.
For the next step, please keep your ISO file name and its path on your macOS device handy to save yourself the hassle of trying to find it in a hurry.
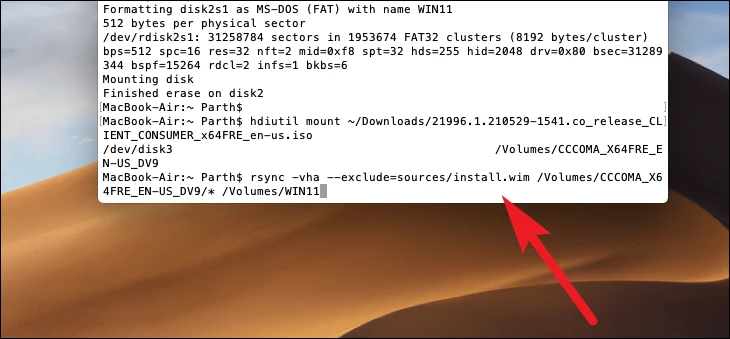
If your file is in the “Downloads” folder on your macOS device, run the following command (with the correct filename from the Windows 11 ISO file) in Terminal and press Enter execute.
hdiutil mount ~/Downloads/<file-name-here>.iso
Since macOS does not support NTFS and the Windows machine does not recognize an EX-FAT file system as a boot option, the prepared USB drives are only of the FAT32 file system. This creates an obstacle because FAT32 file system does not support files larger than 4 gigabytes and one of the main files in your Windows 11 ISO file – install.wim goes beyond that.
Fortunately, there is a workaround for this, which will allow you to split the install.wim in two parts so you can copy them to your player. This process is completely safe because Windows will automatically join the split files.
To do this, first type the following in terminal to copy all your files from your mounted image on Windows 11 except for the ‘install.wim’ file.
rsync -vha --exclude=sources/install.wim /Volumes/<Your mounted File Name here>/* /Volumes/WIN11To note: Remember to add your mounted file name in the above command at the given path position.
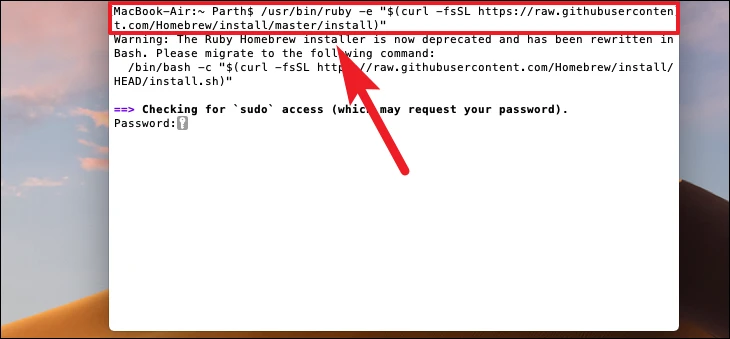
After that type the following command and press Enter in the Terminal to download ‘Homebrew’.
/usr/bin/ruby -e "$(curl -fsSL https://raw.githubusercontent.com/Homebrew/install/master/install)"To note: If Homebrew is already installed on your macOS device. Please ignore the execution of the following command.
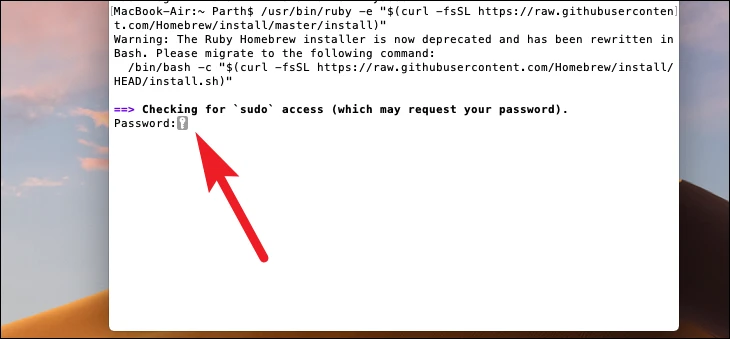
Now type your account password when prompted, tap Enter Carry on. You will not be able to see the typed letters, this is normal Terminal behavior to protect your privacy..
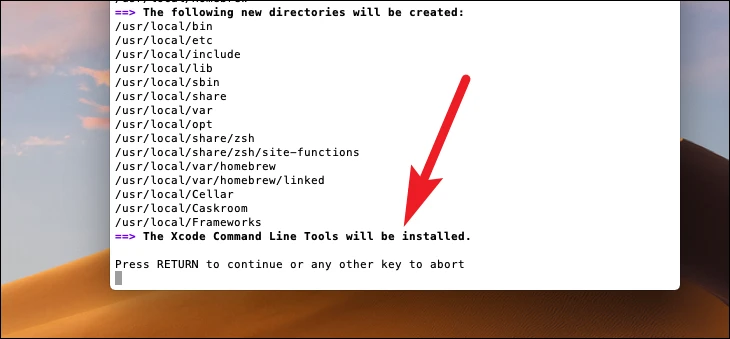
After that press Enter to install the Xcode command line tools on your macOS device. These tools will help to install the tool we need to split the file image.
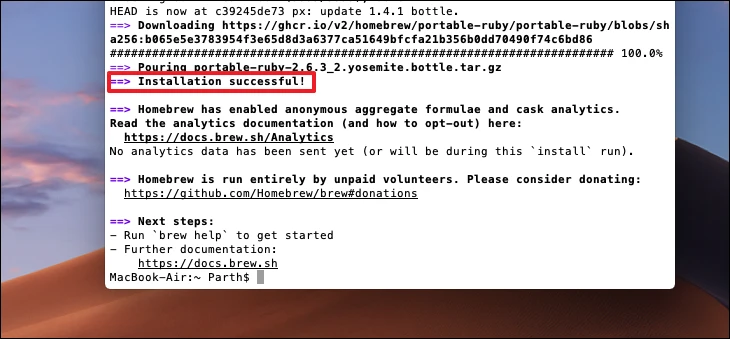
You will see the message “Installation Successful” in Terminal after Homebrew is installed on your Mac.
Then type / paste the following command Terminal and press Enter to install a tool called ‘wimlib’, using Homebrew. ‘wimlib’ is the tool we will use to split the ‘install.wim’ file.
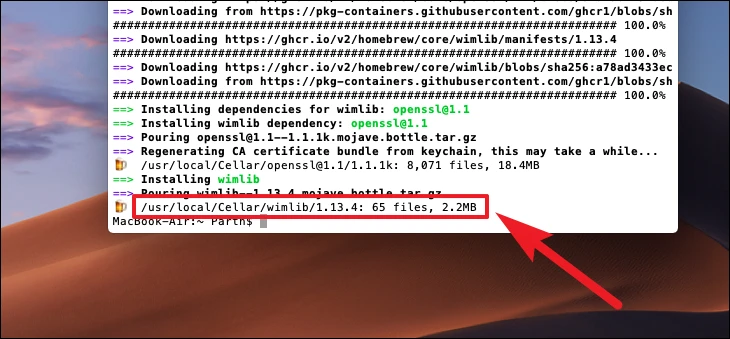
brew install wimlib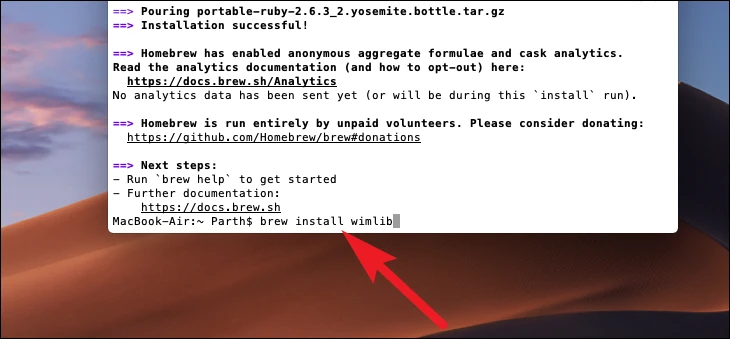
You will be able to see the path, number of files, and file size after installation is complete.
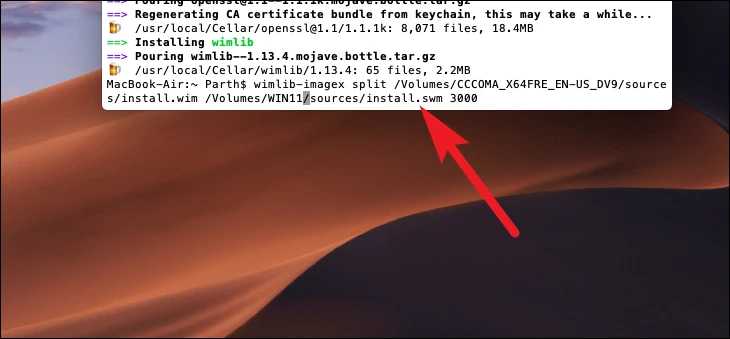
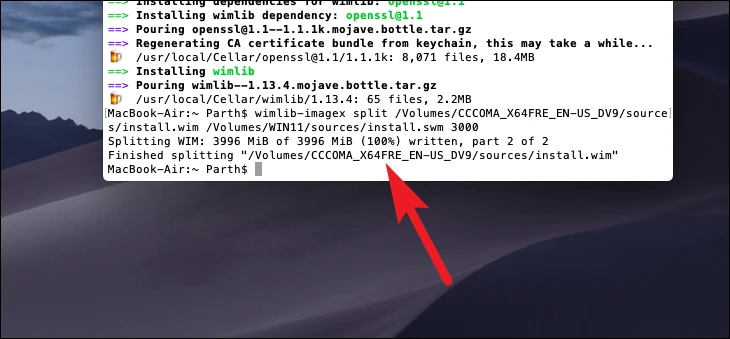
Then use the following command to split the ‘install.wim’ file.
wimlib-imagex split /Volumes/CCCOMA_X64FRE_EN-US_DV9/sources/install.wim /Volumes/WIN11/sources/install.swm 3000To note: The number ‘3000’ at the end of the command indicates the size limit for each new split file. Do not hesitate to change according to your needs.
Here ‘wimlib’ will create ‘install.wimaa’ with a file size of 3000 megabytes and ‘install.wimab’ will be 1000 megabytes, because my ‘install.wim’ is turned off at around 4 gigabytes.
This command may take a few minutes, and some may even see 0% progress until the process is complete. So, don’t give up on it thinking that the process is stuck. In normal scenarios, you will be able to monitor the progress.
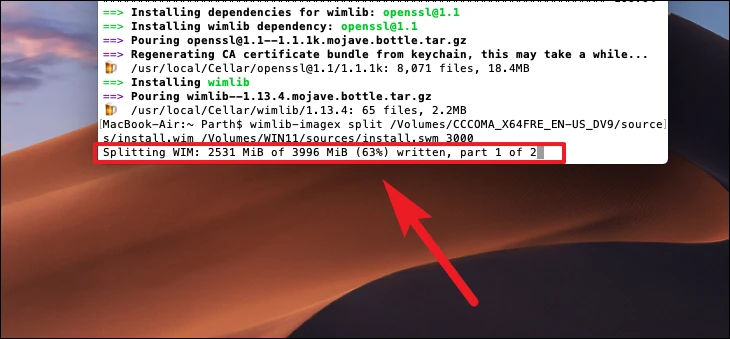
Once the process is complete, you will be able to see it in the terminal.
Now you can safely eject your USB drive from Finder. Your Windows 11 bootable USB drive is not ready for use.
It might seem a bit overwhelming at first, but it’s pretty straightforward once you get the hang of it. Now you can create a bootable Windows 11 USB drive right from your Mac!