How do I change the installation path from “C” to another drive in Windows 11? If you do a clean installation of Windows 11, all Windows files, including the program files, will be saved to the “C” drive. This means that when you install a program or software on your PC, this is automatically carried out on C: Programs or C: Program Files (x86), depending on the 64-bit or 32-bit app. There is nothing wrong with that; Windows automatically detects and saves all files / folders in the Program files Folder under the “C” drive. However, the problem starts when “C” is full and you want to install any new programs or applications on another empty drive under your computer. Now, maybe your answer is, I can increase the C drive partition size. Suppose your internal drive is full and you want to install new programs on an external hard drive.
There are many situations and they can be different from what I said in the example above. The Windows operating system is very flexible and allows you to install your new programs on a different partition. You don’t need to do a lot of experiments for a simple task. It’s a fairly simple and effective way to install programs on Windows 11 on a separate drive. You need to edit some registry files and you’re done. A similar process works on Windows 10/8/7. That means you can use this method to install your programs on a non-Windows installation directory / drive, even on Windows 10, 8, and 7.
Fortunately, editing the registry doesn’t require any technical knowledge, which means you can do it yourself using our provided instructions.
How do I change the installation path from “C” to another drive in Windows 11?
Before modifying the Windows PC registry, we recommend creating a system restore point and making a full backup of the registry.
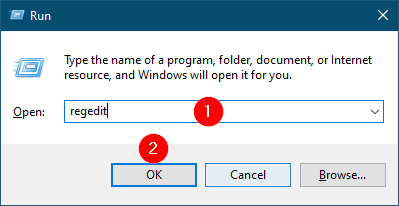
Step 1. Hold the
Step 2. Im Run Enter the following and press Enter using the keyboard to start the registry editor: –
regedit
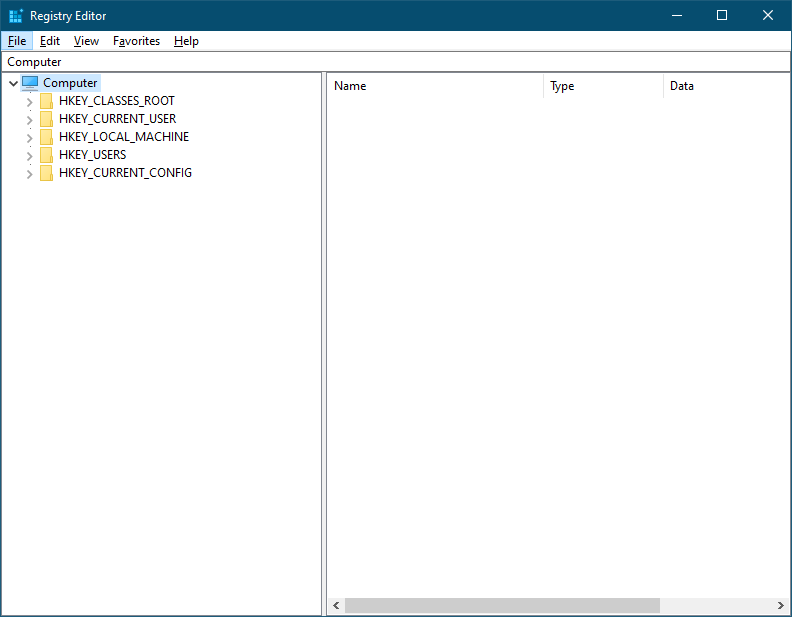
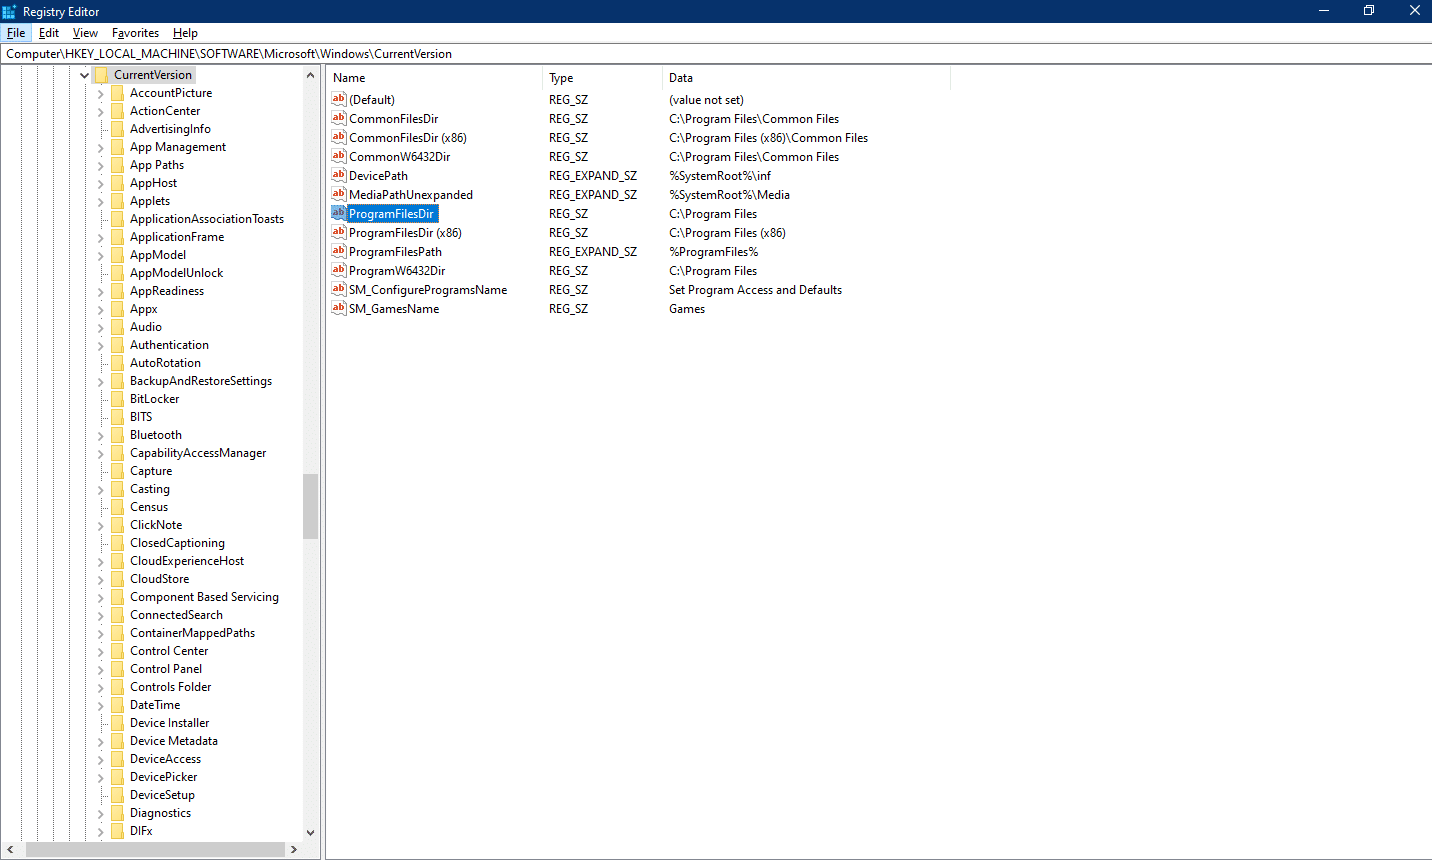
Step 3. In the Registry Editor window, on the left side panel, navigate to the following registry key:
HKEY_LOCAL_MACHINESOFTWAREMicrosoftWindowsCurrentVersion

Step 4. To the right of the Current version Button, double-click the String labeled “ProgramFilesDir (x86)” and change the default value “C: Program Files” to your new drive path (address).

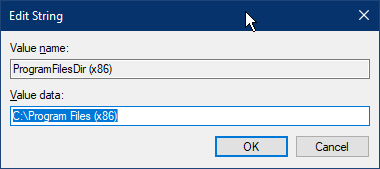
Step 5. After applying the new path in the Measured value Field, click on the OK Button.
Step 6. Now double-click on the string labeled “ProgramFilesDir” and change the default value “C: Program Files” to your new drive path (address).
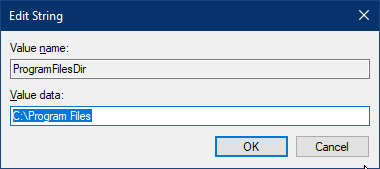
Step 7. Click the OK Button.
Step 8. Close the Registry Editor window.
Step 9. Restart your computer or laptop.
To do this, download a program or software and install it on your computer. It should be installed in the new installation directory that you specified in the steps above.
If you want to restore the previous installation directory to the default directory, repeat the above steps and change the installation path to the previous one.