VirtualBox is one of the best and free virtual machine applications that allows you to install and use the latest Windows 11 operating system on a Gues machine. You can do the networking without any technical knowledge. You can use the host internet connection on the guest operating system without any additional configuration on Oracle VM VirtualBox.
While VirtualBox is too easy to use, you may want an easy way to share folders between the host and guest operating systems in VirtualBox. You may have some important folders and want to copy from the host operating system to the guest operating system or vice versa. Fortunately, transferring data between host and guest is a straightforward process. By referring to these contribution guidelines, you can easily copy and paste data from host to guest or vice versa.
This Gearupwindows article will teach you how to share folders between host and guest operating system in Oracle VM VirtualBox.
Before proceeding with the steps to share folders between host (real computer) and guest (virtual Windows 11/10), you need to install Guest Additions. We have already written a special post about installing guest additions on a guest Windows 11; Similar guidelines apply to any other guest Windows, including Windows 10, 8, and 7. So we’ll skip these steps and focus on other things required to share a folder between the guest and host computers.
Topics covered
How do I create a shared folder on the host computer?
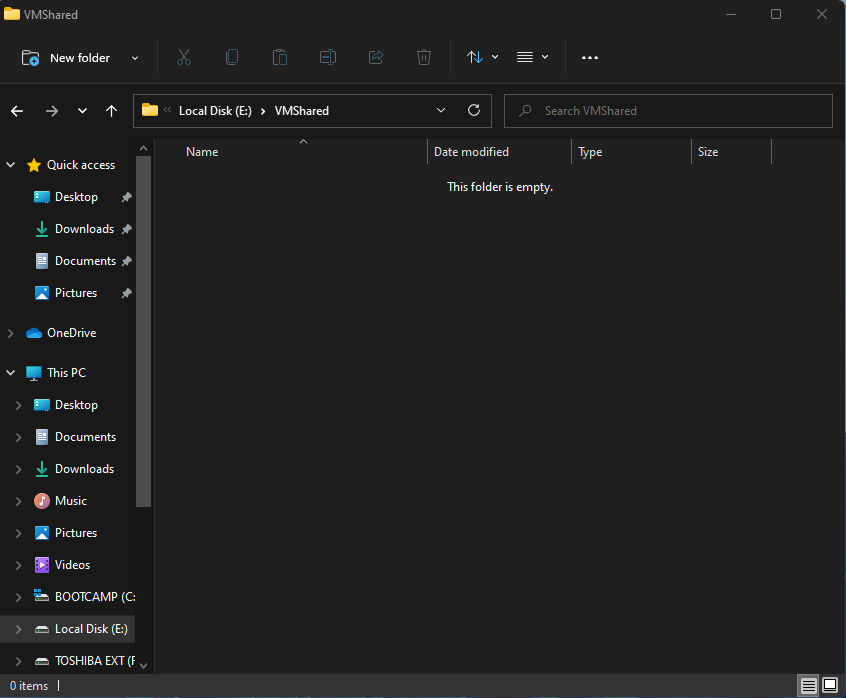
Create a folder of whatever name you want to share, or use an existing folder. For example we have one. created VMShared Folder on my host PC on drive “E”. To create a new folder, right-click any free space on the desktop or an empty area on a drive, then select the Folder option.
How do I share the host folder with the guest computer on Oracle VM VirtualBox?
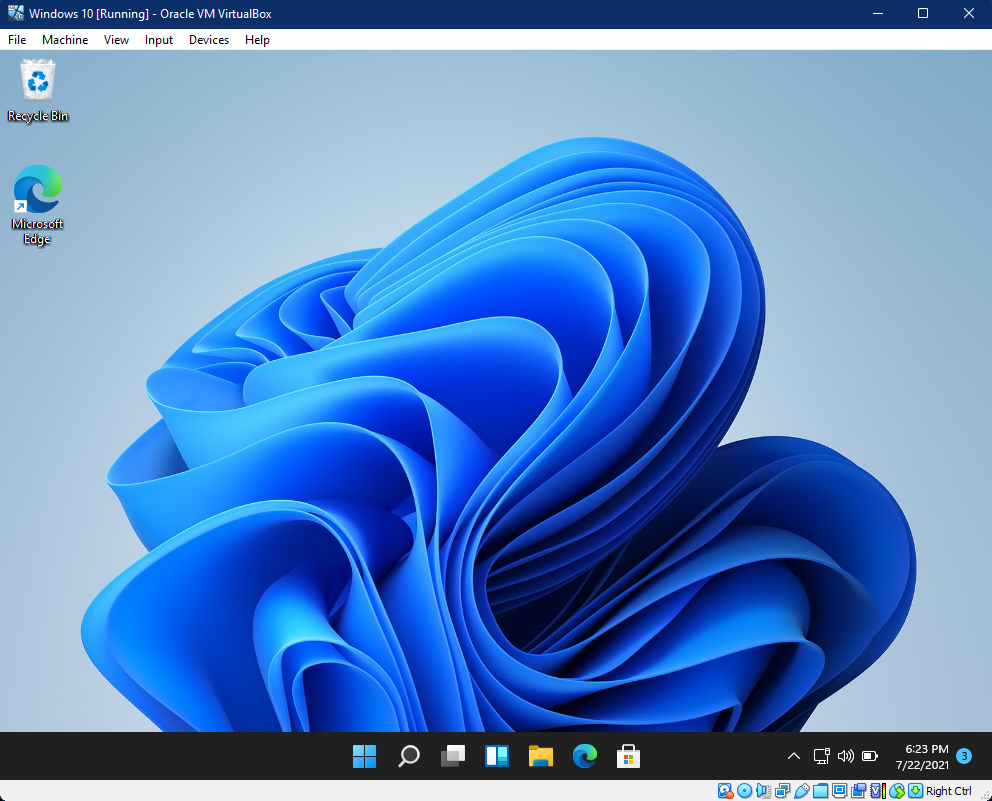
Step 1. After you have created a new folder or decided to use the existing folder on the host computer, you can share it with the guest computer. To do this, open the VirtualBox and run the guest operating system as before. It should look like the picture below: –
Step 2. In the VirtualBox window, click the
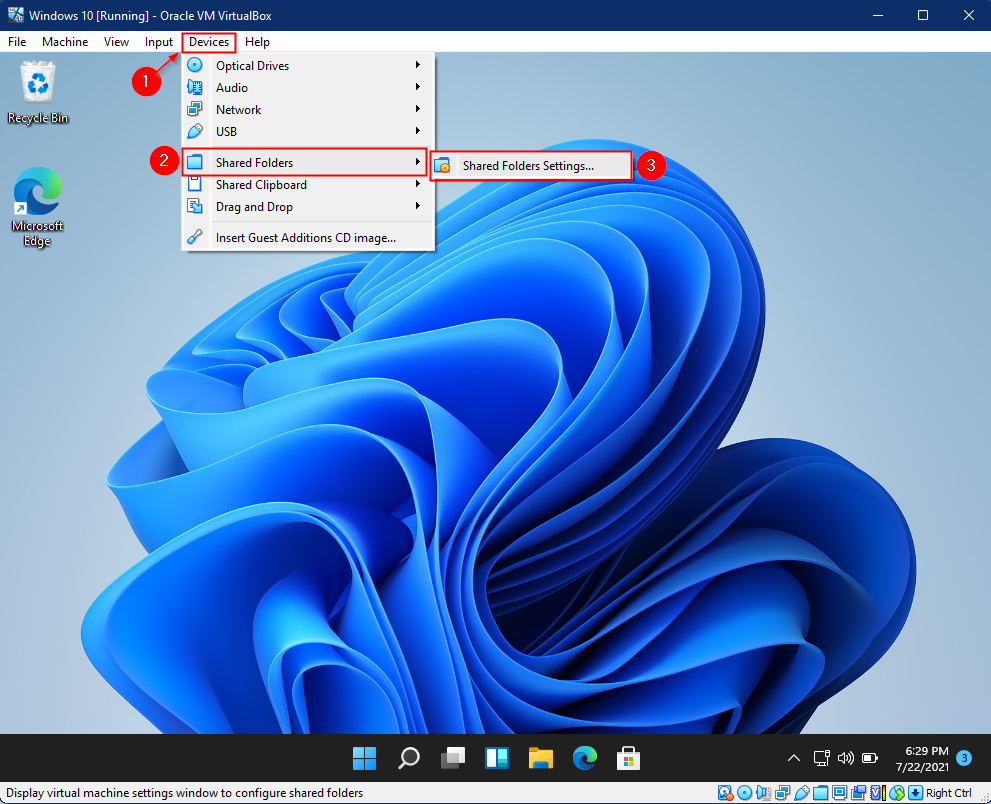
Step 3. In the settings window that appears after the above steps, click the
![]()
Step 4. On the pop-up Add share Window, choose that [keybt]Others Option of the Folder path Drop down menu.
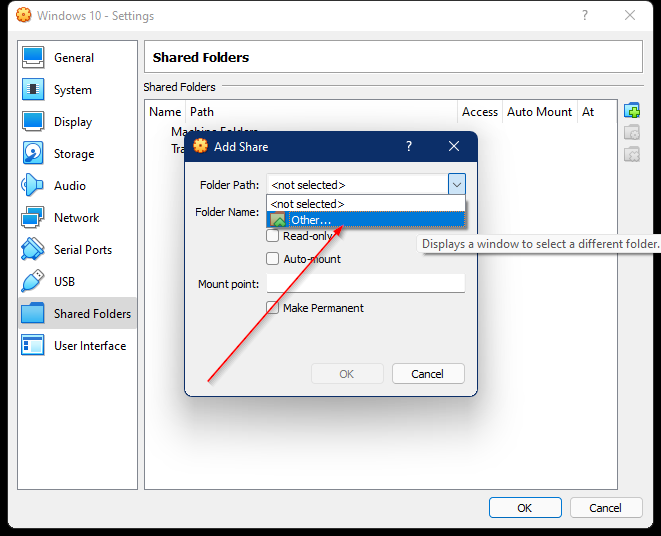
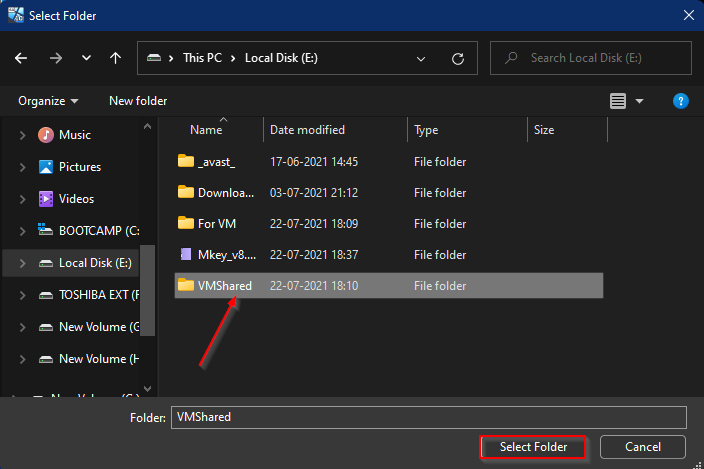
Step 5. In the next pop-up window, select the folder you want to share with the guest computer, then click
Step 6. Now activate the checkboxes
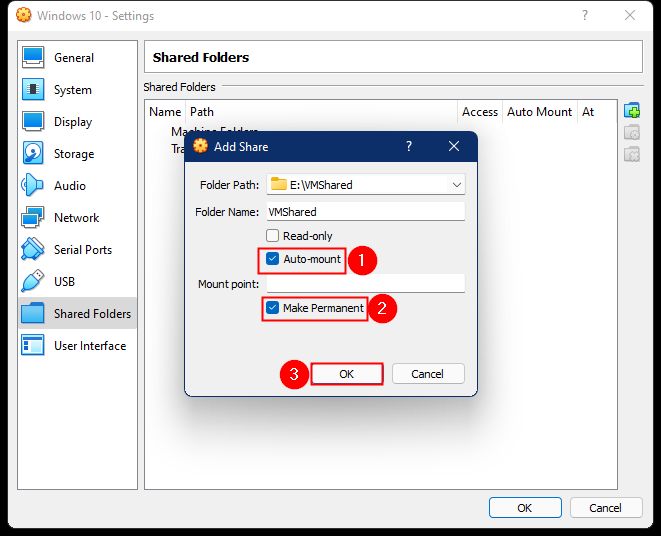
Step 7. Click
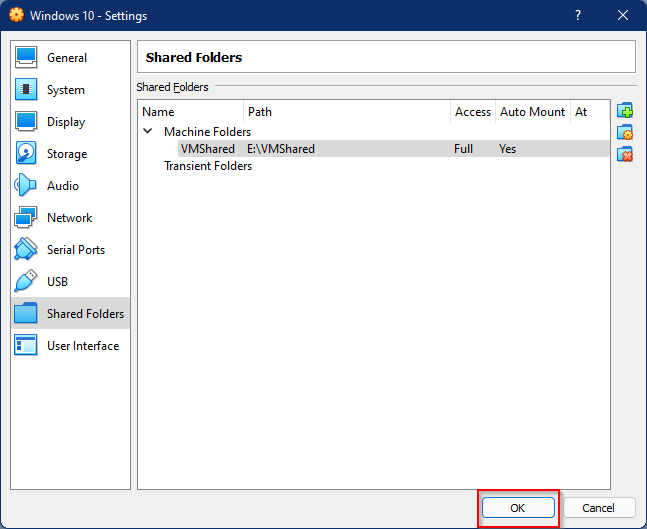
So far, you’ve created a shared folder and given permission to your guest operating system. In the remaining steps, we will guide you to access this shared folder on your guest computer.
Step 8. Open File manager by pressing
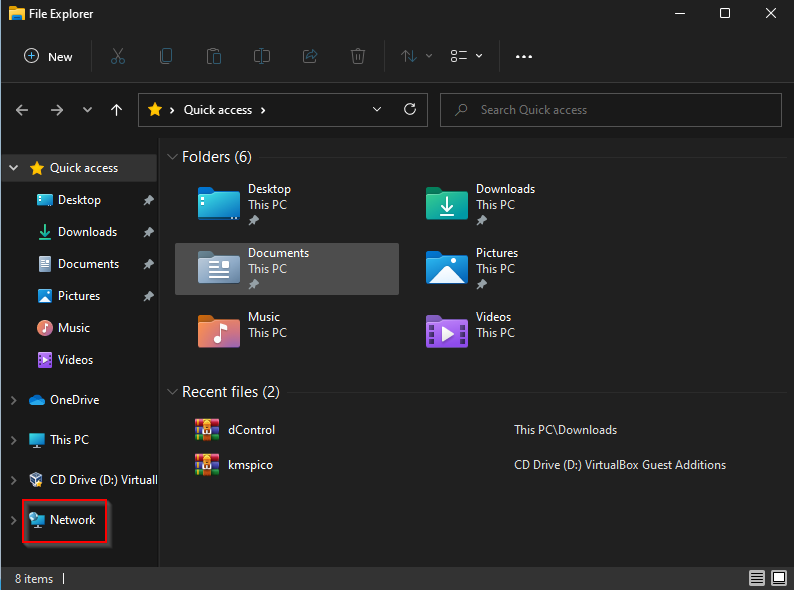
Step 9. You should see this in the network folder VBOXSVR Folder. Double click on it to open its contents.
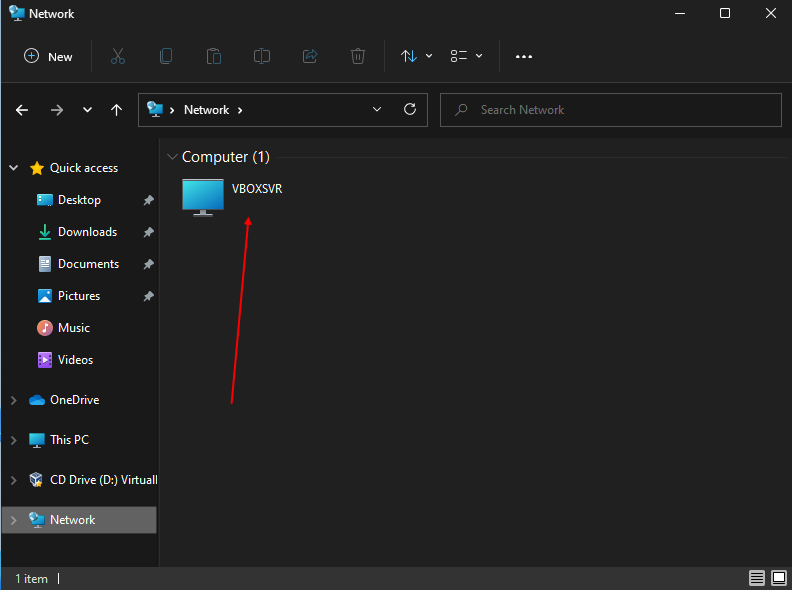
Step 10. Now double click on the folder that appears under VBOXSVR.
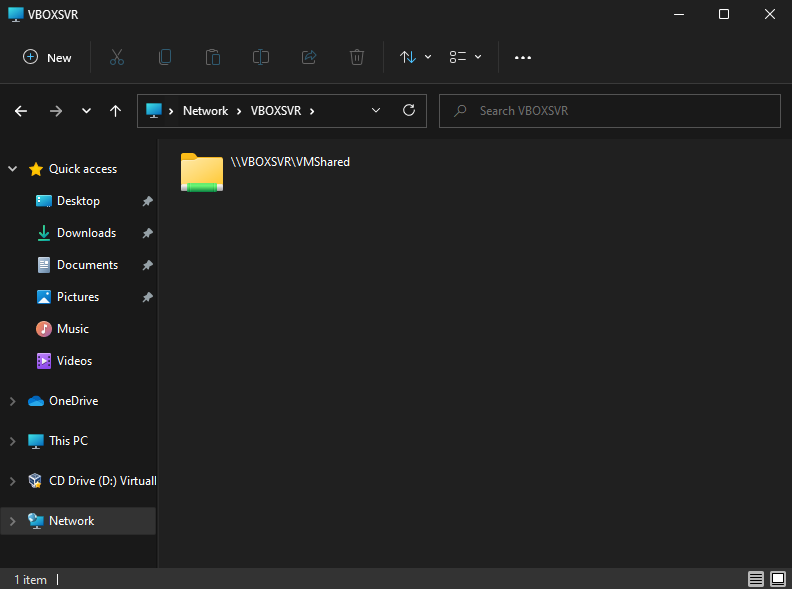
This is the same folder that you shared with the guest computer from your host computer. Since we didn’t restrict it to write protection, you can use this folder with full permissions. That means you can create any files / folders in this folder or delete a file / folder from this shared folder. A single folder can be accessed by two operating systems at the same time. You’ll need to repeat the above steps if you want to share more folders with your guest computer.
Much luck.